

Prerequisites
First, you’ll need to enable conversion tracking for your Dub links to be able to start tracking conversions:Option 1: On a workspace-level
Option 1: On a workspace-level
To enable conversion tracking for all future links in a workspace, you can do the following:
To enable conversion tracking for all future links in a workspace, you can do the following: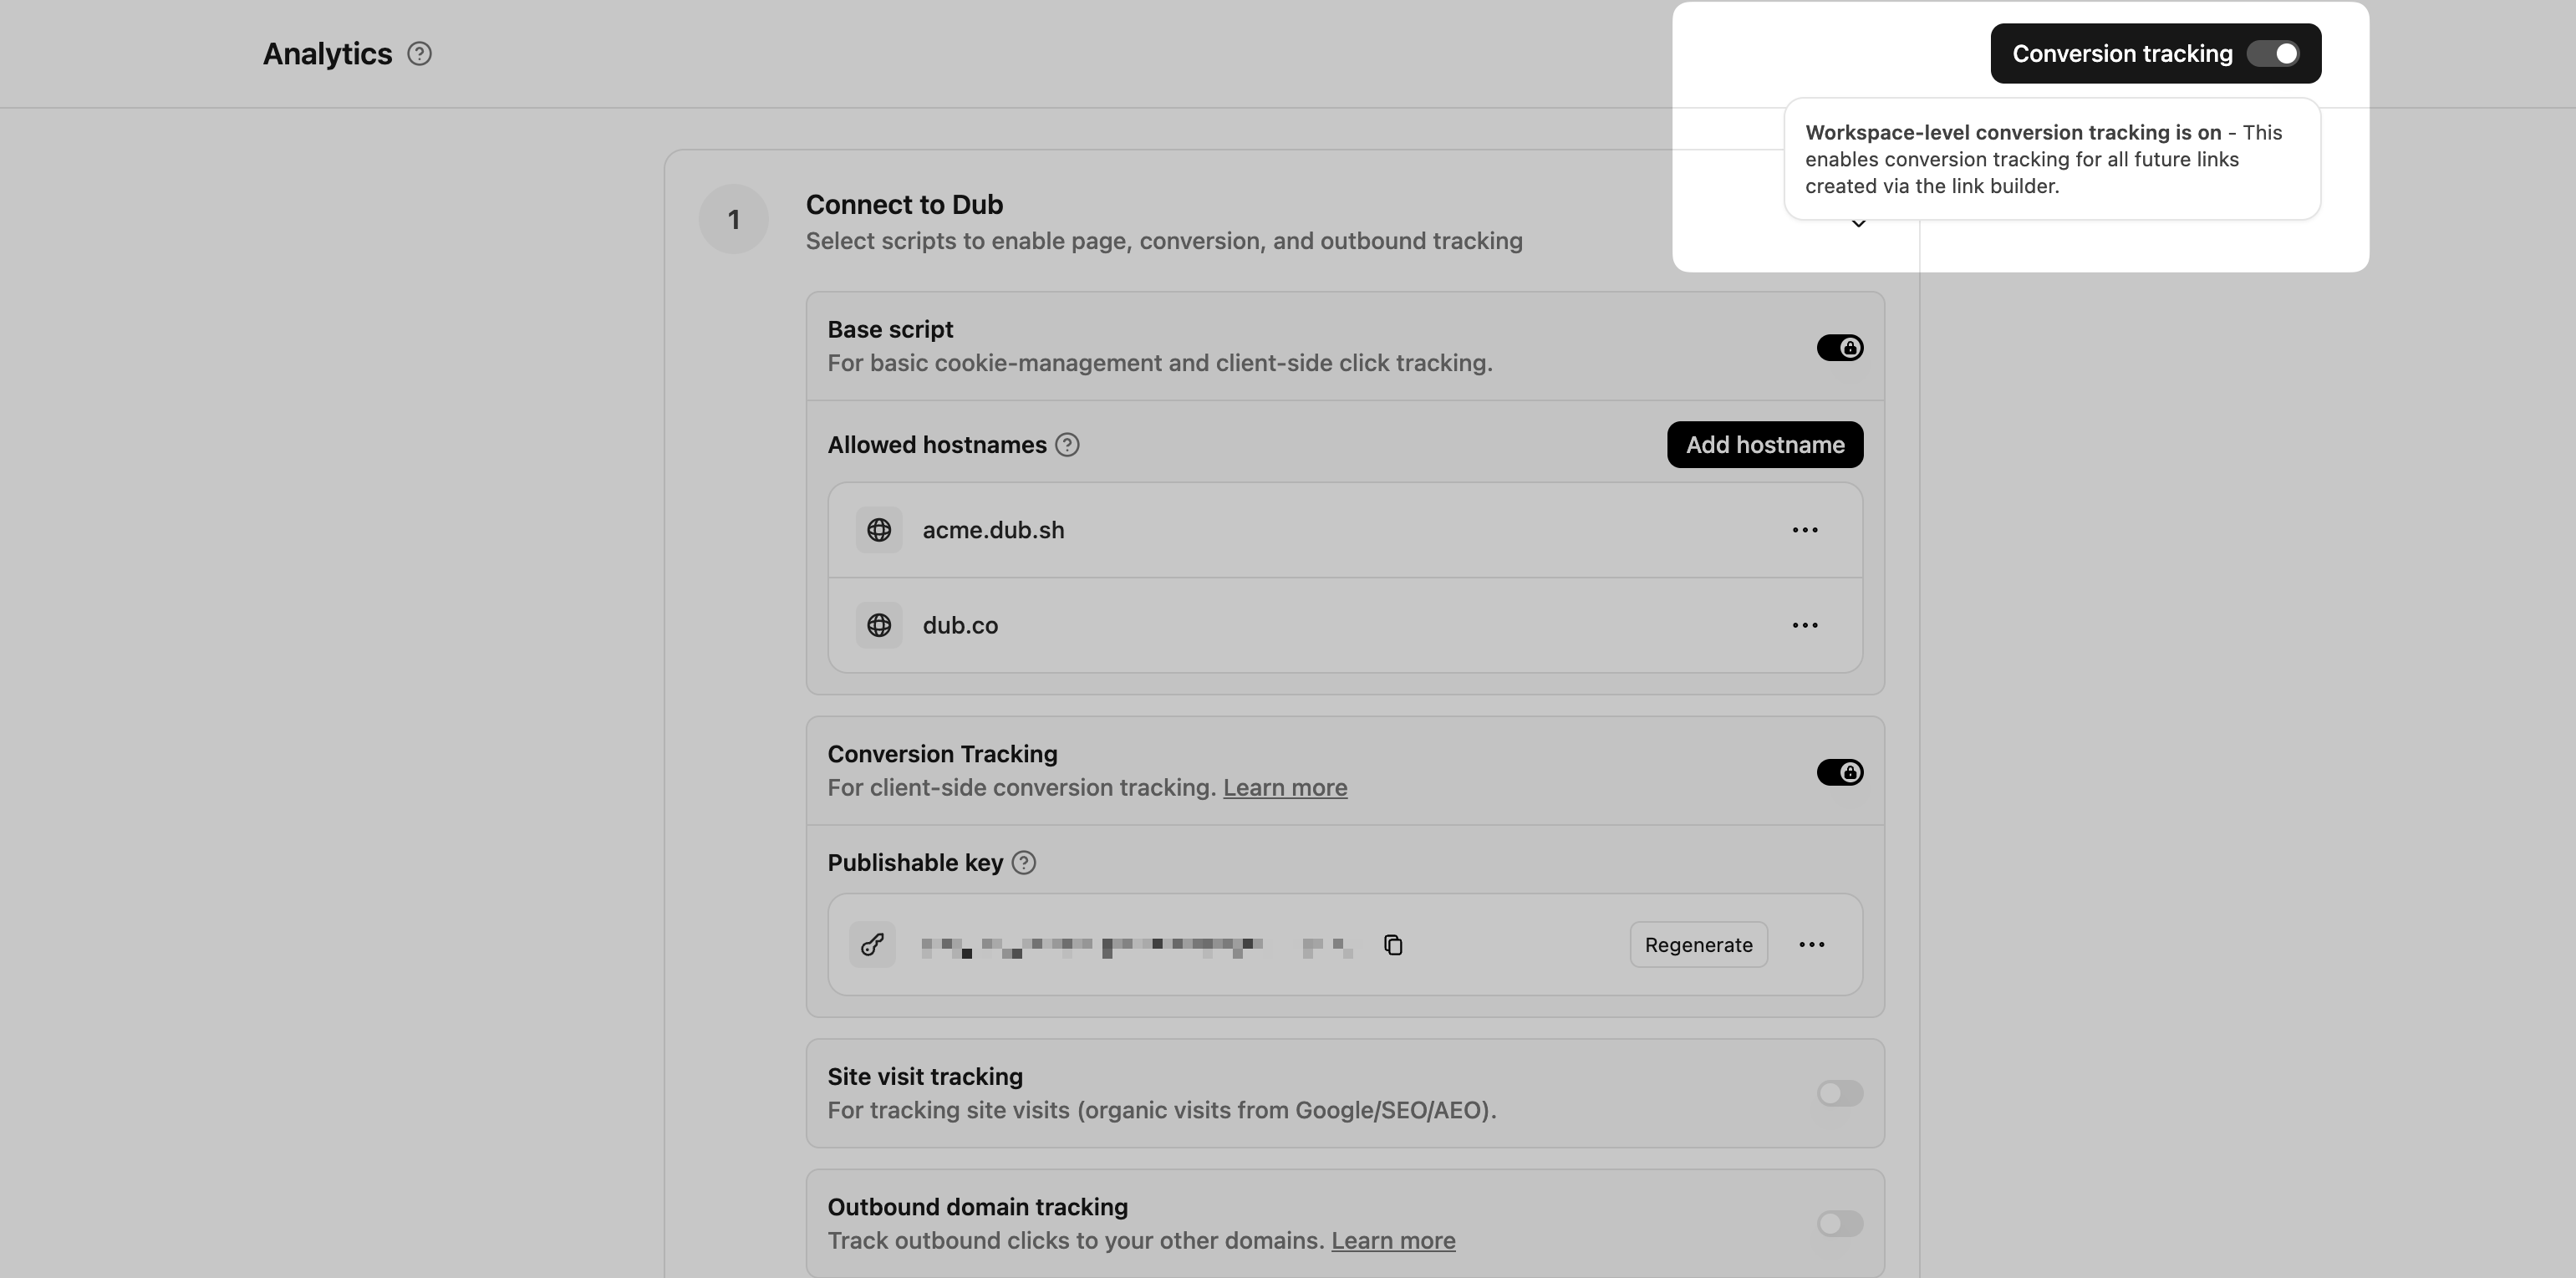
- Navigate to your workspace’s Tracking settings page.
- Toggle the Workspace-level Conversion Tracking switch to enable conversion tracking for the workspace.
Option 2: On a link-level
Option 2: On a link-level
If you don’t want to enable conversion tracking for all your links in a workspace, you can also opt to enable it on a link-level.To enable conversion tracking for a specific link, open the Dub Link Builder for a link and toggle the Conversion Tracking switch.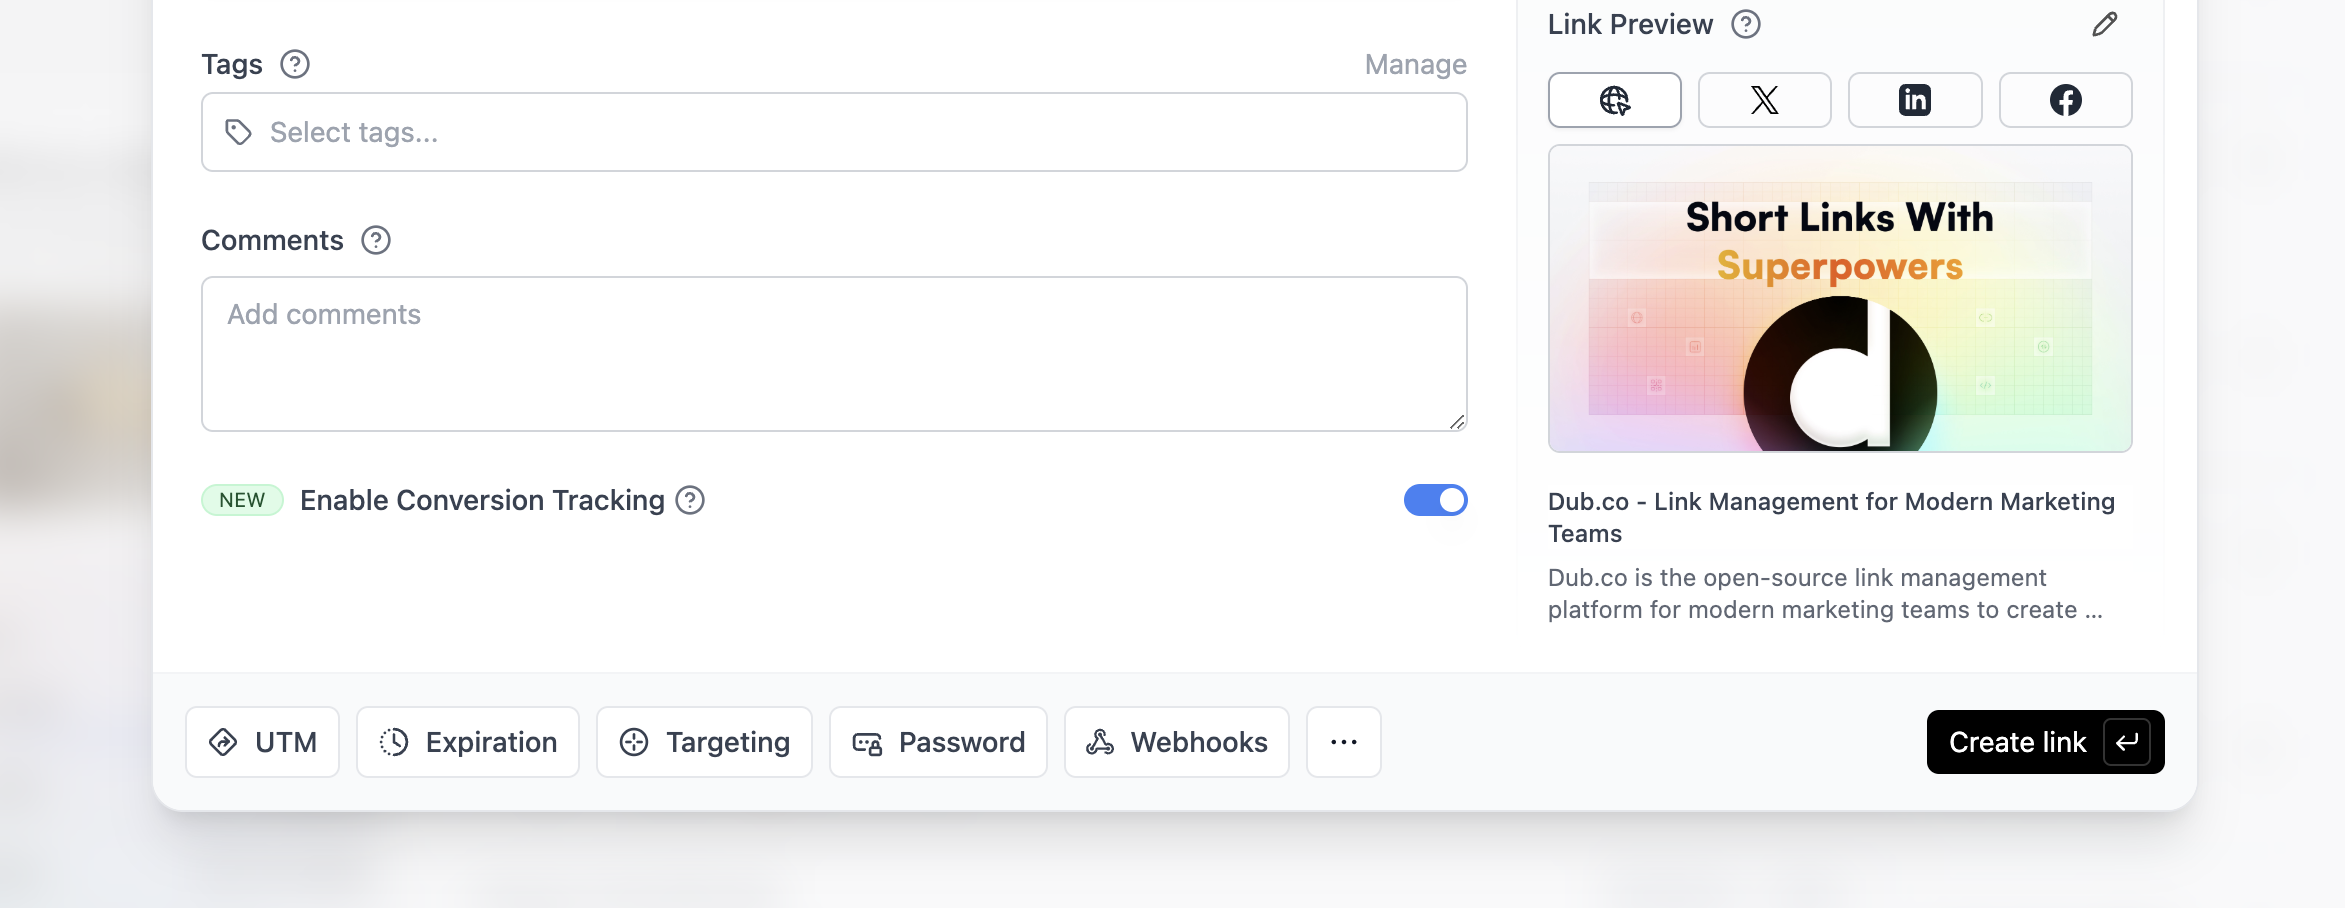
Option 3: Via the API
Option 3: Via the API
Alternatively, you can also enable conversion tracking programmatically via the Dub API. All you need to do is pass
trackConversion: true when creating or updating a link:React
Manual installation
Framer
Shopify
WordPress
Webflow
Google Tag Manager
You can verify the installation with the following tests:
- Open the browser console and type in
_dubAnalytics– if the script is installed correctly, you should see the_dubAnalyticsobject in the console. - Add the
?dub_id=testquery parameter to your website URL and make sure that thedub_idcookie is being set in your browser.
- The analytics script was added to the
<head>section of the page - If you’re using a content delivery network (CDN), make sure to purge any cached content
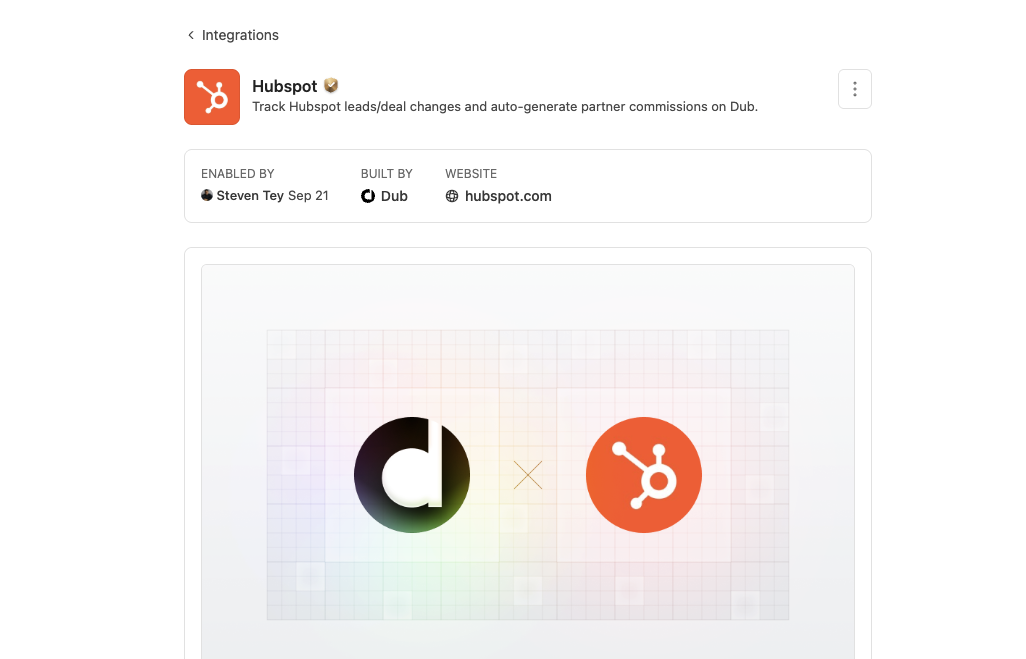
Integration Setup
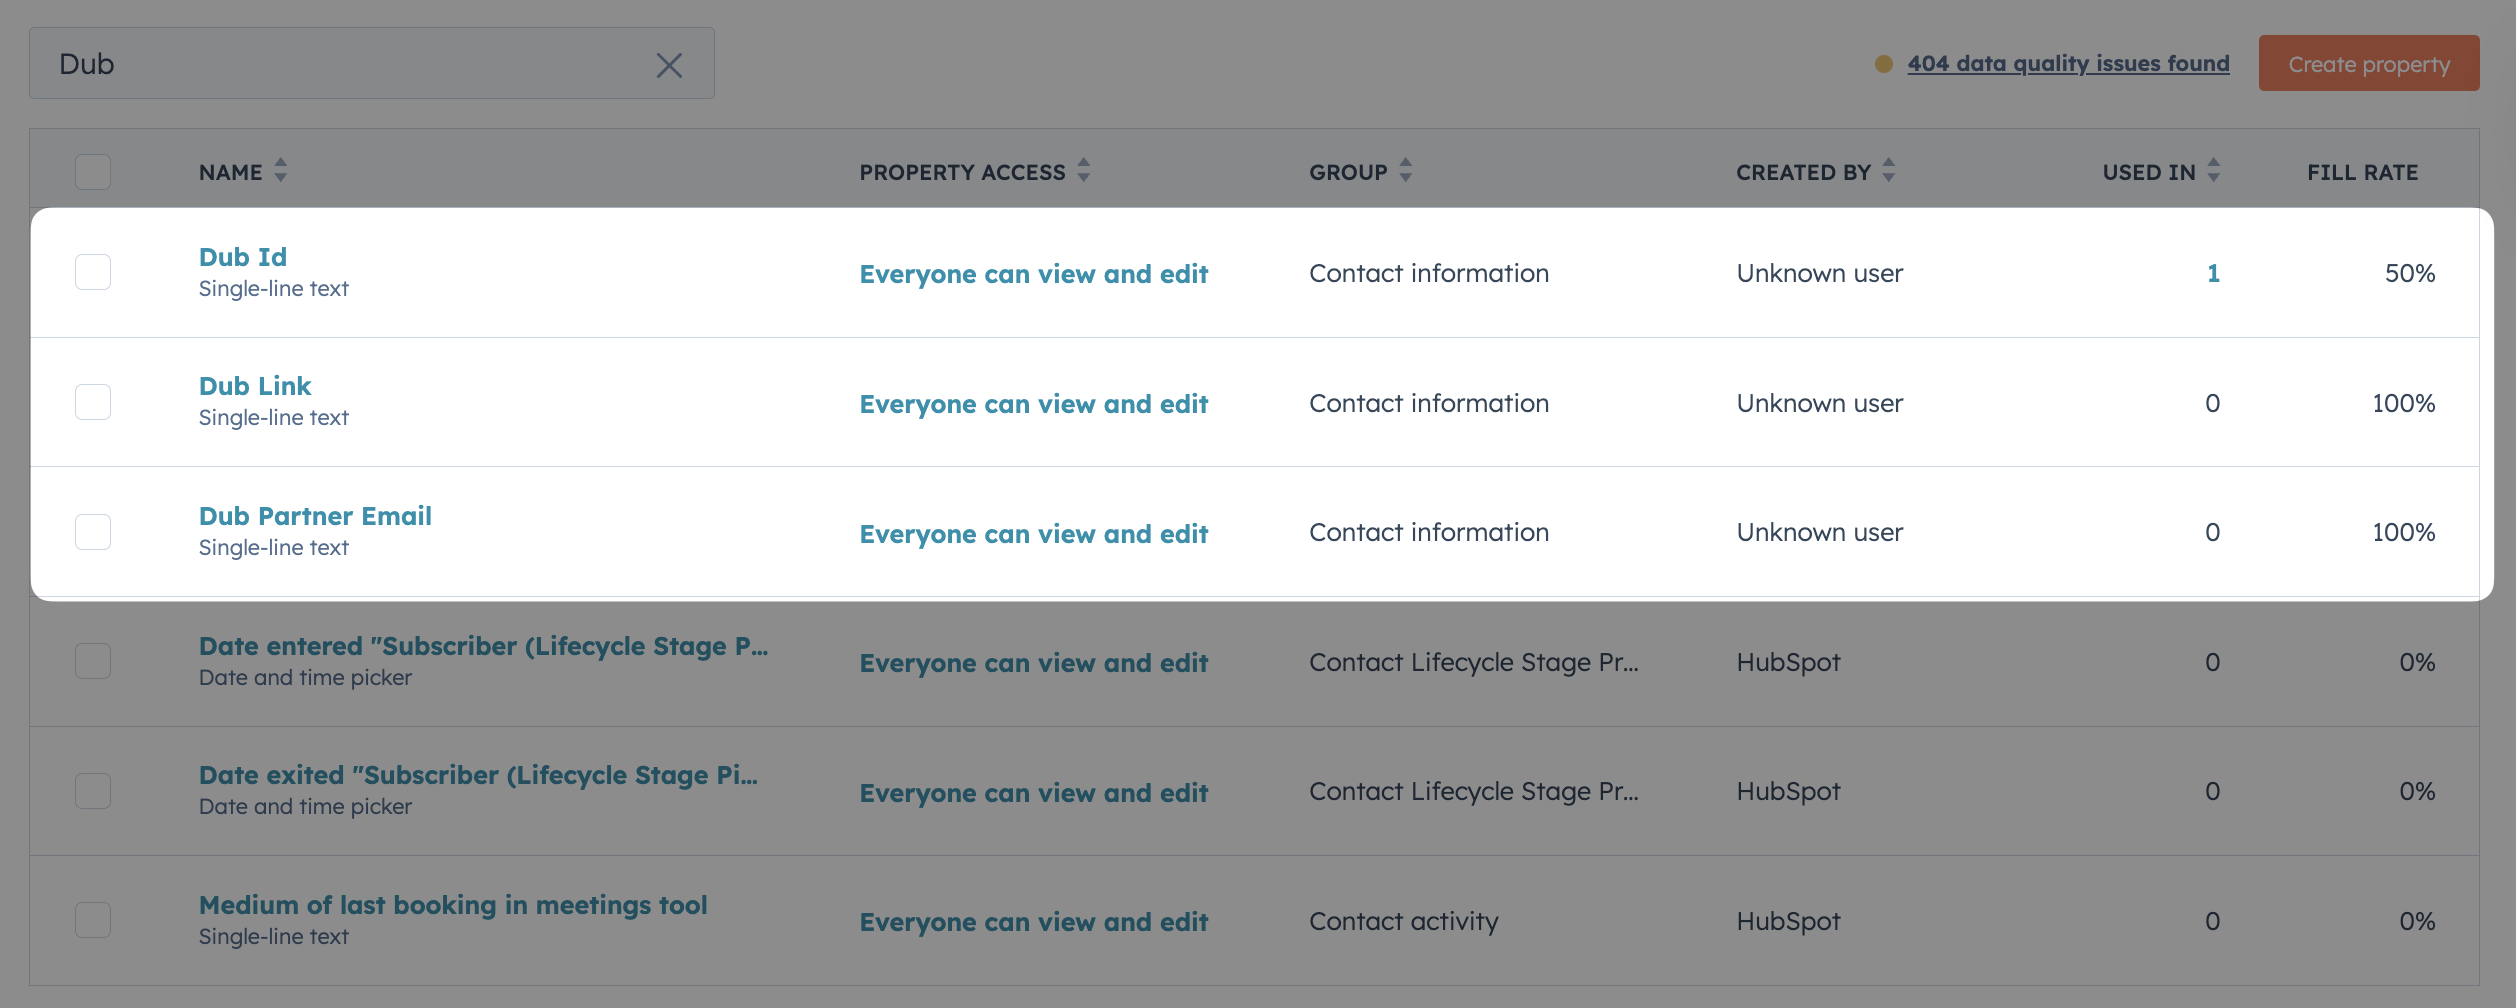
During the installation, Dub will create 3 properties to your contact object on HubSpot:- Dub Id - Unique identifier that Dub uses to track clicks
- Dub Link - The short link that the contact clicked to reach your site
- Dub Partner Email - Email address of the partner associated with the short link
Set Your Closed Won Deal Stage ID
You can define which HubSpot deal stage should be treated as Closed Won for automatic sales tracking in Dub. If you’ve customized your pipeline (i.e. changed or added deal stages in HubSpot), enter the stage ID corresponding to your custom Closed Won stage in the HubSpot Integration Settings. Once set, any HubSpot deal marked as Closed Won will automatically be tracked in Dub as a sale conversion event, including its deal value.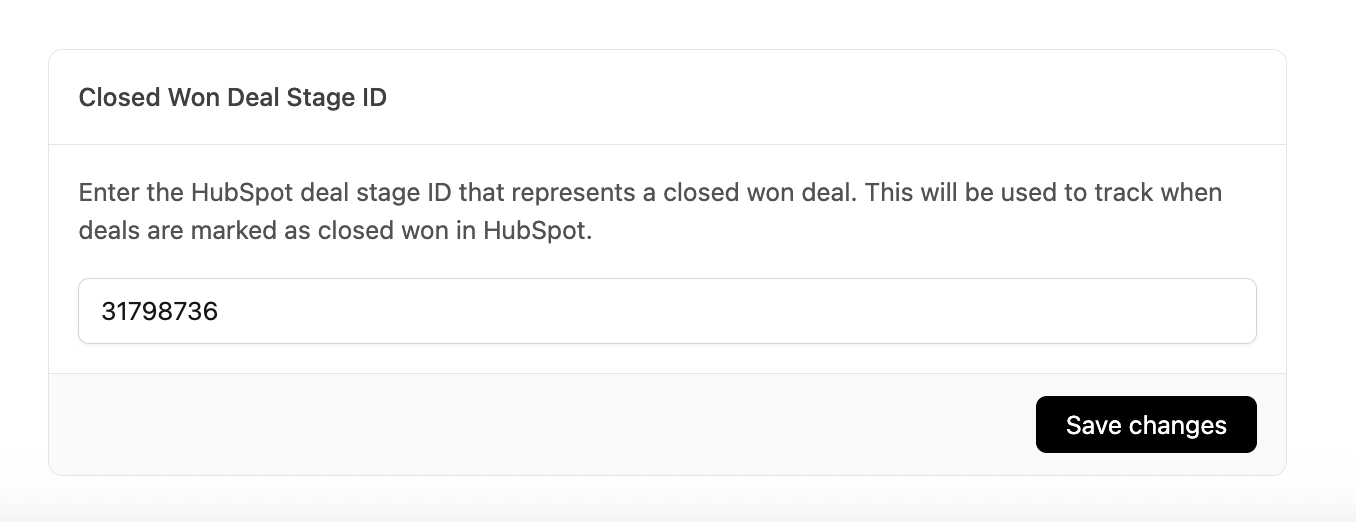
Option 1: Using HubSpot Forms
HubSpot Forms help you capture lead information and track conversions. By integrating with Dub, you can attribute each form submission back to the specific Dub link that drove the conversion. To make attribution work, you need to capture thedub_id cookie in your HubSpot form. This ensures each lead is tied back to the exact Dub link they came from.
Here’s how you can set it up:
Add a hidden field to your form
In the HubSpot form builder, add a hidden field and map it to the Dub Id contact property.This makes sure the value captured by your script is stored on the contact record. Without mapping to a property, HubSpot won’t persist the 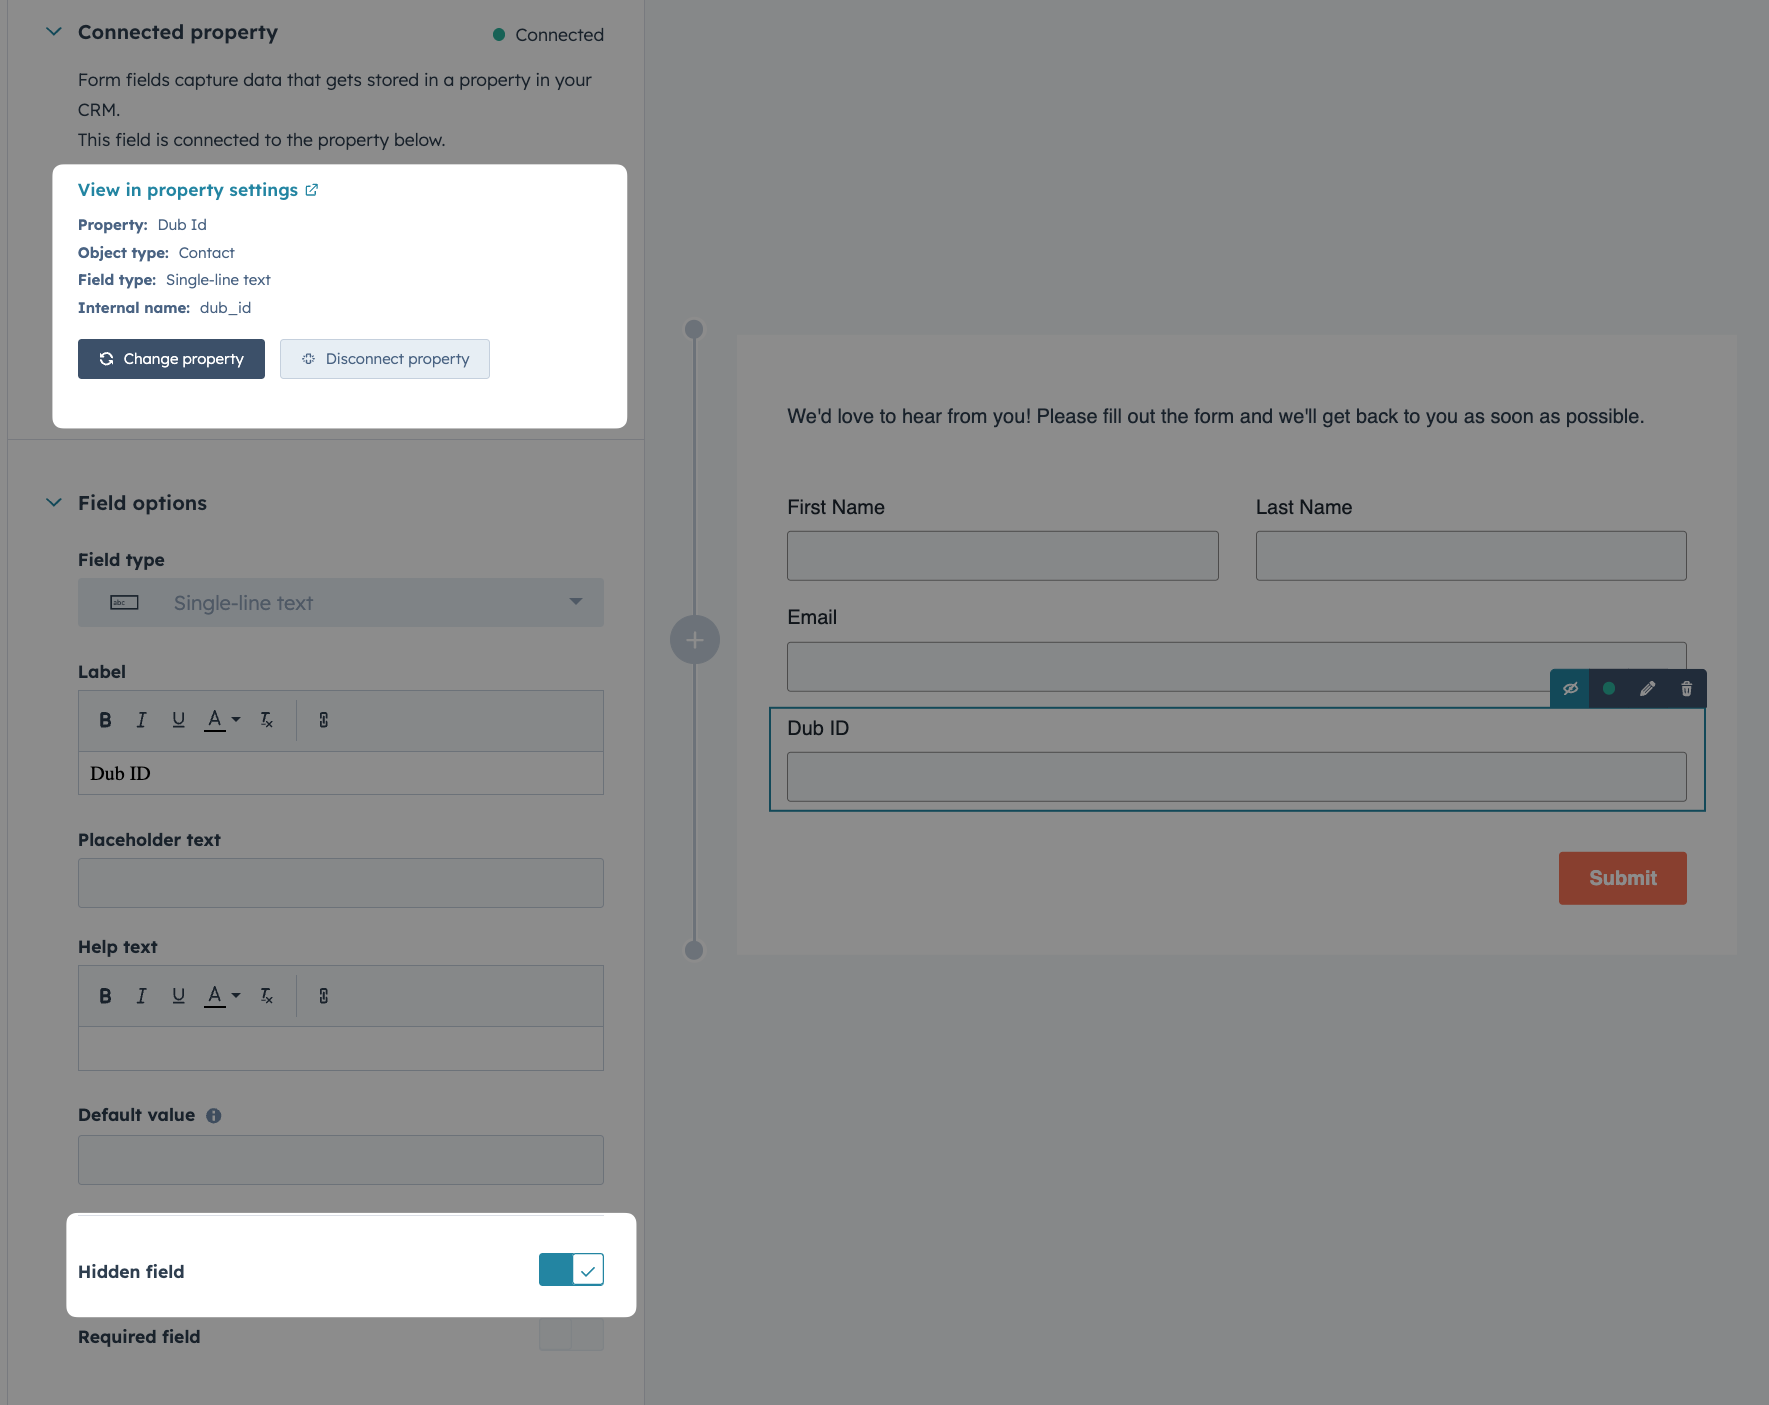
dub_id value.Add the script to your site
Finally, add the following snippet to your site. The script reads the When a prospect submits the form, the
dub_id cookie and, if found, automatically fills the hidden Dub Id form field with its value.dub_id is captured and passed to HubSpot, ensuring the lead is attributed back to the original Dub link.Option 2: Using HubSpot Meeting Scheduler
HubSpot’s Meeting Scheduler lets prospects book time directly with you or your team. Since HubSpot doesn’t let you add a hidden field to the scheduling form, you should handle initial lead tracking through deferred lead tracking on the client side.Generate your publishable key
Before you can track conversions on the client-side, you need to generate a publishable key from your Dub workspace.To do that, navigate to your workspace’s Tracking settings page and generate a new publishable key under the Publishable Key section.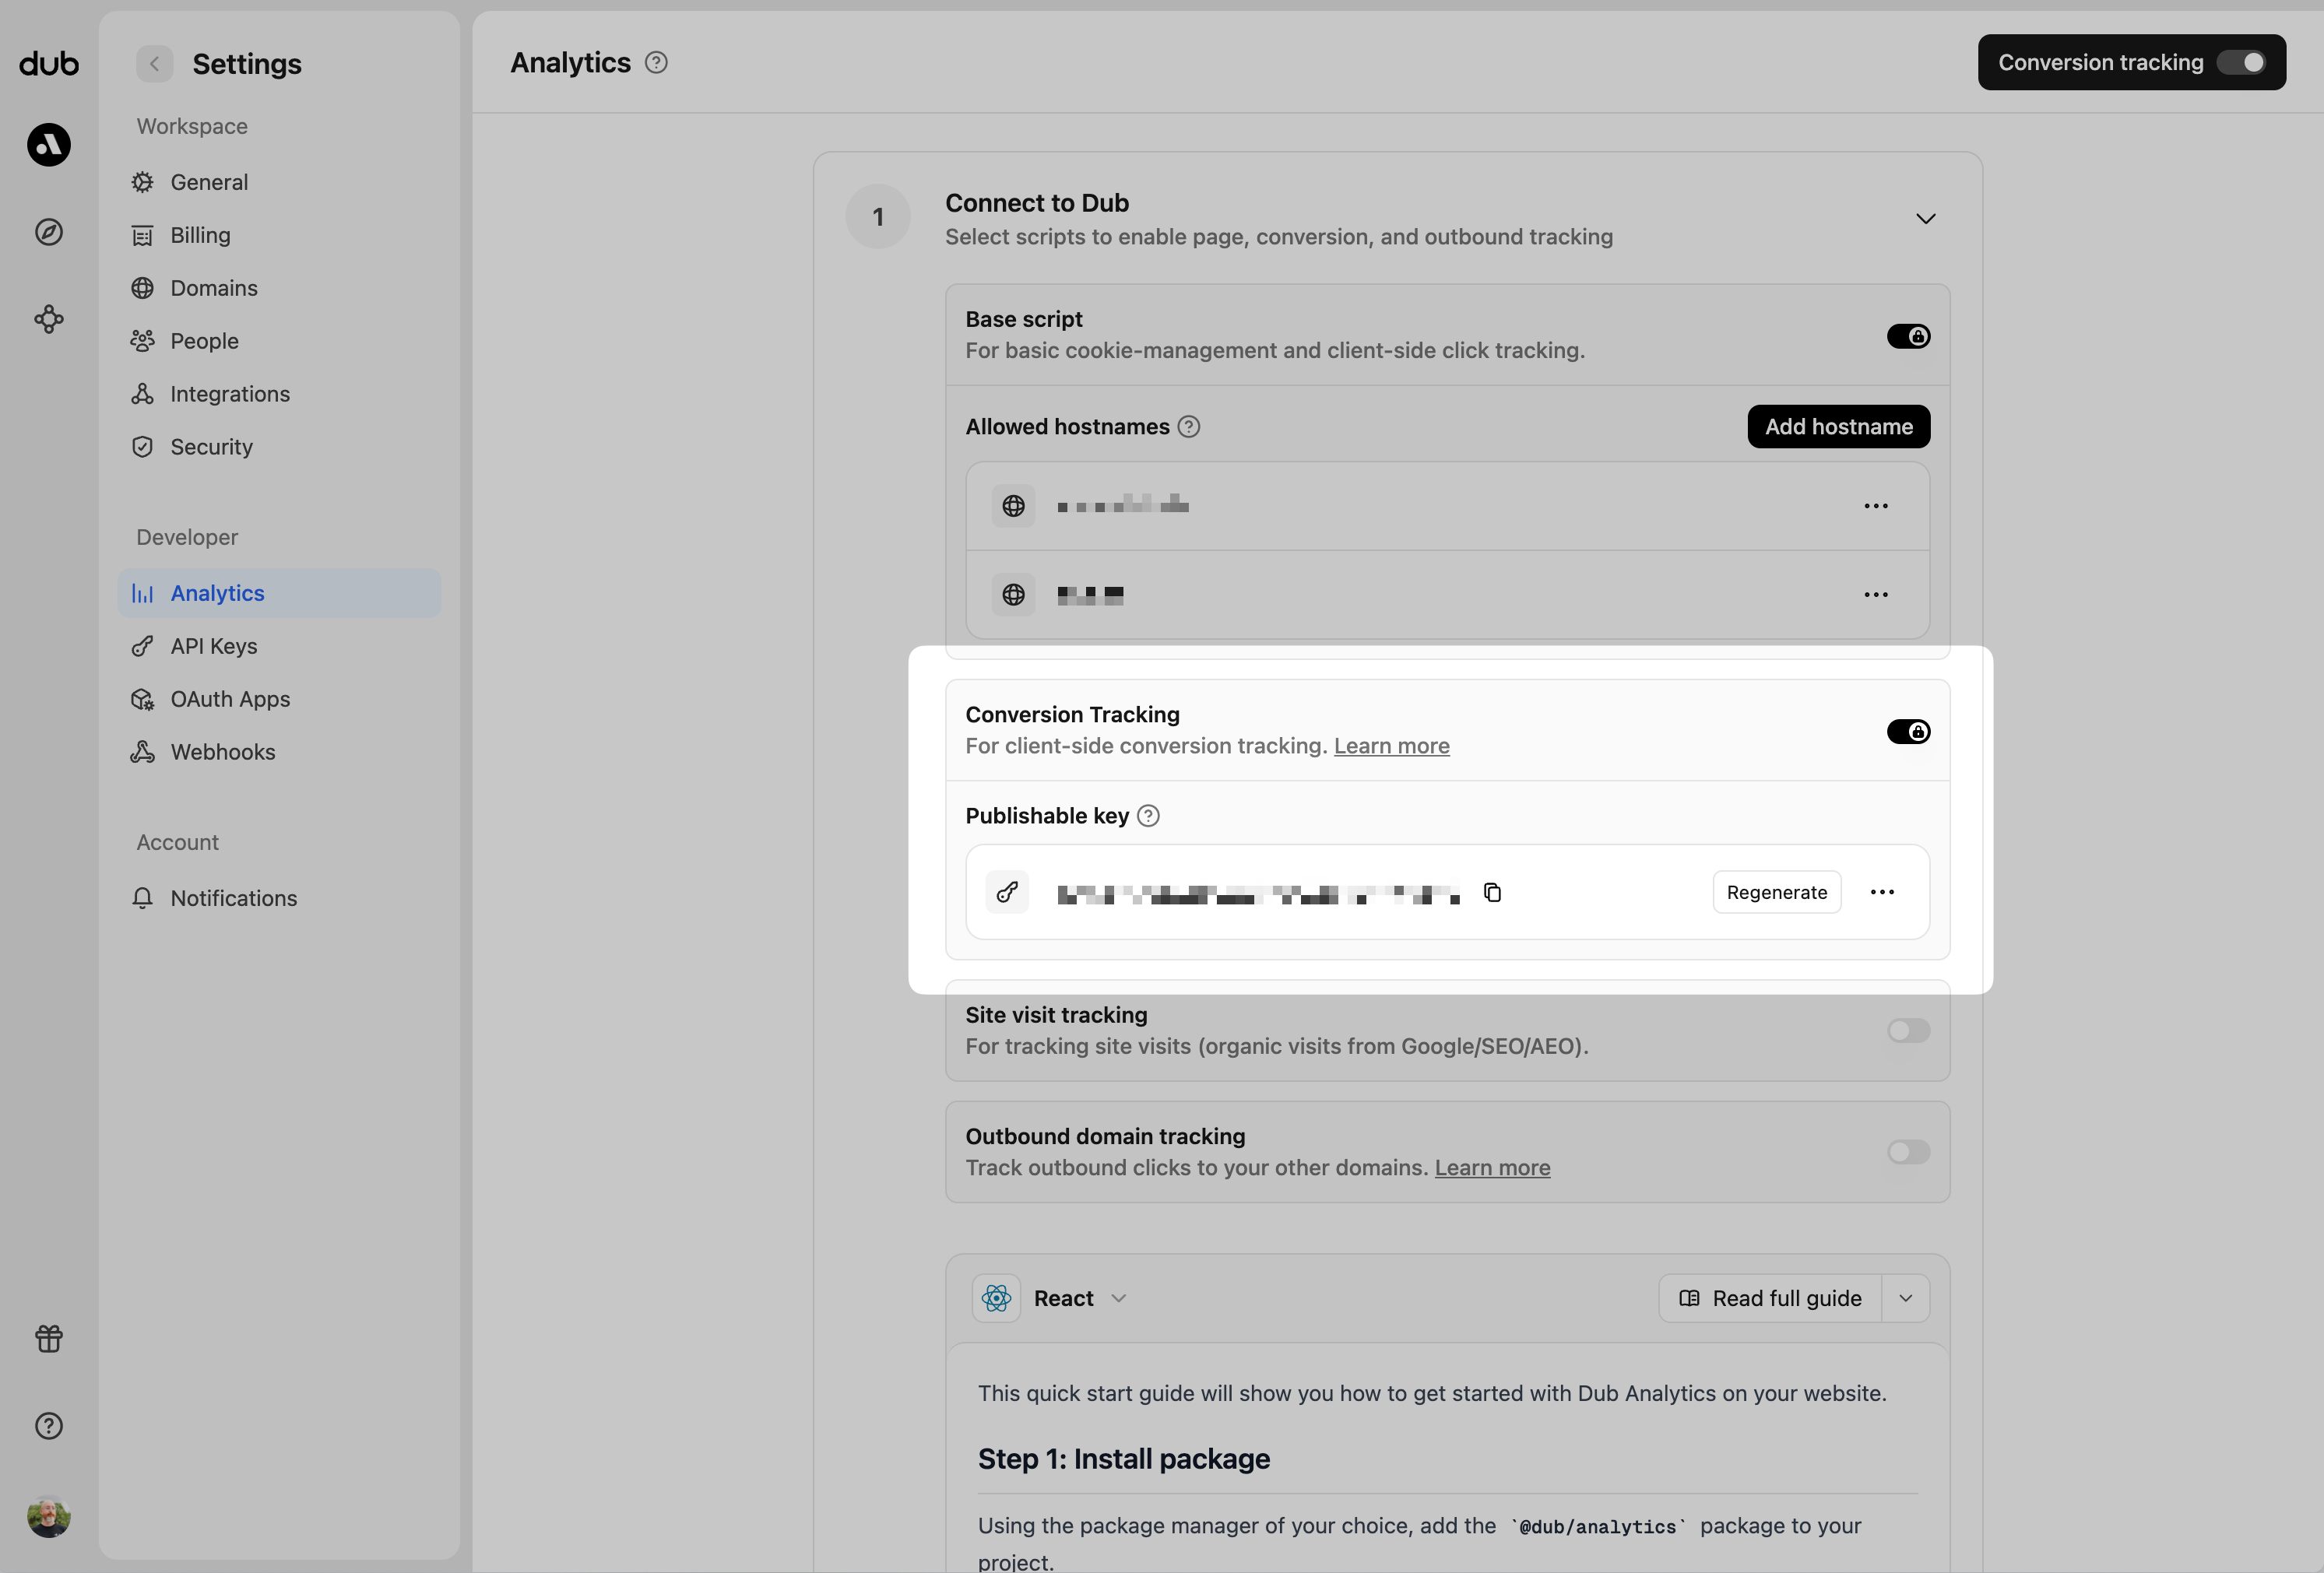
Allowlist your site's domain
Then, you’ll need to allowlist your site’s domain to allow the client-side conversion events to be ingested by Dub.To do that, navigate to your workspace’s Tracking settings page and add your site’s domain to the Allowed Hostnames list.This provides an additional layer of security by ensuring only authorized domains can track conversions using your publishable key.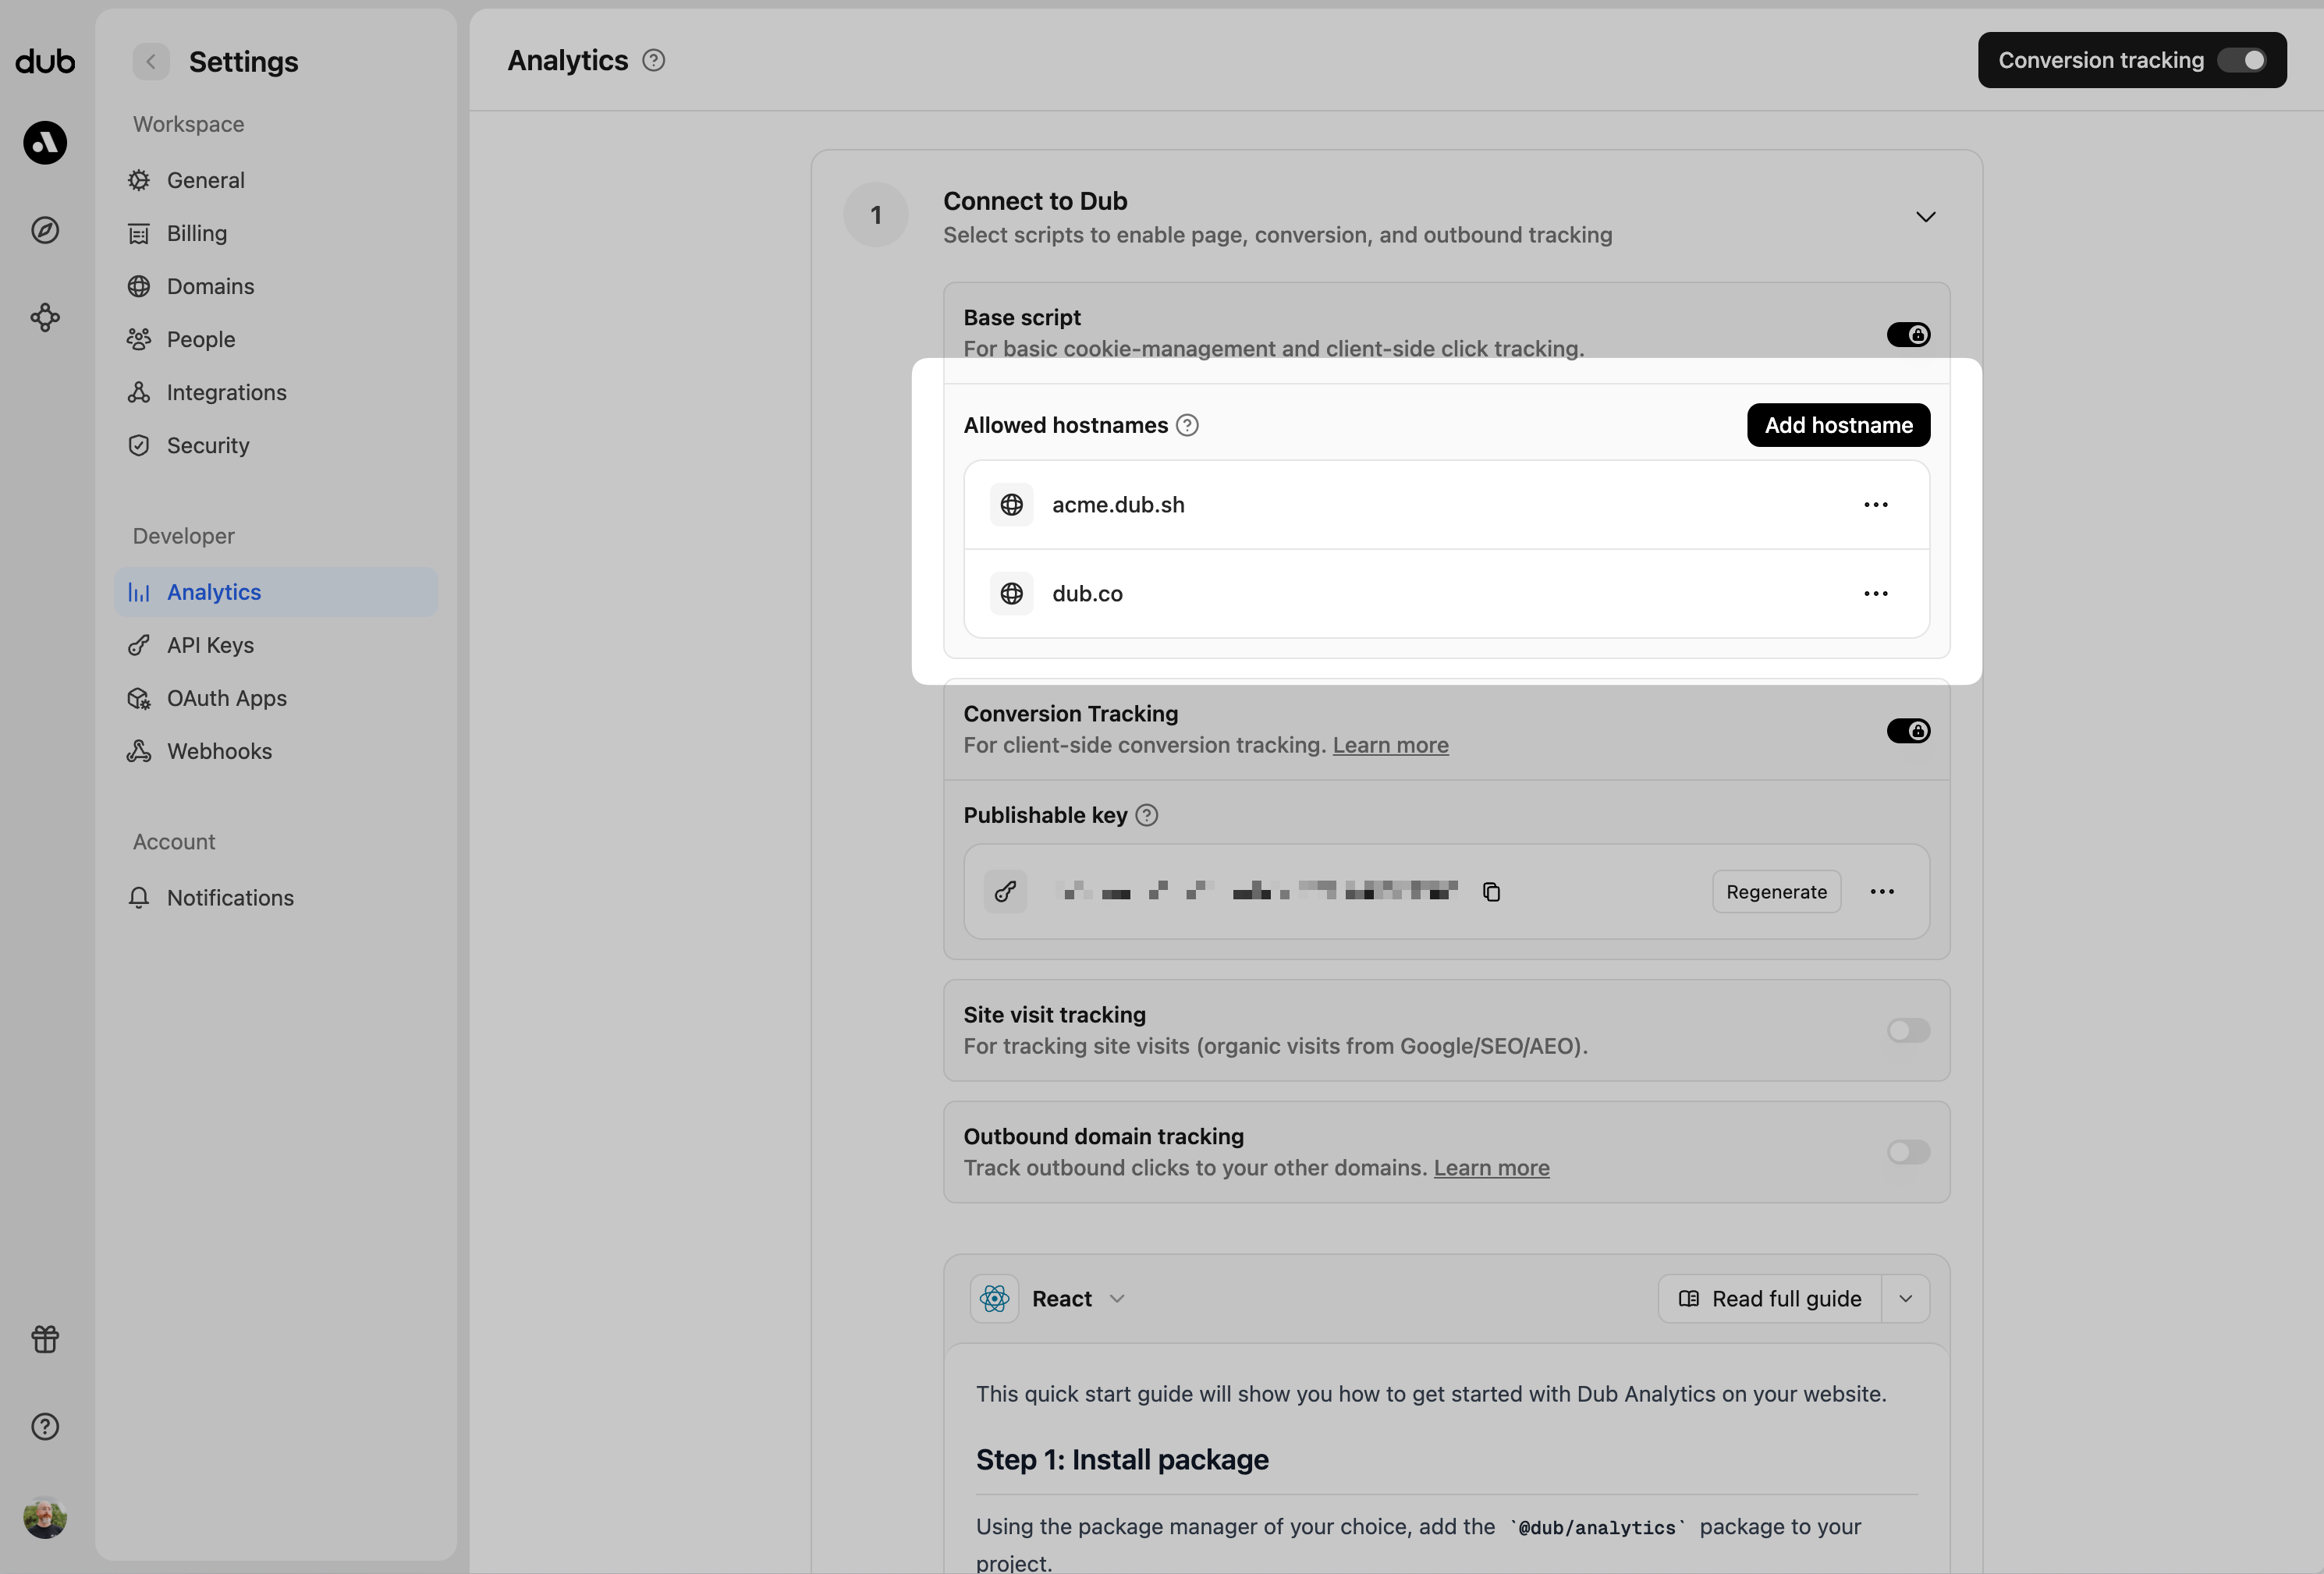
example.com: Tracks traffic only fromexample.com.*.example.com: Tracks traffic from all subdomains ofexample.com, but not fromexample.comitself.
Add the tracking code to your site
Use the following code to track lead conversions when meetings are booked through the HubSpot scheduler.The script listens for booking events from HubSpot, extracts the customer’s details (name and email), and then calls
dubAnalytics.trackLead() with deferred lead tracking.This way, the lead is only tracked after the meeting is confirmed, ensuring accurate attribution.Tracking conversion events
After a prospect attends your demo call, you’ll typically create a deal in HubSpot to track the sales opportunity. Dub’s HubSpot integration automatically sets up webhooks to track both deal creation and deal closure events, providing complete visibility into your sales funnel.When a deal is created (lead event)
When you create a deal in HubSpot for a contact who came through your Dub links, the integration automatically tracks this as a lead event in Dub.When a deal is closed (sale event)
When a deal moves to a Closed Won status in HubSpot, the integration automatically tracks a sale event in Dub using the deal amount as the sale value. If a deal is not being tracked as a sale in Dub, make sure you’ve set the correct Closed Won Deal Stage ID in your HubSpot Integration Settings.Example apps
Dub + HubSpot Demo App
See the full example on GitHub.