


Prerequisites
Before you begin, make sure you have the following:- A GitHub account
- A Tinybird account
- An Upstash account
- A PlanetScale account
- A Vercel account
- Either a Cloudflare or AWS account
acme.com as a placeholder for your custom domain, and ac.me as a placeholder for your custom short domain.
Step 1: Local setup
First, you’ll need to clone the Dub repo and install the dependencies.1
Clone the repo
First, clone the Dub repo into a public GitHub repository. If you are planning to distribute the code or allow users to interact with the code remotely (e.g., as part of a hosted application), make sure to provide source access (including modifications) as required by the AGPLv3 license.
Terminal
2
Install dependencies
Run the following command to install the dependencies:
Terminal
3
Remove unnecessary files
Delete the
apps/web/vercel.json file since cron jobs are not required for the self-hosted version:Terminal
4
Set up environment variables
Convert the You will fill in the remaining environment variables in the following steps.
.env.example file to .env. You can start filling in the first few environment variables:Terminal
Step 2: Set up Tinybird Clickhouse database
Next, you’ll need to set up the Tinybird Clickhouse database. This will be used to store time-series click events data.1
Create Tinybird Workspace
In your Tinybird account, create a new Workspace.Copy your
admin Auth Token. Paste this token as the TINYBIRD_API_KEY environment variable in your .env file.2
Install Tinybird CLI and authenticate
In your newly-cloned Dub repo, navigate to the
packages/tinybird directory.Install the Tinybird CLI with pip install tinybird-cli (requires Python >= 3.8).Run tb login and paste your admin Auth Token.3
Publish Tinybird datasource and endpoints
Run
tb deploy to publish the datasource and endpoints in the packages/tinybird directory. You should see the following output (truncated for brevity):Terminal
4
Set up Tinybird API base URL
You will then need to update your Tinybird API base URL to match the region of your database.From the previous step, take note of the Test endpoint URL. It should look something like this:Copy the base URL and paste it as the
Terminal
TINYBIRD_API_URL environment variable in your .env file.Terminal
Step 3: Set up Upstash Redis database
Next, you’ll need to set up the Upstash Redis database. This will be used to cache link metadata and serve link redirects.1
Create Upstash database
In your Upstash account, create a new database.For better performance & read times, we recommend setting up a global database with several read regions.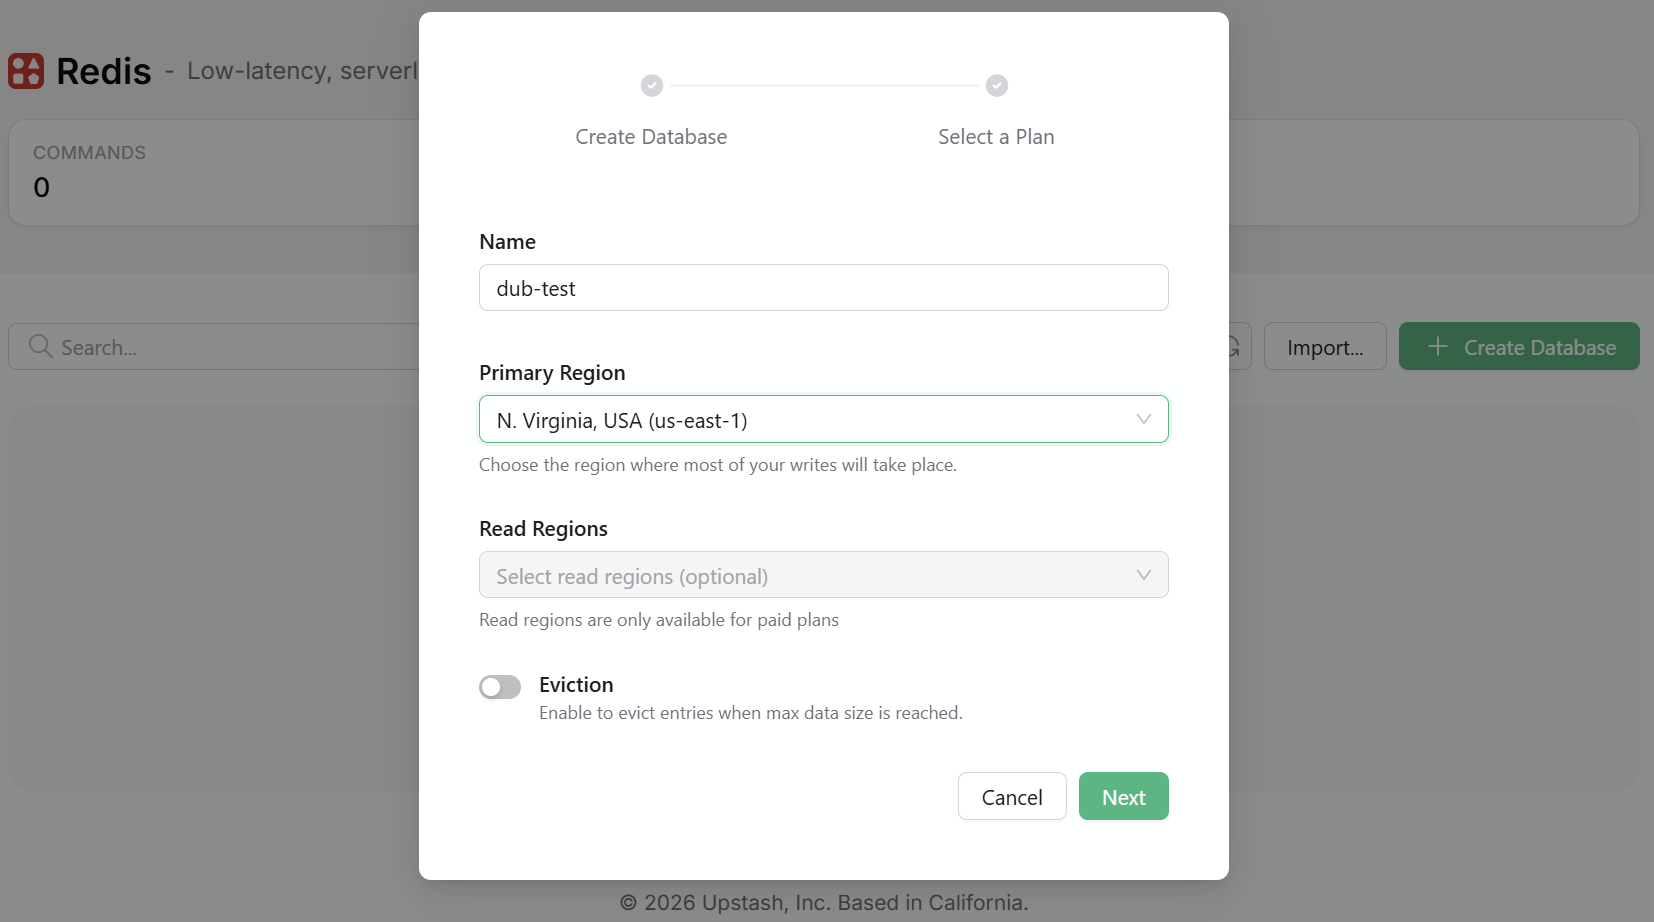
2
Set up Upstash environment variables
Once your database is created, copy the 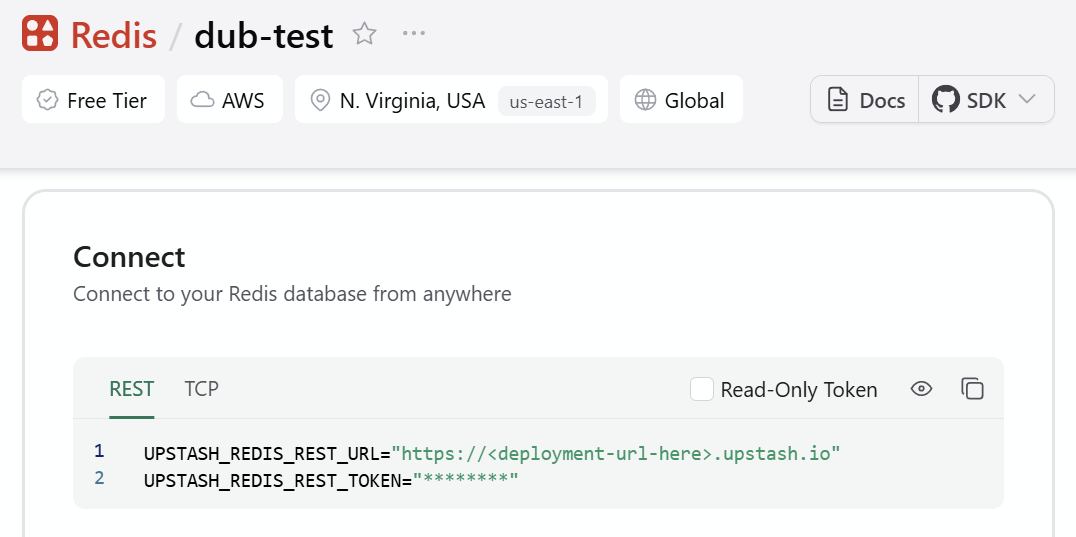
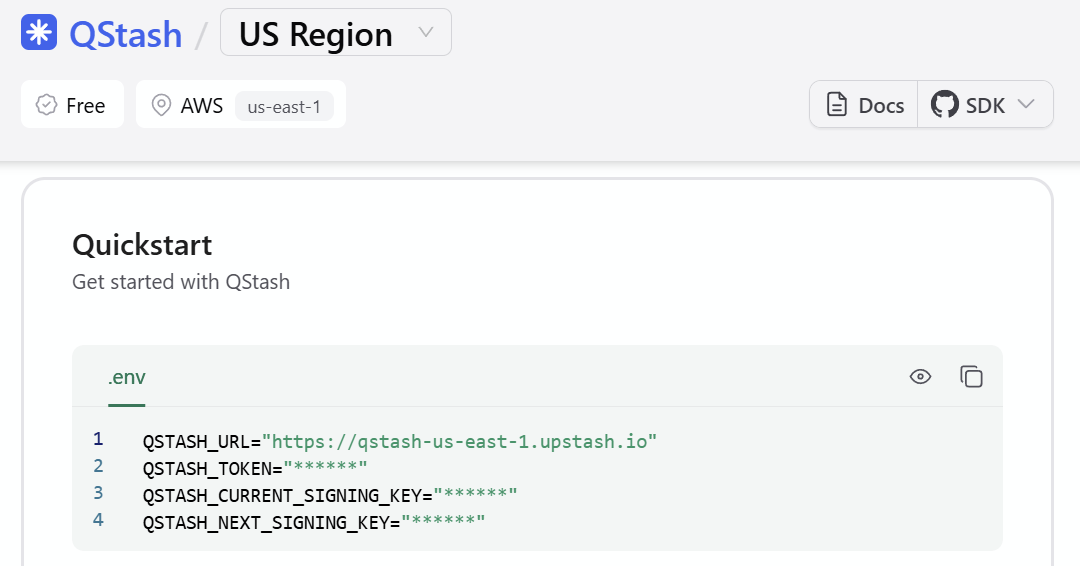
UPSTASH_REDIS_REST_URL and UPSTASH_REDIS_REST_TOKEN from the REST API section into your .env file.QSTASH_TOKEN, QSTASH_CURRENT_SIGNING_KEY, and QSTASH_NEXT_SIGNING_KEY from the Request Builder section into your .env file.Step 4: Set up PlanetScale MySQL database
Next, you’ll need to set up a PlanetScale-compatible MySQL database. This will be used to store user data and link metadata.PlanetScale recently removed their free
tier, so you’ll need to pay
for this option. A cheaper alternative is to use a MySQL database on
Railway ($5/month).For local development, we recommend using a local MySQL database
with PlanetScale simulator (100% free).
1
Create PlanetScale database
In your PlanetScale account, create a new database.Once your database is created, you’ll be prompted to select your language or Framework. Select Prisma.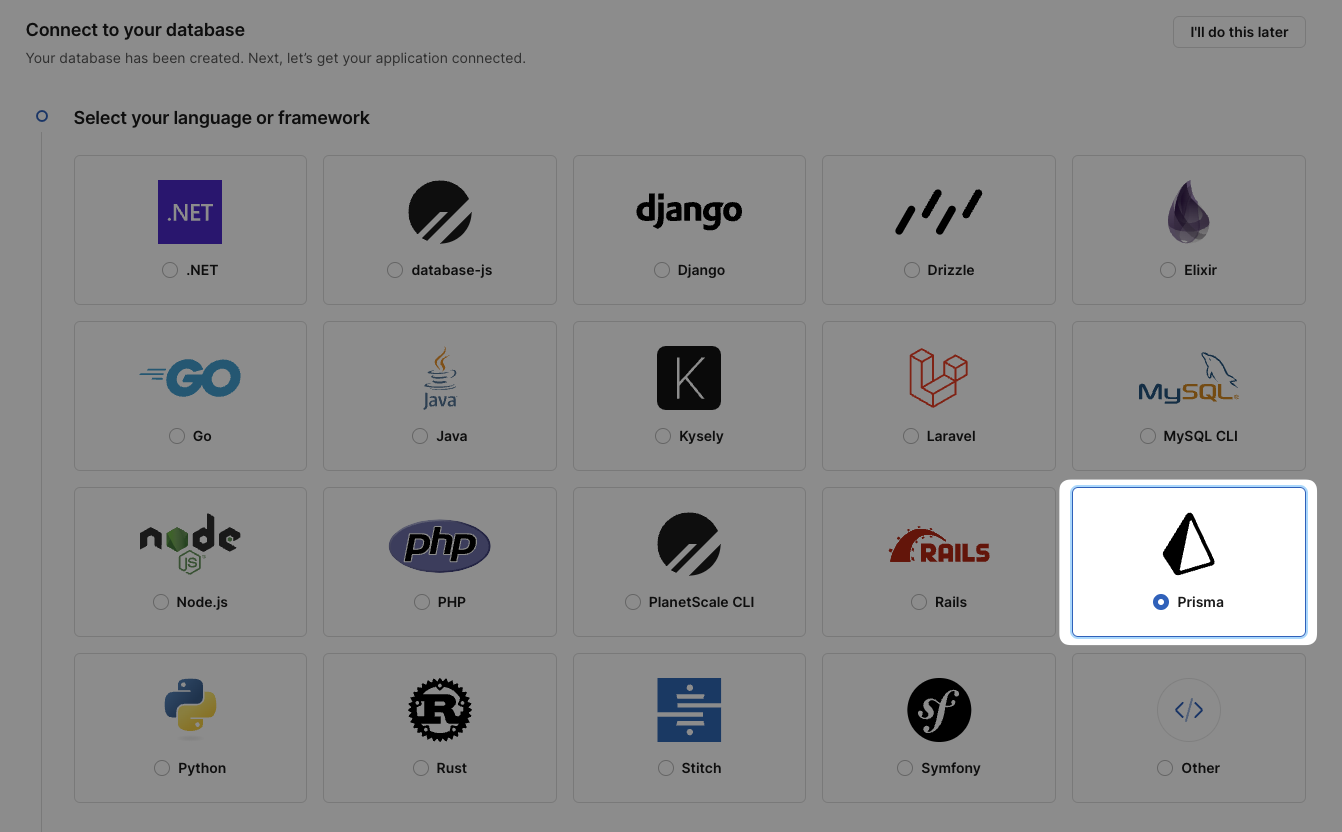
2
Set up PlanetScale environment variables
Then, you’ll have to create a new password for your database. Once the password is created, scroll down to the Add credentials to .env section and copy the 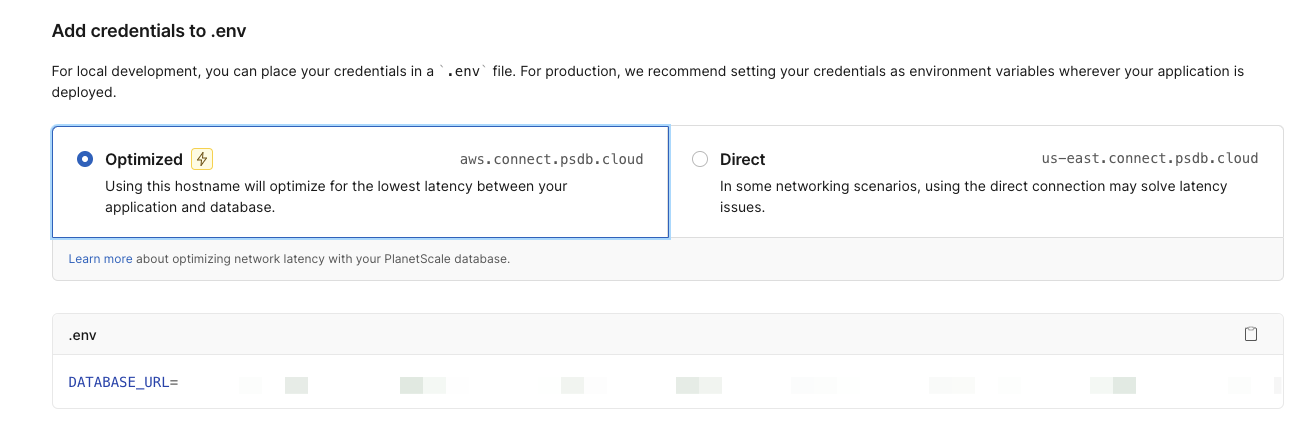
DATABASE_URL into your .env file.3
Generate Prisma client and create database tables
In your Dub codebase, navigate to In the terminal, navigate to the Then, create the database tables with the following command:
apps/web/prisma/schema.prisma and replace all the columns in the DefaultDomains model to the normalized version of your custom short domain (removing the . character).For example, if your custom short domain is ac.me, your DefaultDomains model should look like this:apps/web/prisma/schema.prisma
apps/web directory and run the following command to generate the Prisma client:Terminal
Terminal
Step 5: Set up GitHub OAuth
Next, create a new GitHub App. This will allow you to sign in to Dub with your GitHub account. Don’t forget to set the following Callback URLs:https://app.acme.com/api/auth/callback/githubhttp://localhost:8888/api/auth/callback/githubfor local development.
Optional: Set the “Email addresses” account permission to read-only in
order to access private email addresses on GitHub.
Client ID and Client Secret into your .env file as the GITHUB_CLIENT_ID and GITHUB_CLIENT_SECRET environment variables.
Step 6: Set up Cloudflare R2
Dub stores user-generated assets in either S3 or S3-compatible services like Cloudflare R2. These include:- Project logos
- User avatars
- Custom Social Media Cards images
1
Create R2 bucket
You’ll need to subscribe to the R2 service if you haven’t already.
dubassets) and leaving the remaining settings as is.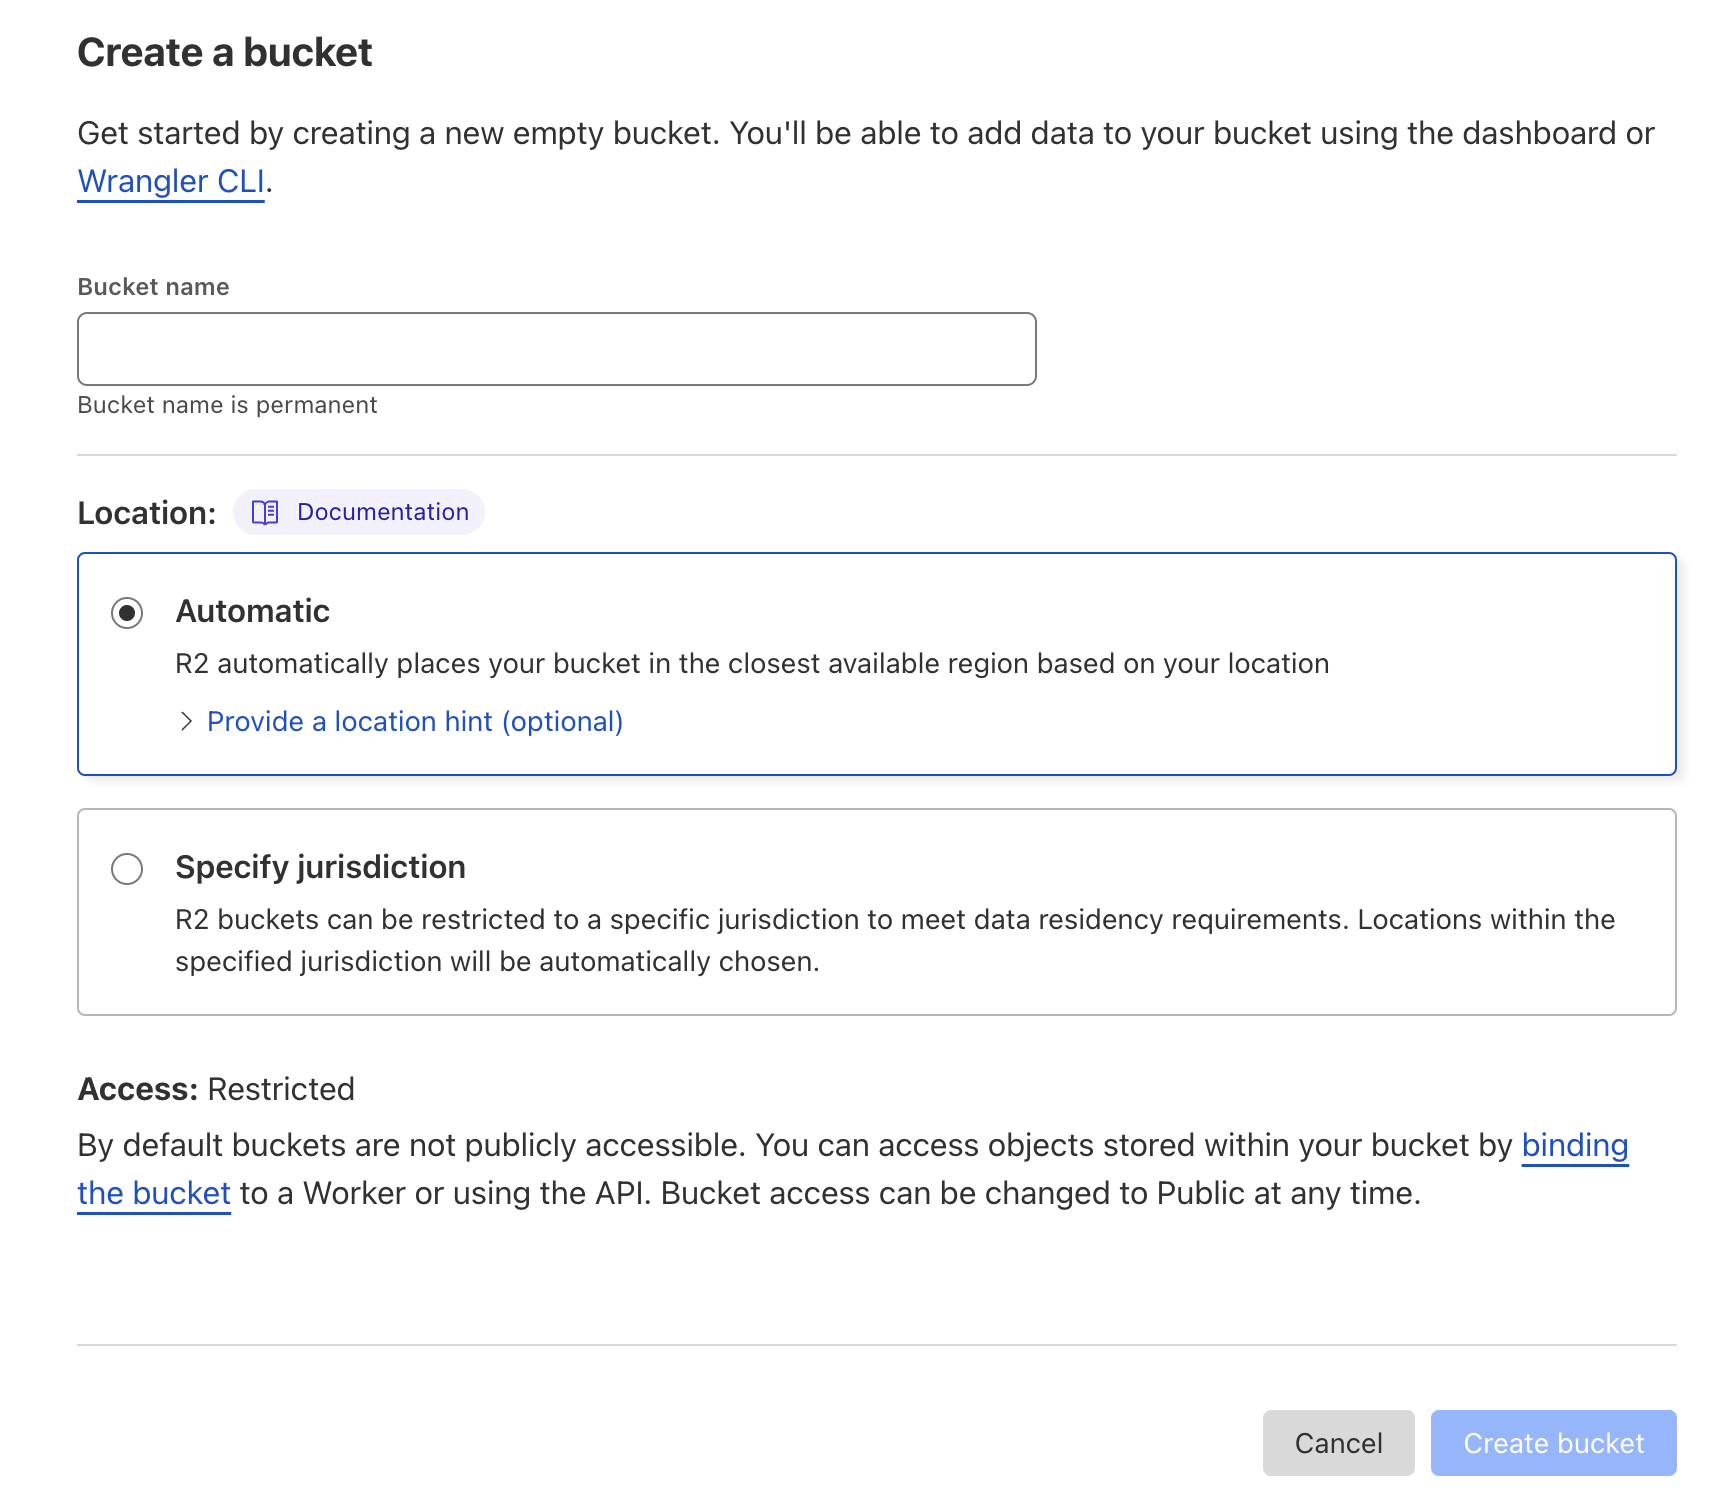
2
Set up access to R2
From the R2 main page, click Manage R2 API Tokens on the right-hand column.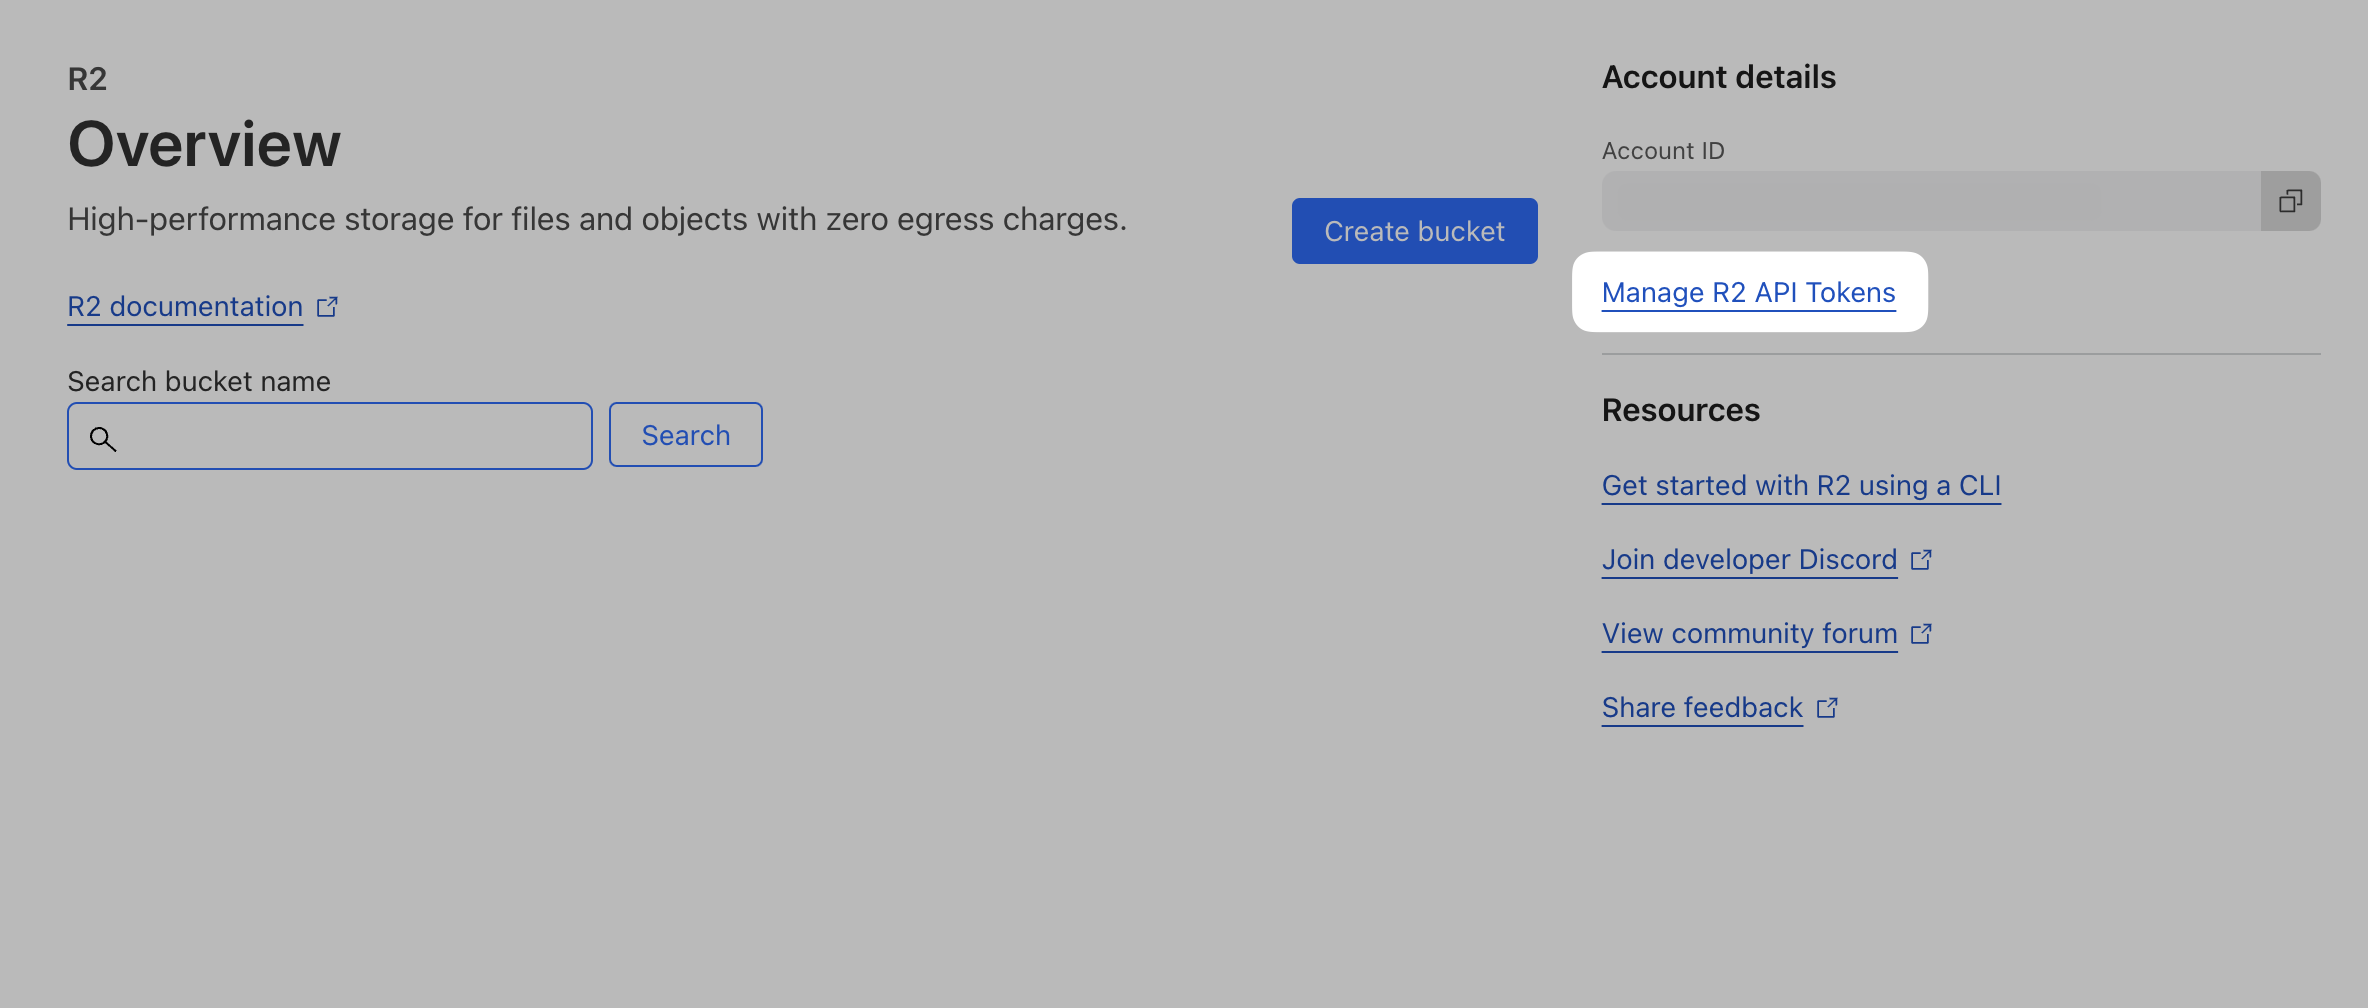
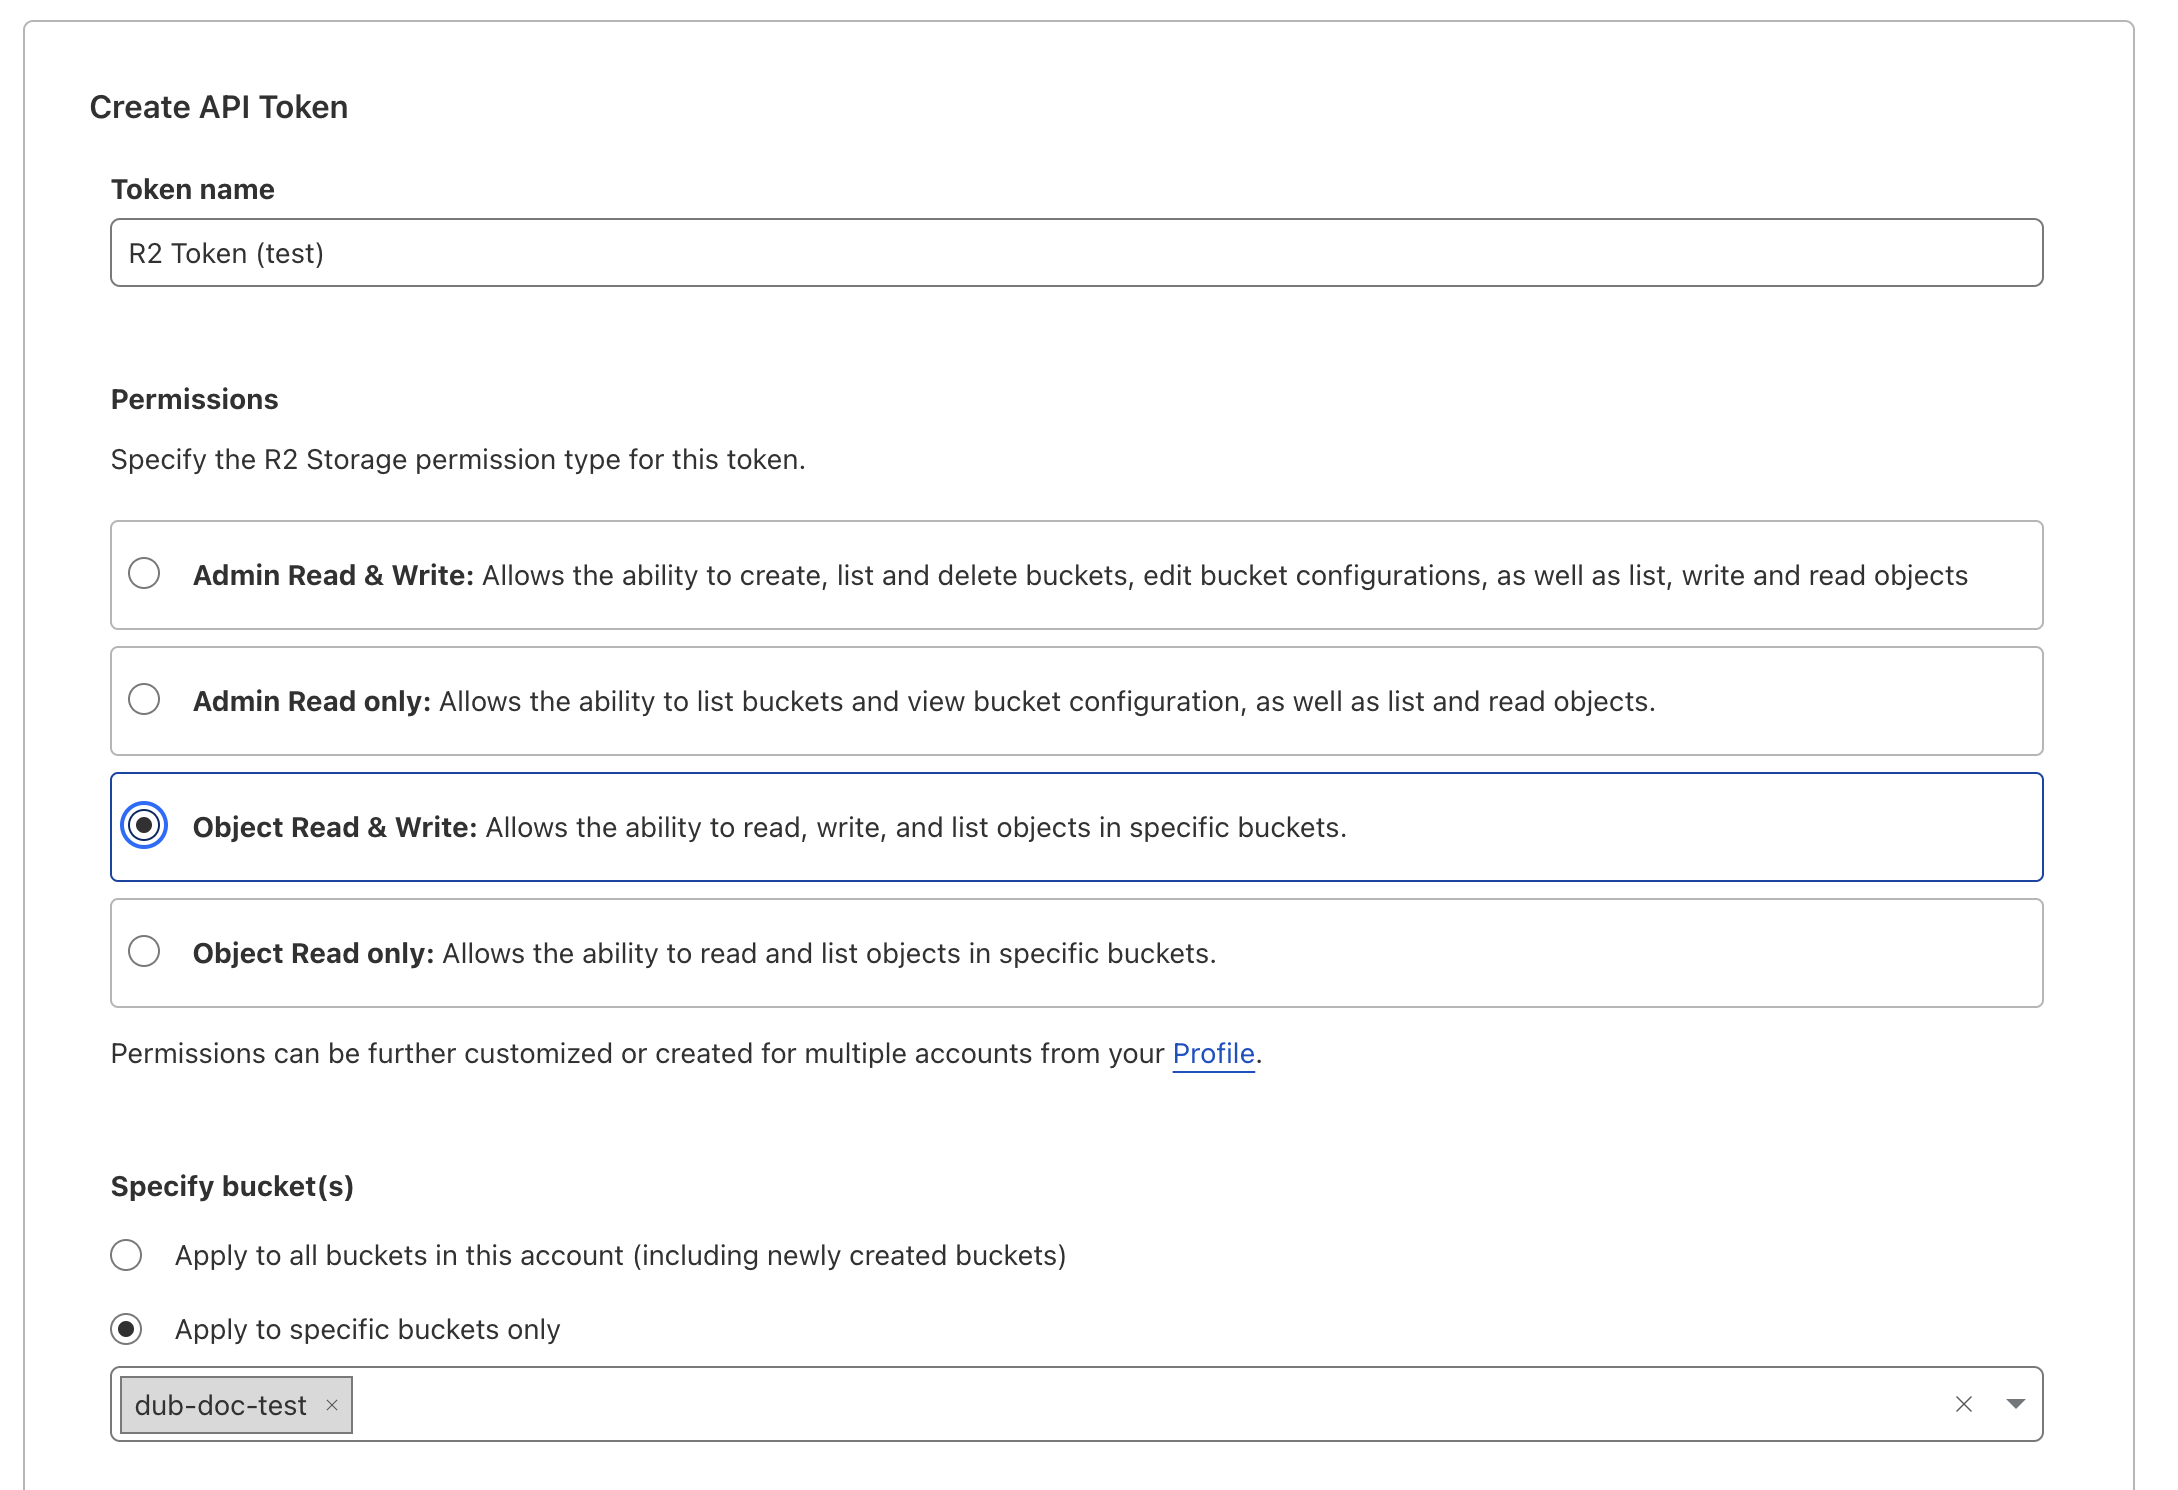
Access Key ID and Secret Access Key values – you’ll need them in the next step.3
Set up R2 environment variables
Once you have your credentials, set them in your
.env file:.env
4
Set up R2 domain
In order for your images to be publically accessible in R2 you need to setup a domain. You can either use your own domain or an R2.dev subdomain.To use your own domain, you’ll need to create a CNAME record in your DNS settings that points to your R2 bucket.In you plan to use an R2.dev subdomain, make sure you “Allow Access”.Then set the 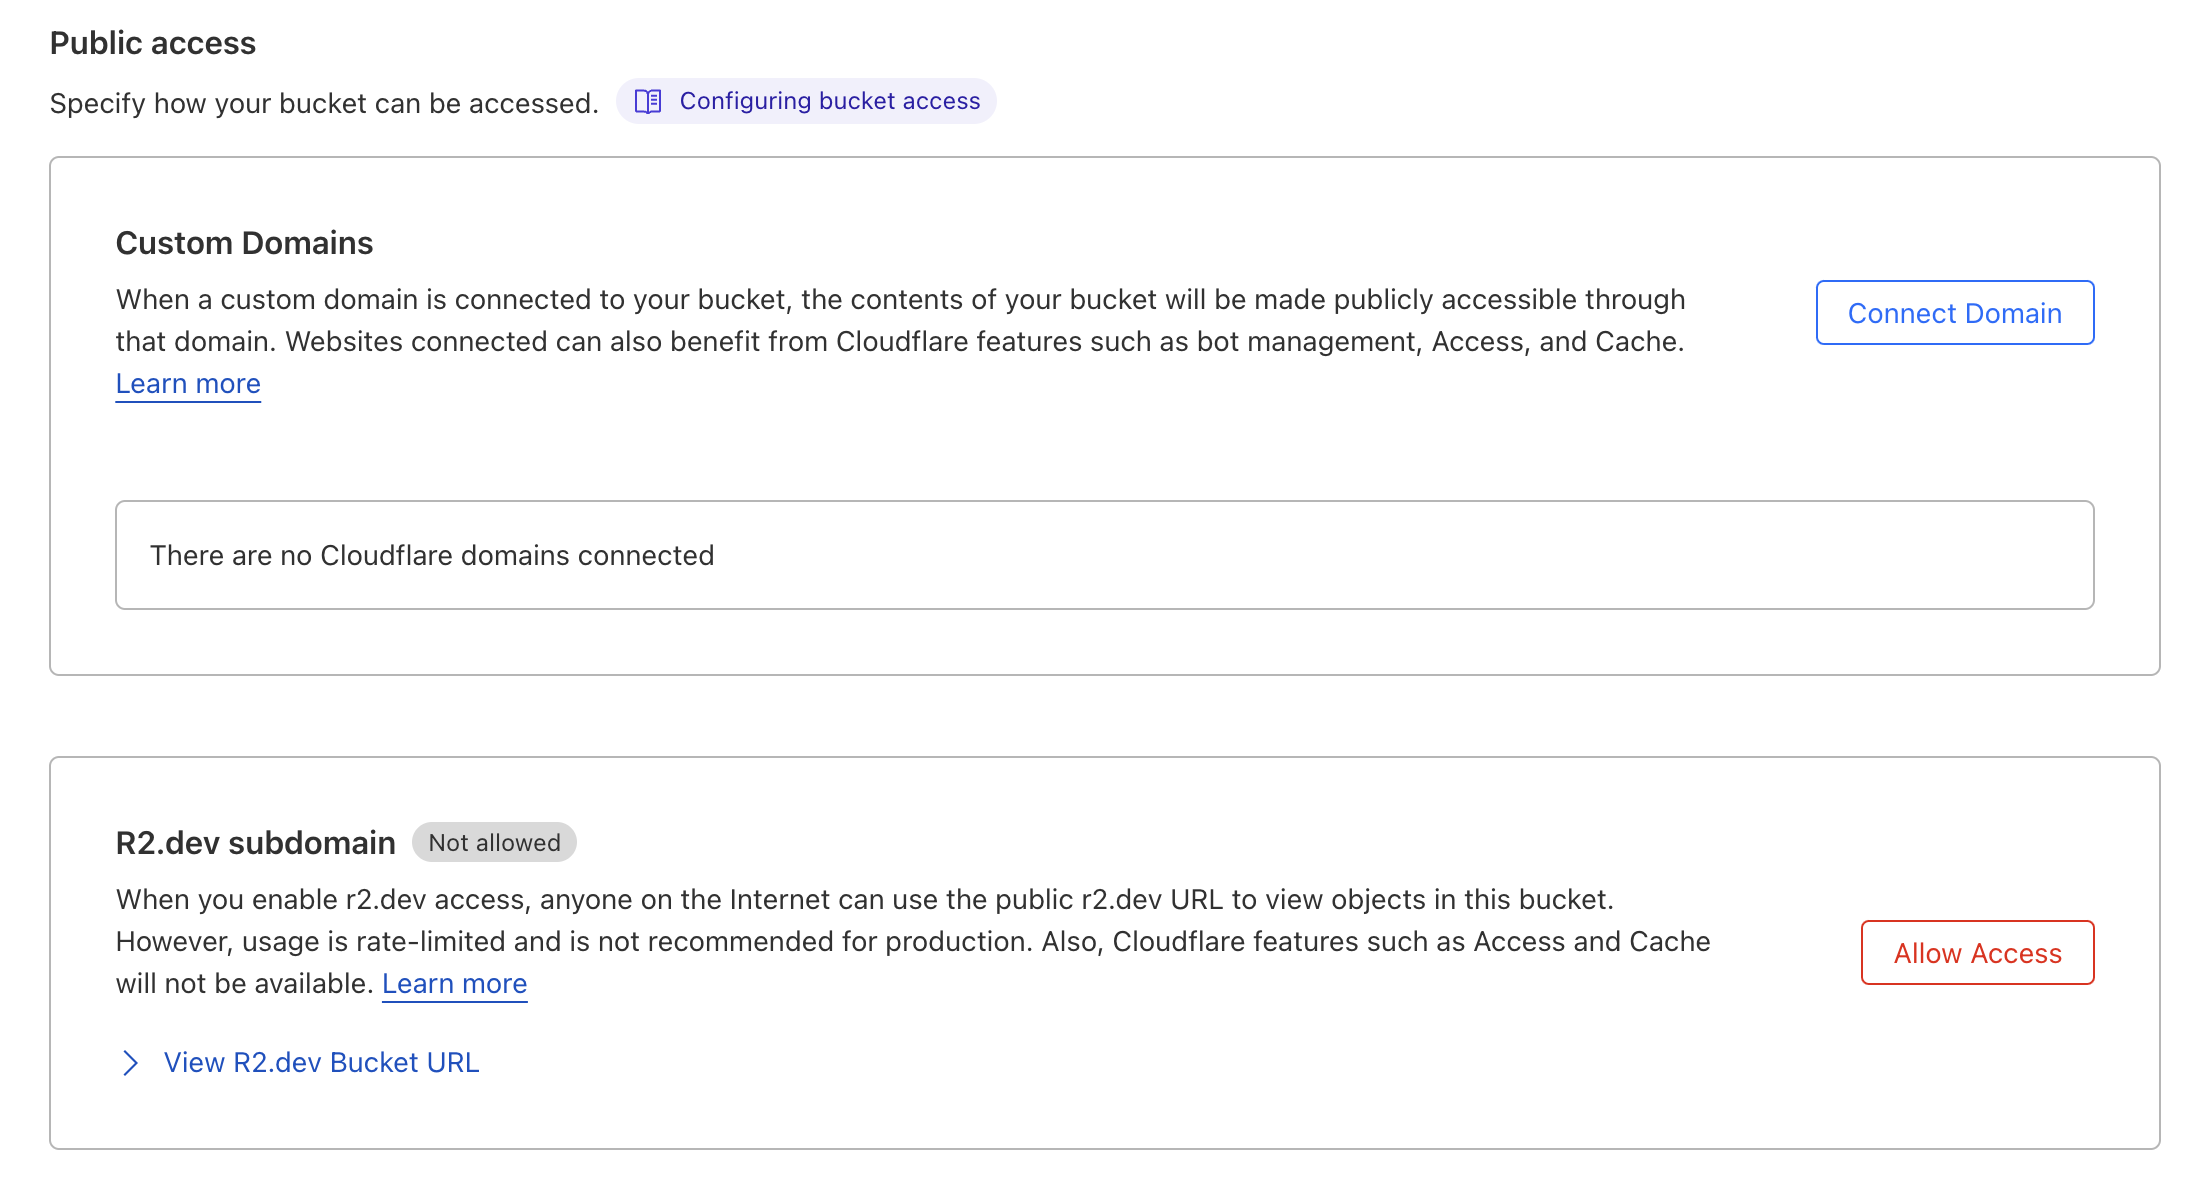
STORAGE_BASE_URL in your .env file to the domain you chose.Step 7: Set up Resend (optional)
Note that if you want to use magic link sign-in, this is a required step.
- Sign up for Resend and create your API key here.
- Copy the API key into your
.envfile as theRESEND_API_KEYenvironment variable. - You’ll then need to set up and verify your domain by following this guide here.
Step 8: Set up Unsplash (optional)
Dub uses Unsplash’s API for the Custom Social Media Cards feature. You’ll need to set up an Unsplash application to get an access key.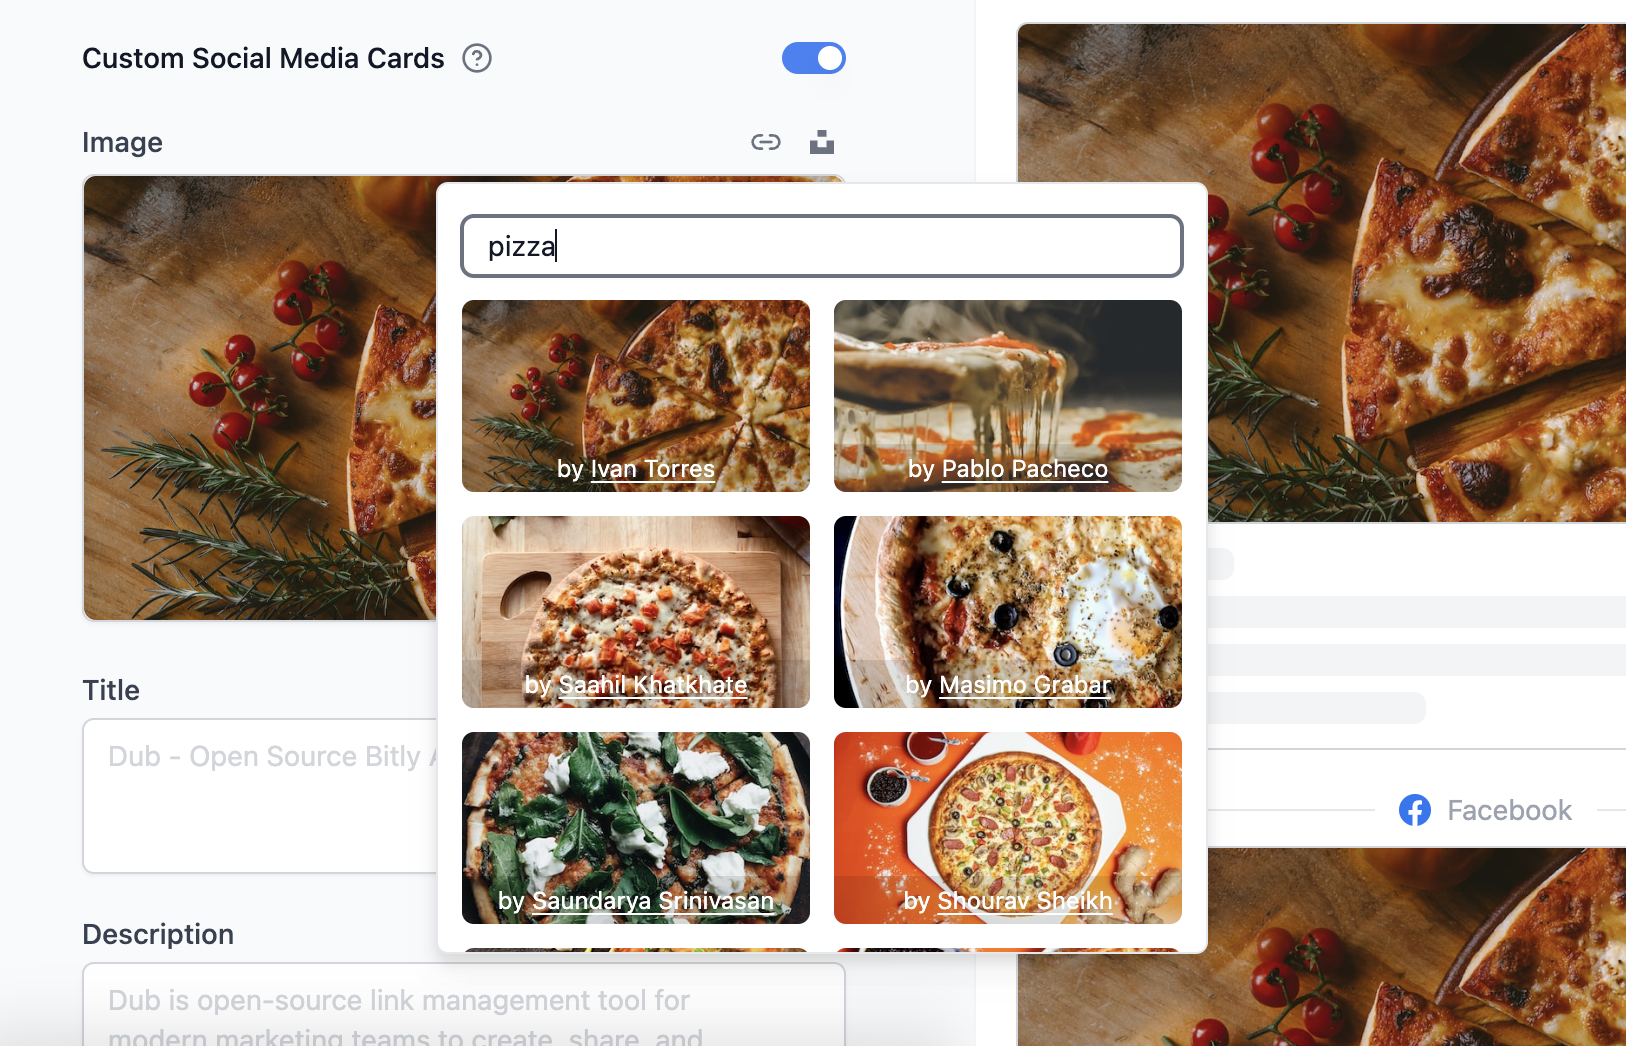
UNSPLASH_ACCESS_KEY env var.
Step 9: Deploy to Vercel
Once you’ve set up all of the above services, you can now deploy your app to Vercel.1
Deploy code to GitHub
If you haven’t already, push up your cloned repository to GitHub by running the following commands:
Terminal
2
Create a new Vercel project
In your Vercel account, create a new project. Then, select your GitHub repository and click Import.Make sure that your Framework Preset is set to Next.js and the Root Directory is set to 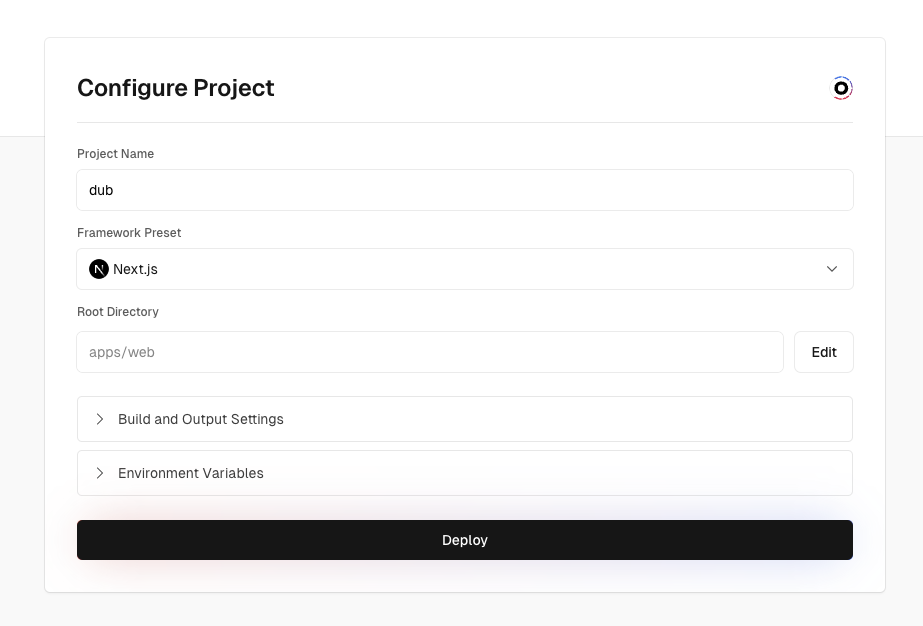
apps/web..env file by copying all of them and pasting it into the first input field. A few notes:- Remove the
PROJECT_ID_VERCELenvironment variable for now since we will only get the project ID after deploying the project. - Replace the
NEXTAUTH_URLenvironment variable with the app domain that you will be using (e.g.https://app.acme.com).
If you get a 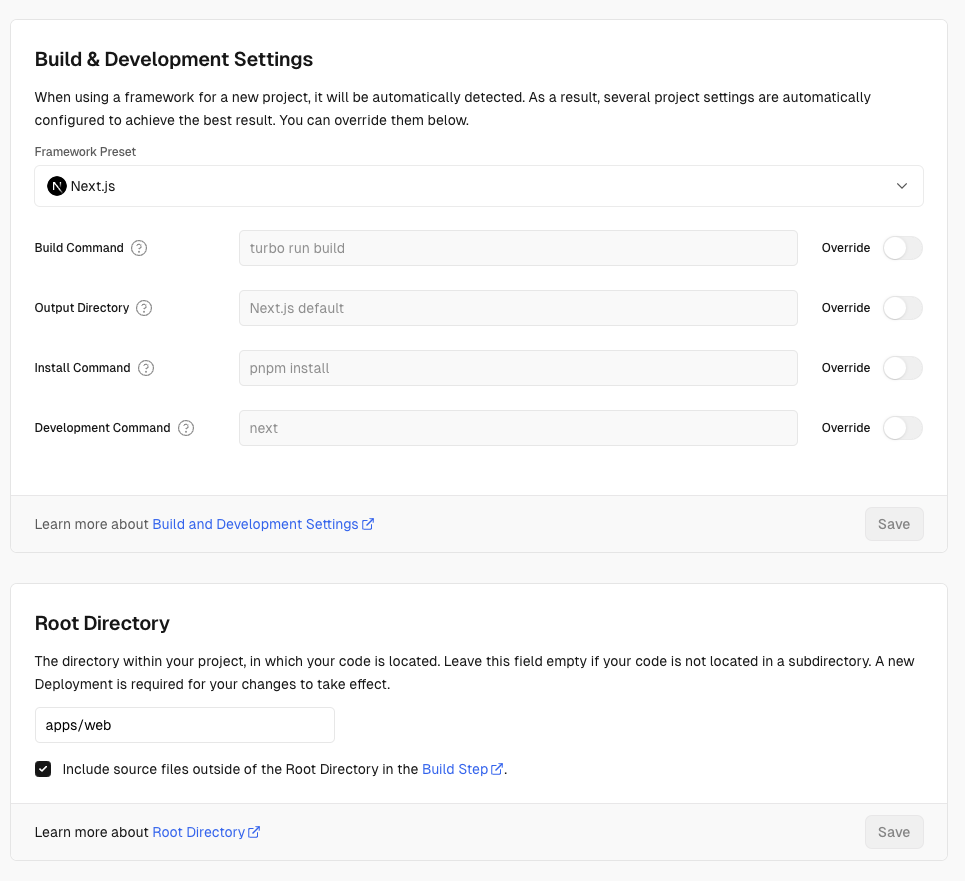
No Output Directory called "public" was found after the build completed error, make sure that your Vercel deployment
settings to make sure that they match the following:3
Add required environment variables
Once the project deploys, retrieve your Vercel project ID and add it as the
PROJECT_ID_VERCEL environment variable – both in your .env file and in your newly created Vercel project’s settings (under Settings > Environment Variables)Add both the NEXT_PUBLIC_APP_DOMAIN and NEXT_PUBLIC_APP_SHORT_DOMAIN as domains in your Vercel project’s settings (under Settings > Domains). You can follow this guide to learn how to set up a custom domain on Vercel.4
Redeploy your Vercel project
Go back to the Deployments page and redeploy your project.Once the deployment is complete, you should be able to visit your app domain (e.g. 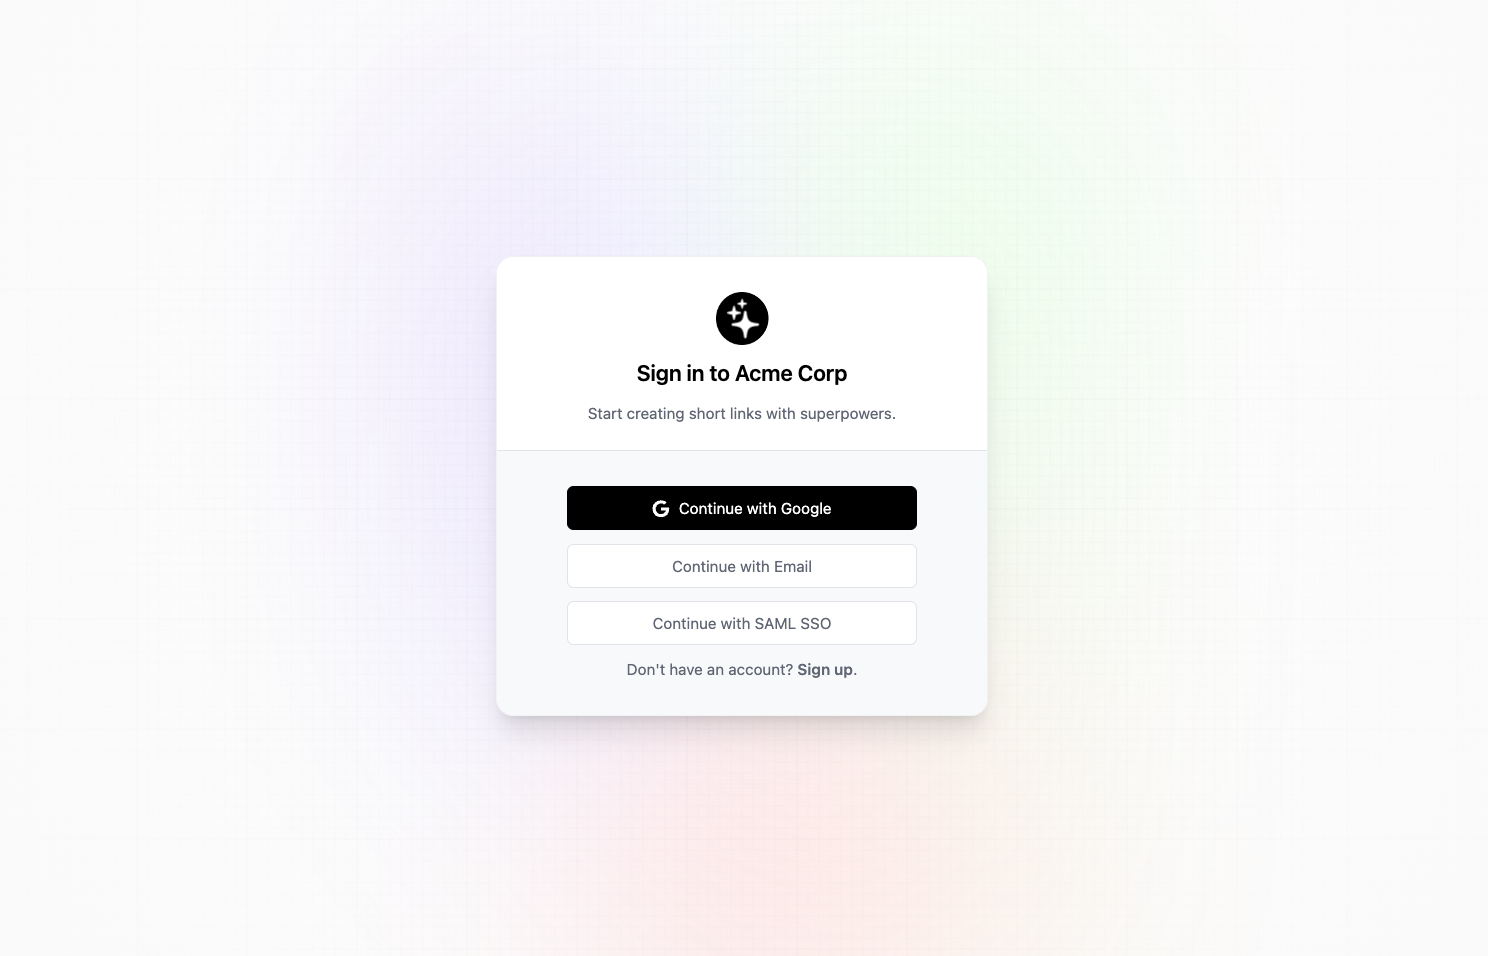
https://app.acme.com) and see the following login page:Caveats
This guide is meant to be a starting point for self-hosting Dub. It currently depends on the following services to work:- Tinybird for the analytics database
- Upstash for the Redis database
- PlanetScale for the MySQL database
- Vercel for hosting & Edge Middleware