

Staging, sandbox, and production
Dub workspaces run in one of three environments:- Staging: Automatically paired with your production workspace. Use it to test a partner program.
- Sandbox: An independent workspace, not paired with production. Sandbox workspaces are not created automatically. Contact us if you require one.
- Production: Processes real events and payouts.
Eligibility
Staging workspaces are available on Business plans and above, and only when the workspace has a partner program. Dub creates astaging workspace when you upgrade to a Business plan (or higher) with a partner program, or when you create a partner program on one of those plans.
Free and Pro workspaces, and workspaces without a partner program aren’t eligible.
Switch to your staging workspace
Open your workspace menu in the top left corner and click Switch to staging. To go back to your production workspace, click Exit staging in the banner or the workspace menu.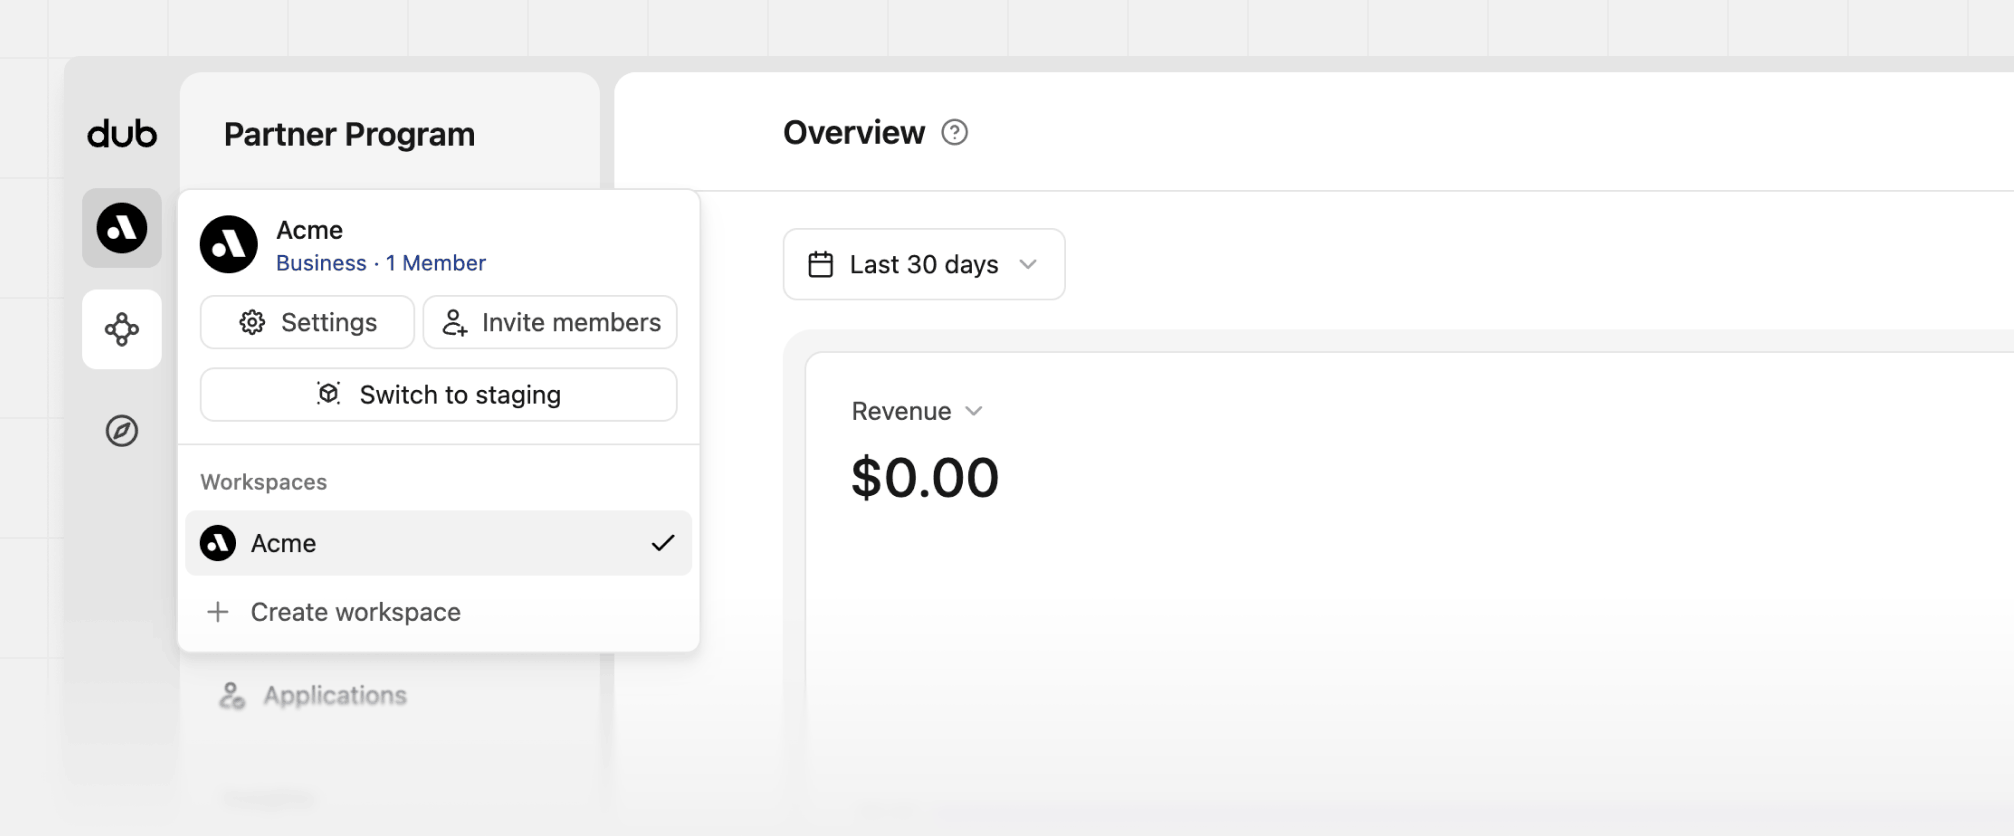
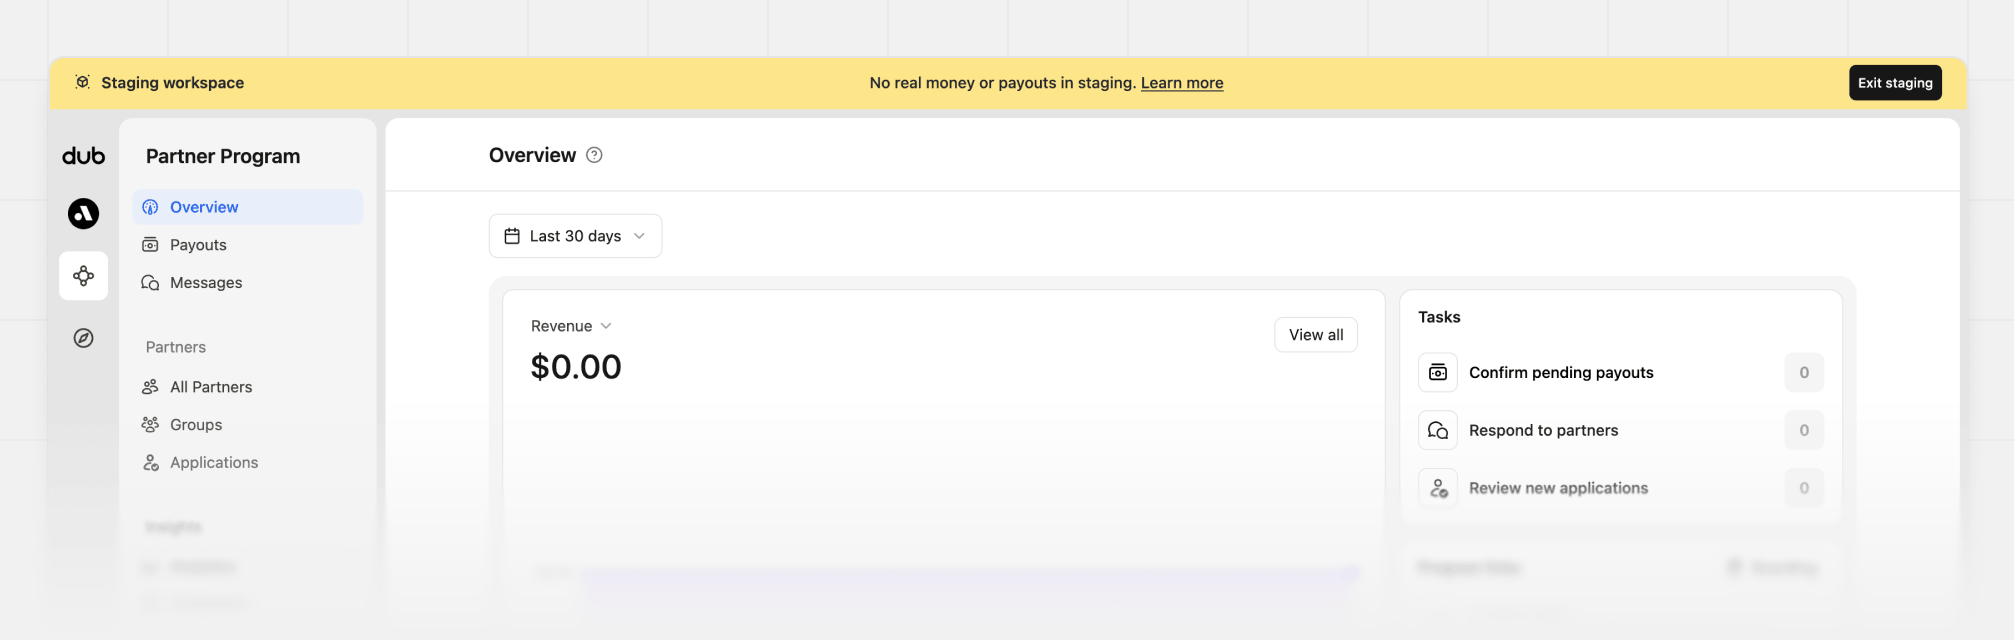
- Name:
{Your workspace name} (Staging) - Slug:
{your-workspace-slug}-staging - Short link domain:
{your-workspace-slug}.staging.dub.link - A copy of your partner program, including its destination URL, branding, application form, landing page, and default group settings
What syncs
Production and staging stay paired, but only workspace settings and members are copied across. Test data stays in staging.Limitations and restrictions
Payments and integrations
- Payouts are simulated and never go through Stripe, PayPal, or Tremendous.
- You can connect a Stripe account in
test modeor a Stripe sandbox. Live mode is rejected.
Workspace administration
- You can’t set
stagingas your default workspace. - Your workspace name, slug, and logo sync from production.
- Invitations, invite links, pending invites, roles, and removals are managed in production only.
- Deleting your production workspace also deletes its staging workspace.
Billing and usage
- You can only change your plan or payment methods on
Production. - Staging uses trial usage limits instead of your plan’s limits, and staging usage isn’t billed.
Data synchronization and notifications
- Rewards and discounts stay in staging until you copy them to live.
- No usage or application reminders are sent from staging activity.
- Your staging program landing page shows the staging banner and is excluded from search results.
Get your staging credentials
1
Create a staging API key
While in your staging workspace, go to Settings > API Keys and create a new key.API keys created in staging start with
dub_test_. Production API keys start with dub_. Use that prefix to tell them apart before you deploy. Sandbox API keys use the same dub_test_ prefix.2
Copy your staging publishable key
Publishable keys use a separate format. They start with
dub_pk_ in staging and in production. The prefix is the same in both workspaces, so keep each key in its own environment variable.Go to your staging workspace’s Tracking settings page and copy the publishable key. You’ll need it for the Dub Analytics script and the mobile SDKs.3
Point your test environment at staging
Use the staging API key and publishable key in your test or staging environment. Events tracked with these keys only show up in your staging workspace.
Testing use cases
Here are the most common flows to test in your staging workspace before going live.Track clicks, leads, and sales
Set up conversion tracking with your staging keys using server-side tracking, client-side tracking, or the mobile SDKs (Swift or React Native). Then, click one of your staging short links, sign up, and make a purchase. The click, lead, and sale – along with the new customer – show up in your staging workspace’s analytics only.Stripe
Install the Dub Stripe app in Stripe test mode or a Stripe sandbox, and connect it to your staging workspace. Complete a test payment with one of Stripe’s test cards. The payment shows up as a sale in your staging workspace.Live Stripe mode can’t be connected to a staging workspace. Use your
production workspace when you’re ready to track real payments.
Shopify
Install the Dub Shopify app on a Shopify development store and connect it to your staging workspace. Test orders from that store are recorded as sales in staging only.HubSpot
Connect a HubSpot test account to your staging workspace with the HubSpot integration. Leads and closed-won deals from that account are tracked in staging only.Partner payouts
Confirm a payout from your staging partner program. Staging payouts:- Use a simulated payment method, so there’s no bank charge and no money transfer
- Show Payouts simulated for partners and a Test badge on the payout
external_payout.confirmed from staging. Create a webhook for that event in your staging workspace and point it at a test handler. The payload matches production, so use an endpoint that records the payout without transferring funds. A 2xx response marks the payout completed. Until your handler responds, the payout stays processing.
Copy rewards and discounts to live
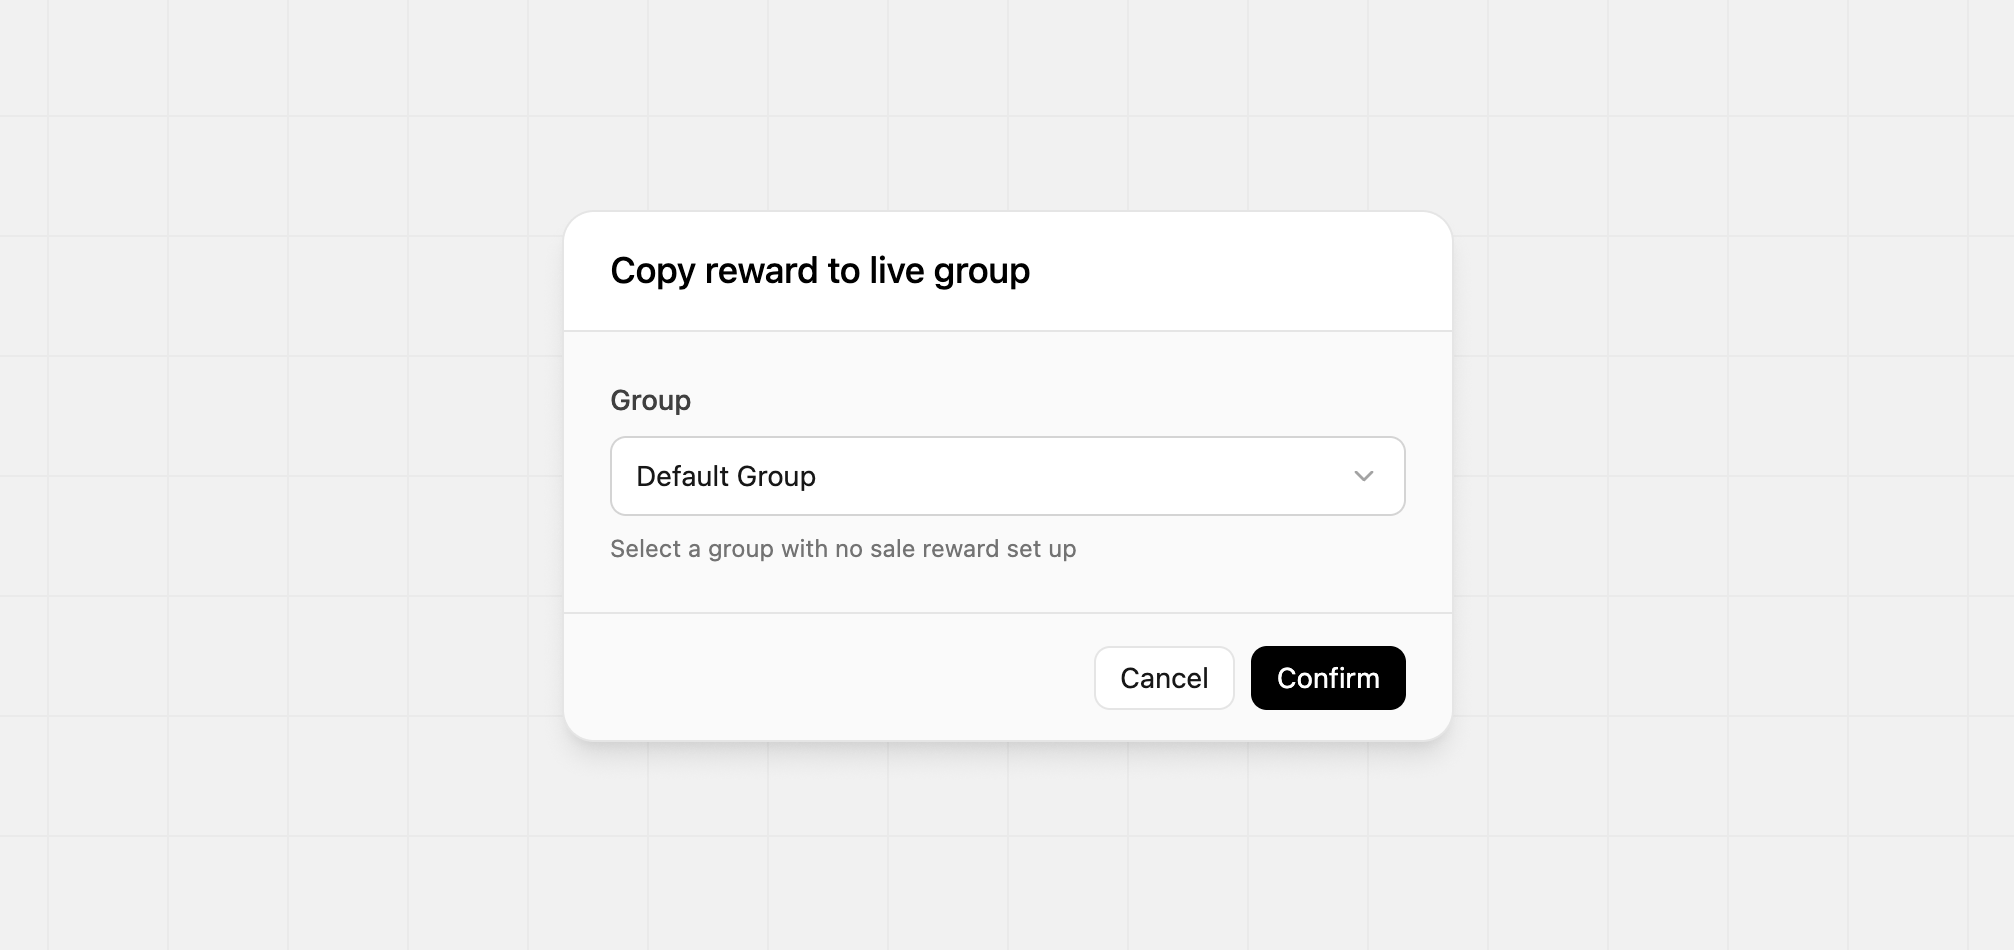
Once you’re happy with a reward or discount in staging, open the partner group in your staging workspace and click Copy to live.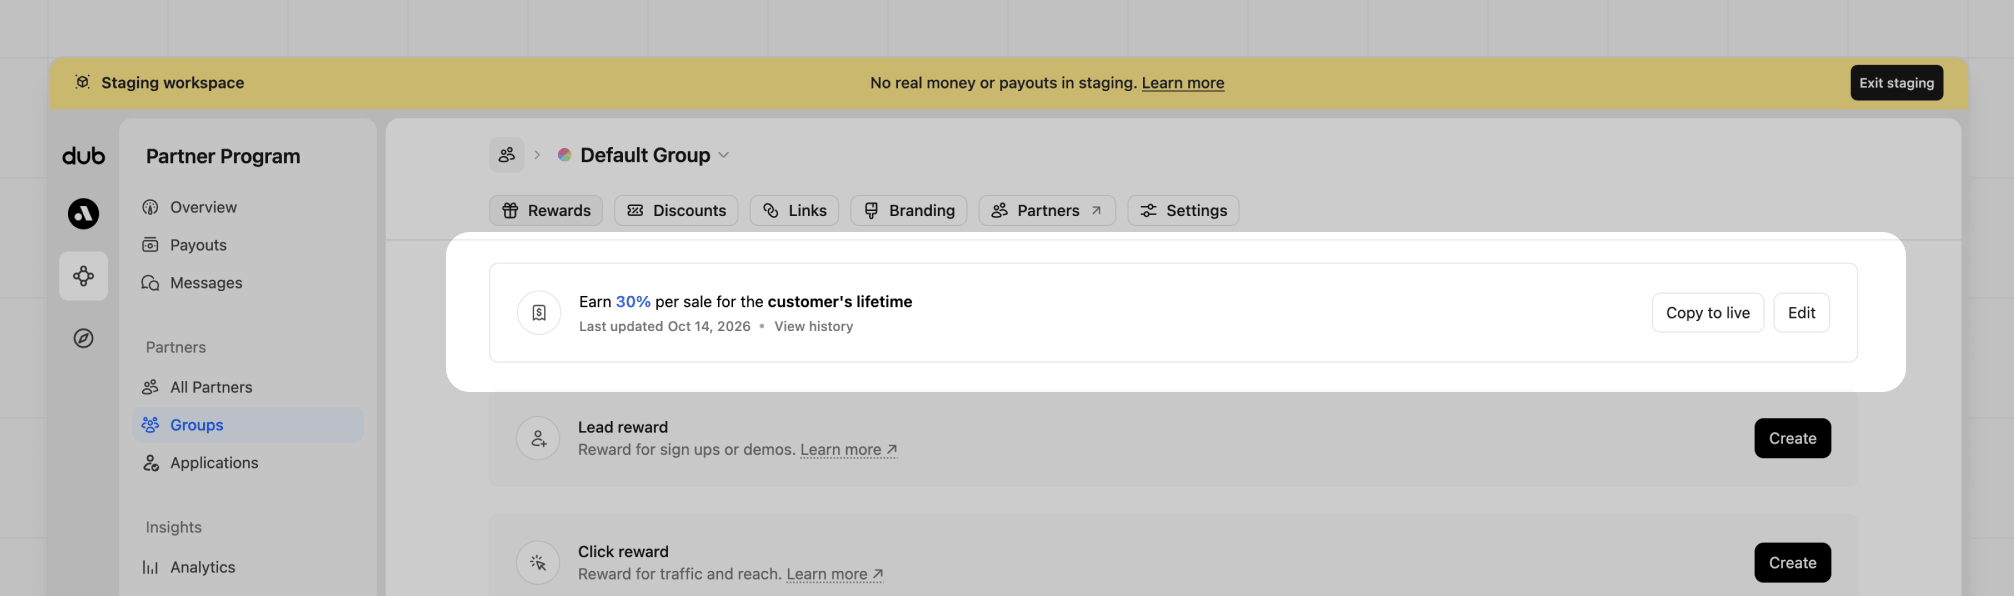
Go live
When testing looks right, move your application onto production credentials and confirm a real event lands in production.1
Return to your production workspace
Click Exit staging in the banner or the workspace menu or from your workspace dropdown menu.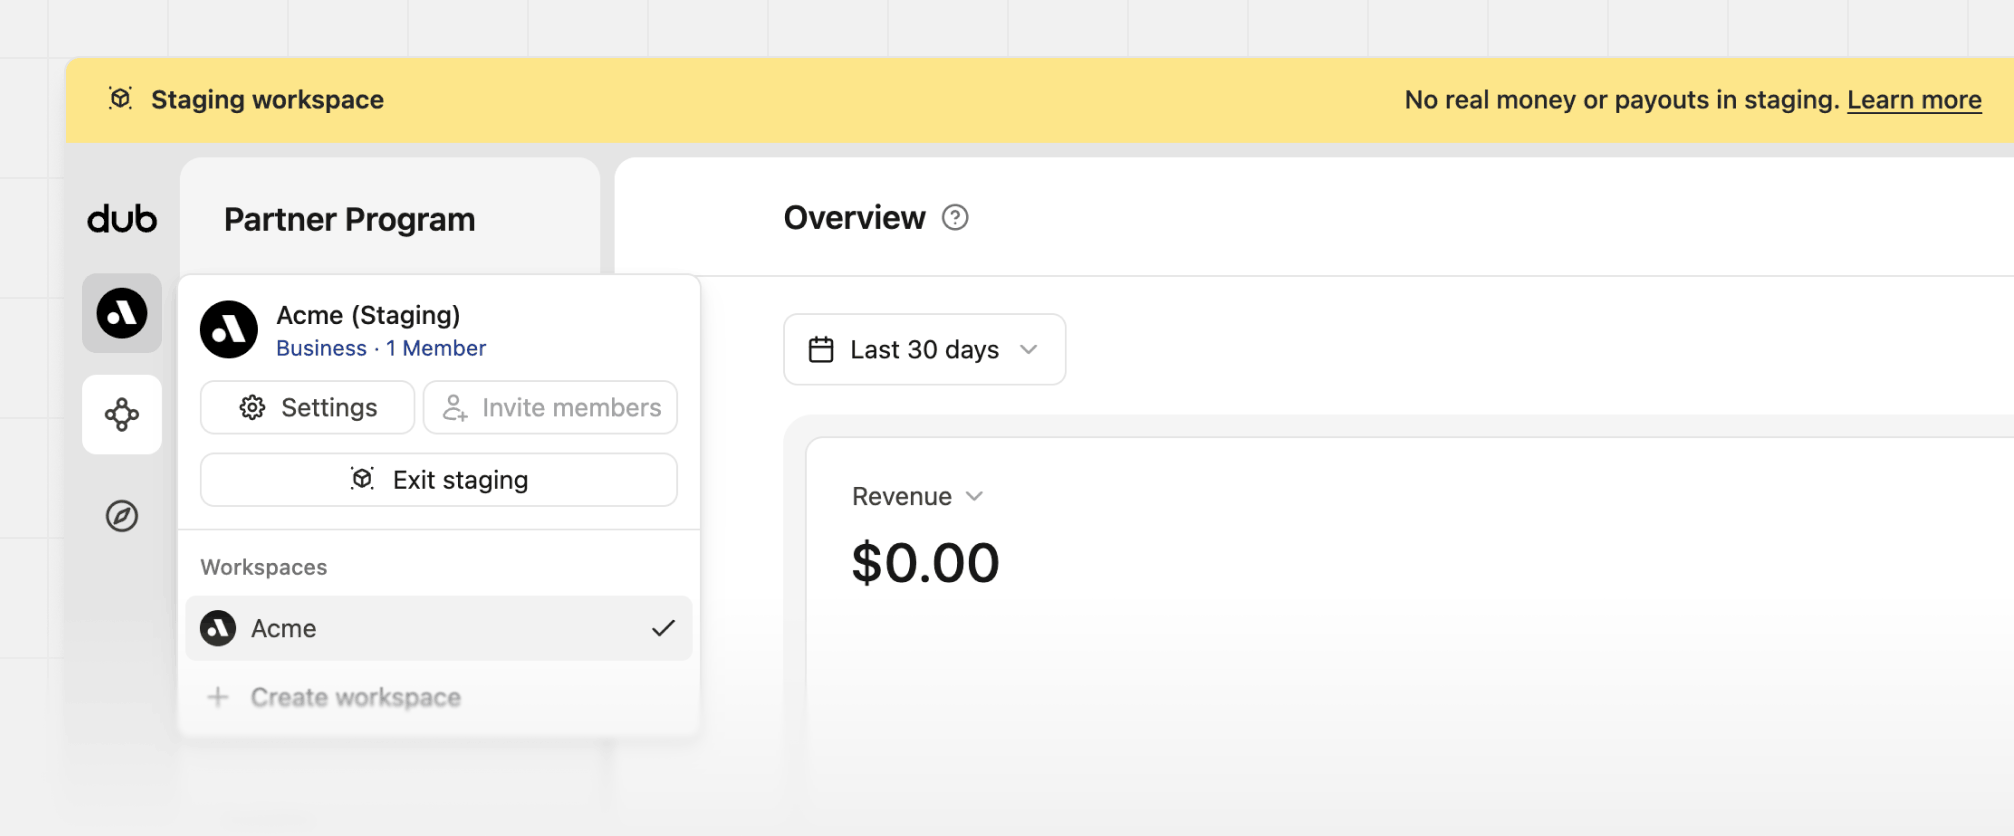
2
Verify your production API key
In your production workspace, go to Settings > API
Keys and copy a production key. It
starts with
dub_. Replace every dub_test_ key in your server environment
with that key.3
Verify your production publishable key
On your production workspace’s Tracking settings
page, copy the publishable key and
replace the staging
dub_pk_ value in your client and mobile apps. Both keys
share the dub_pk_ prefix, so confirm the value came from production.4
Verify live integration connections
Connect your live Stripe account, and any Shopify or HubSpot account you use
in production, to your production workspace. Leave Stripe test mode and
development stores on staging.
5
Send a real test conversion
Click a production short link and complete a signup or purchase with your production keys. Confirm the click, lead, or sale appears in your production workspace’s analytics before you treat the integration as live.
Next steps
Server-side tracking
Track conversion events from your backend
Client-side tracking
Track conversion events from the browser
Swift
Track deep links and conversions in your iOS app
React Native
Track deep links and conversions in your React Native app
Stripe
Track sales from Stripe payments
Shopify
Track sales from Shopify orders
HubSpot
Track leads and sales from HubSpot