> ## Documentation Index
> Fetch the complete documentation index at: https://dub.co/llms.txt
> Use this file to discover all available pages before exploring further.
# Configuring SAML SSO with Okta
> For Dub Enterprise users, you can securely manage your team's access to Dub using Okta SAML SSO.
This feature is only available on [Dub Enterprise](https://dub.co/enterprise).
For Dub Enterprise users, you can securely manage your team's access to Dub using [Okta SAML SSO](https://support.okta.com/help/s/article/okta-saml).
## Step 1: Create SAML Integration
In your Okta Dashboard, click on **Applications** in the sidebar.
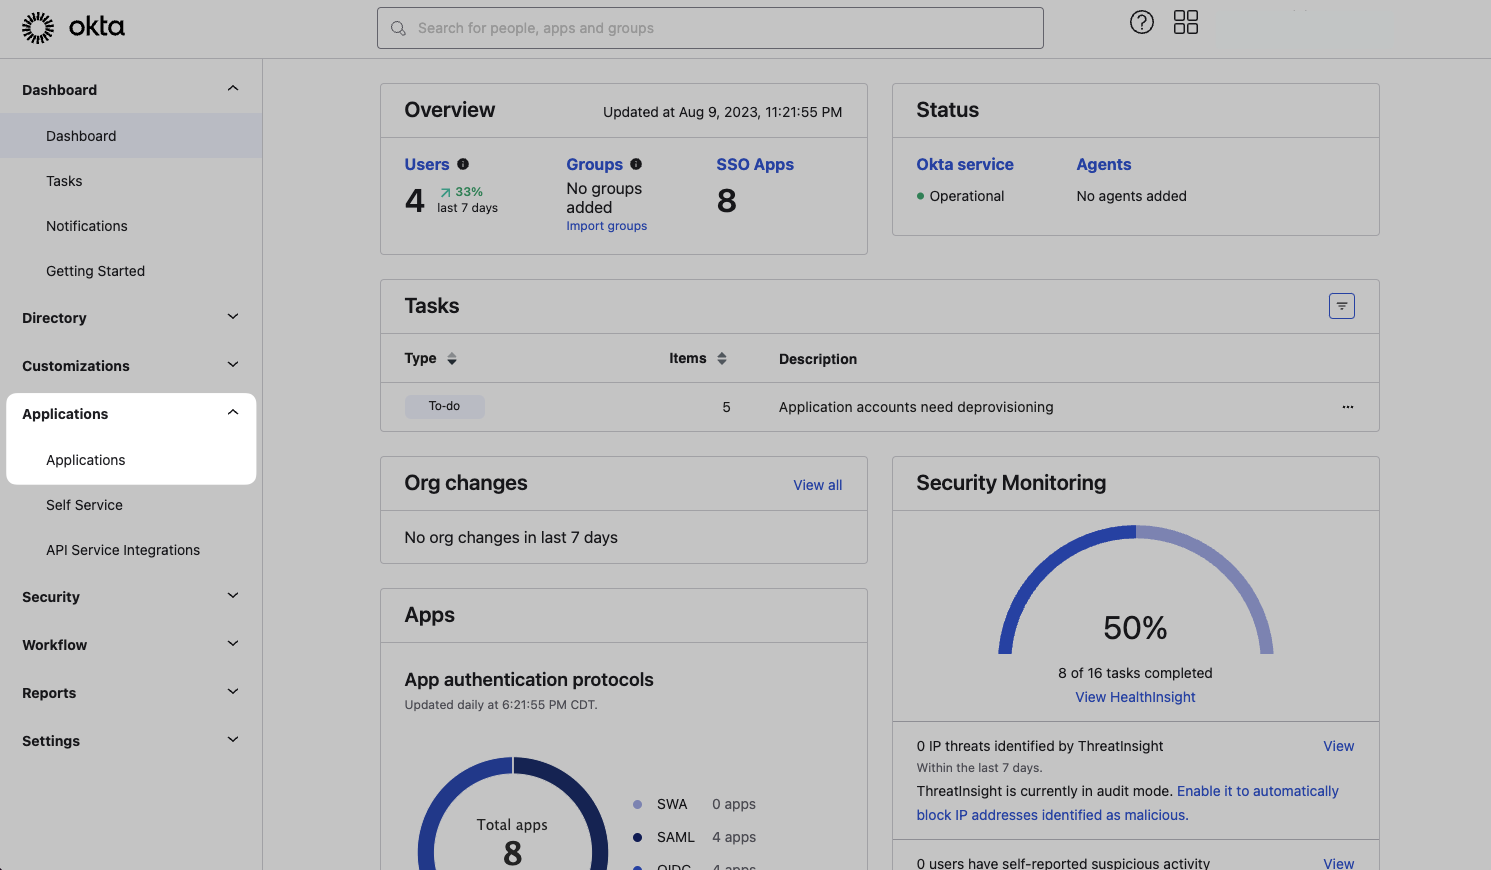 Then, click on **Create App Integration**.
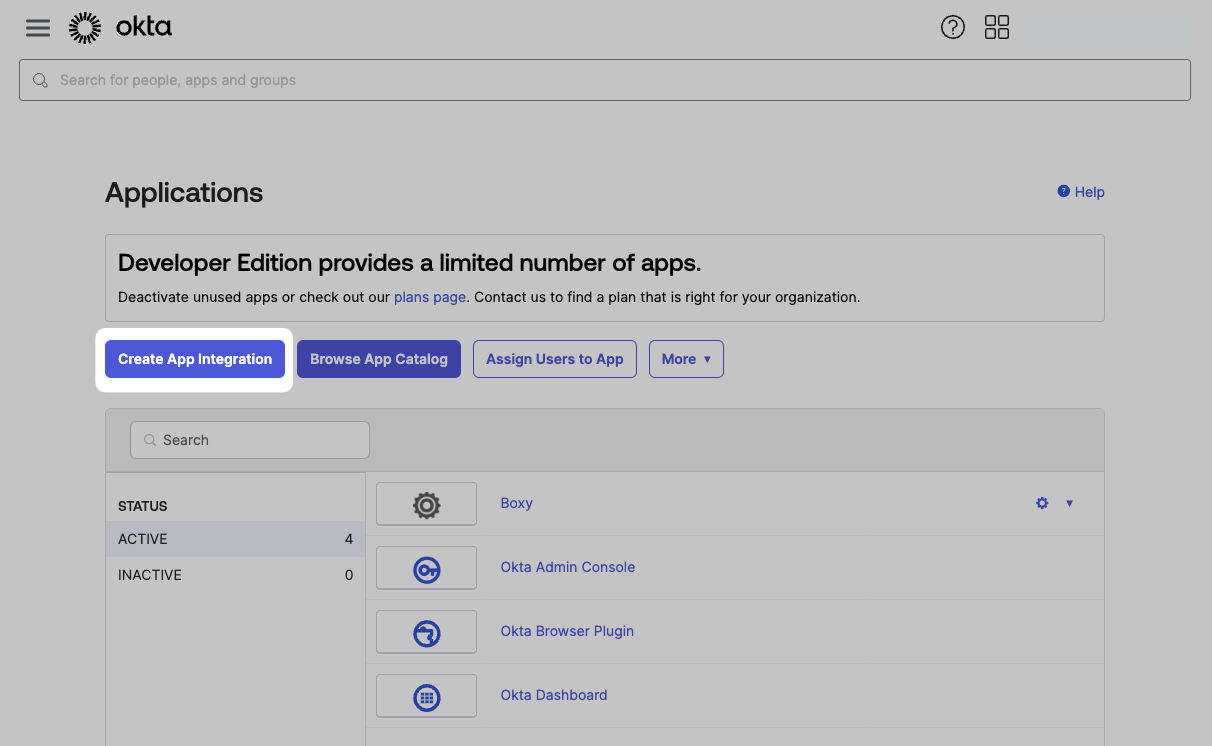 Select **SAML 2.0** as the sign on method, and click **Next**.
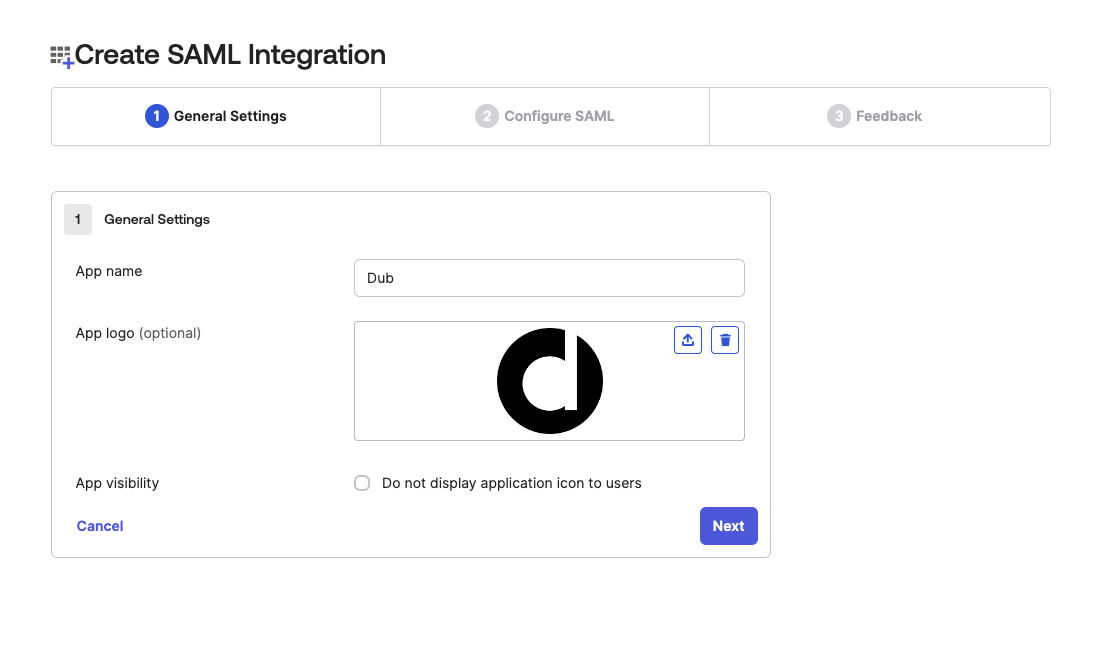
 In the **General Settings** page, enter "Dub" as the app name, and click **Next**.
 Copy the following values and paste them into the **SAML Settings** > **General** section:
```text title="Single sign-on URL" theme={null}
https://api.dub.co/auth/saml/callback
```
```text title="Audience URI (SP Entity ID)" theme={null}
https://saml.dub.co
```
Copy the following values and paste them into the **SAML Settings** > **General** section:
```text title="Single sign-on URL" theme={null}
https://api.dub.co/auth/saml/callback
```
```text title="Audience URI (SP Entity ID)" theme={null}
https://saml.dub.co
```
 ## Step 2: Configure Attribute Statements
Right below the **General** section, you'll see the **Attribute Statements** section.
## Step 2: Configure Attribute Statements
Right below the **General** section, you'll see the **Attribute Statements** section.
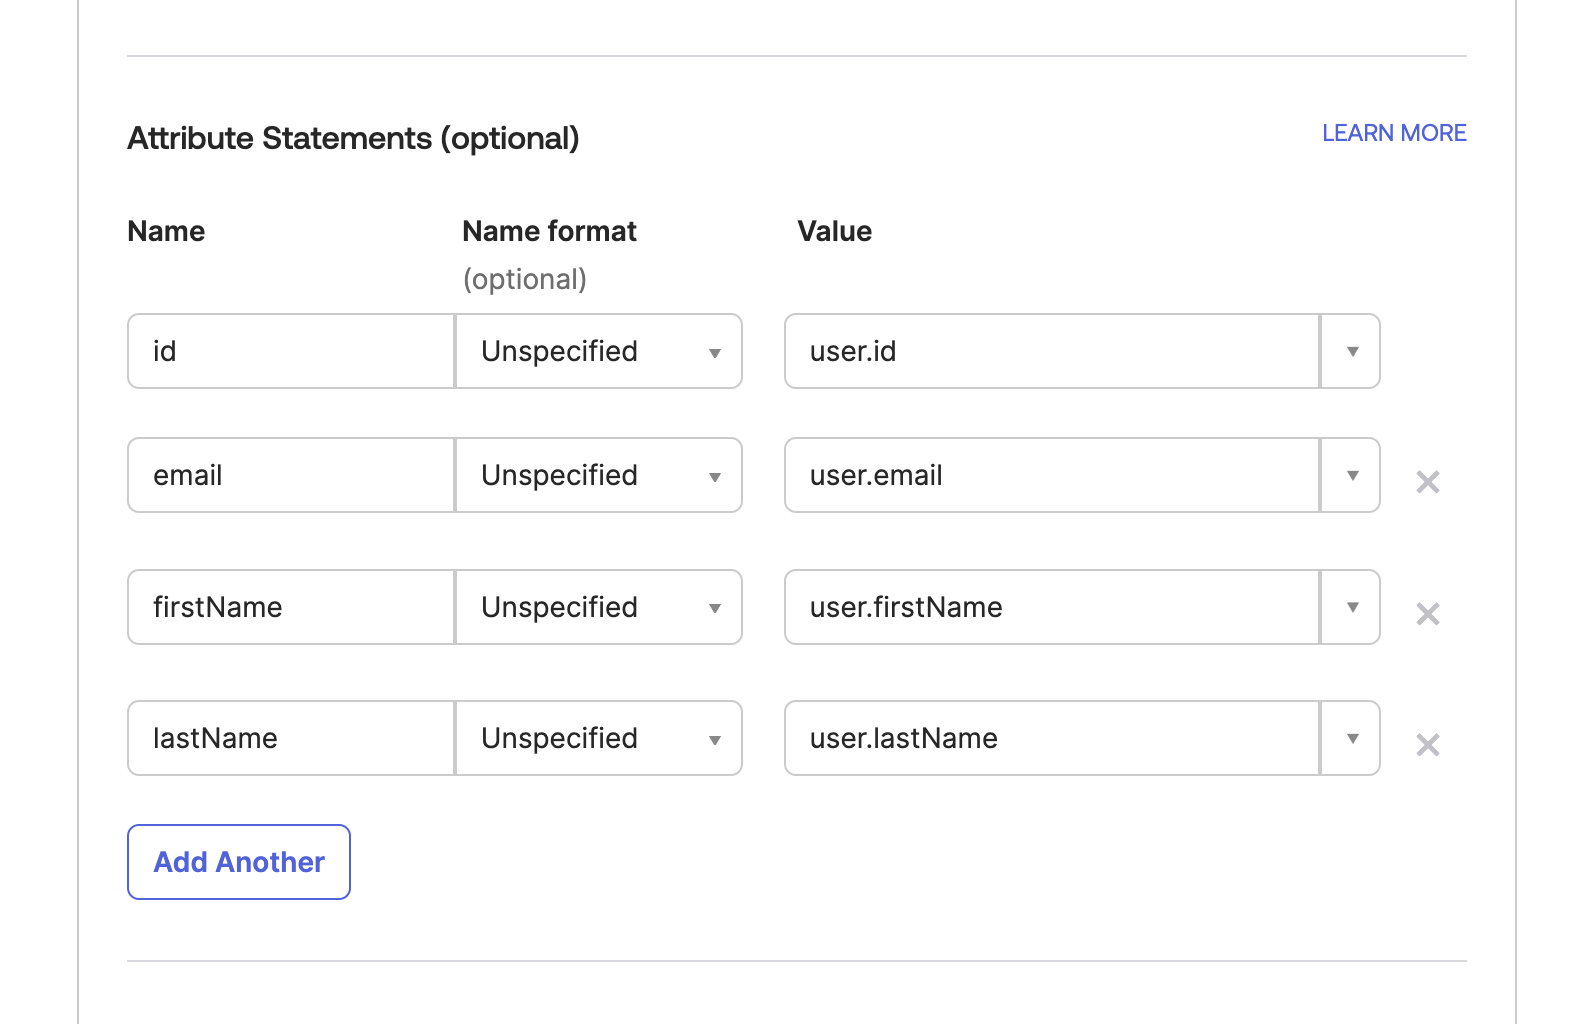 Click on **Add Row** and add the following attribute statements:
| Name | Value |
| ----------- | ---------------- |
| `id` | `user.id` |
| `email` | `user.email` |
| `firstName` | `user.firstName` |
| `lastName` | `user.lastName` |
Once that's done, click **Next**.
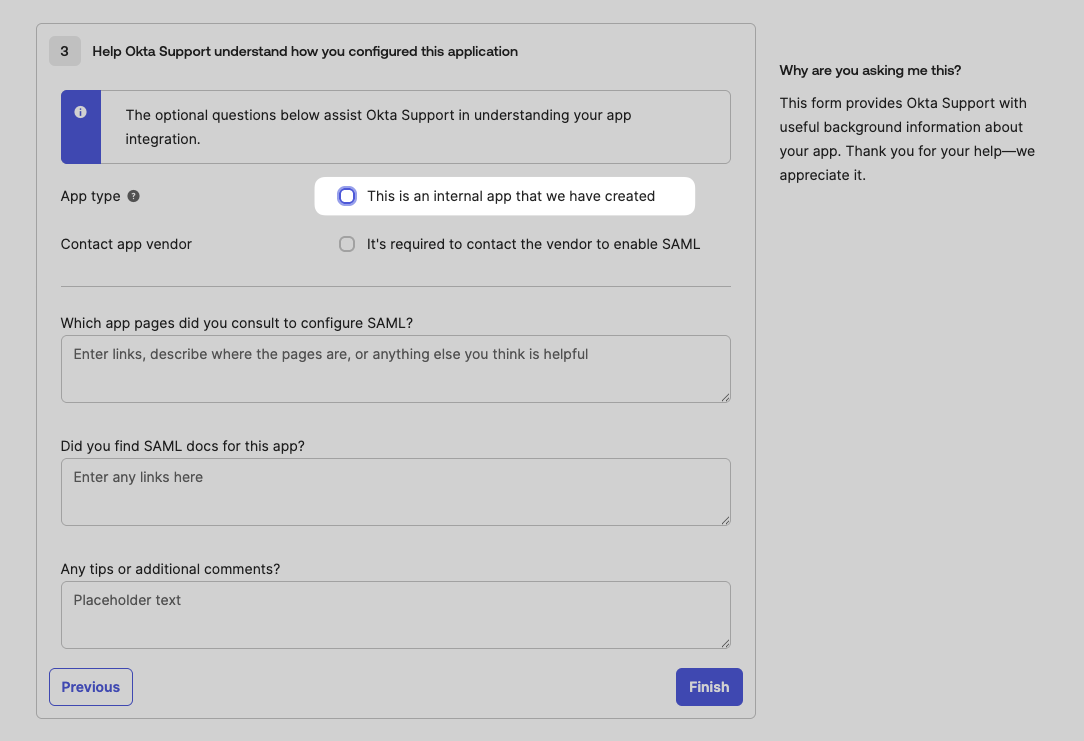
## Step 3: Submit Feedback
Under the **Feedback** section, select **This is an internal app we have created** and click **Finish**.
Click on **Add Row** and add the following attribute statements:
| Name | Value |
| ----------- | ---------------- |
| `id` | `user.id` |
| `email` | `user.email` |
| `firstName` | `user.firstName` |
| `lastName` | `user.lastName` |
Once that's done, click **Next**.
## Step 3: Submit Feedback
Under the **Feedback** section, select **This is an internal app we have created** and click **Finish**.
 ## Step 4: Copy the Metadata URL
After you've submitted the feedback, you'll be redirected to the **Sign On** tab, which contains the metadata URL.
## Step 4: Copy the Metadata URL
After you've submitted the feedback, you'll be redirected to the **Sign On** tab, which contains the metadata URL.
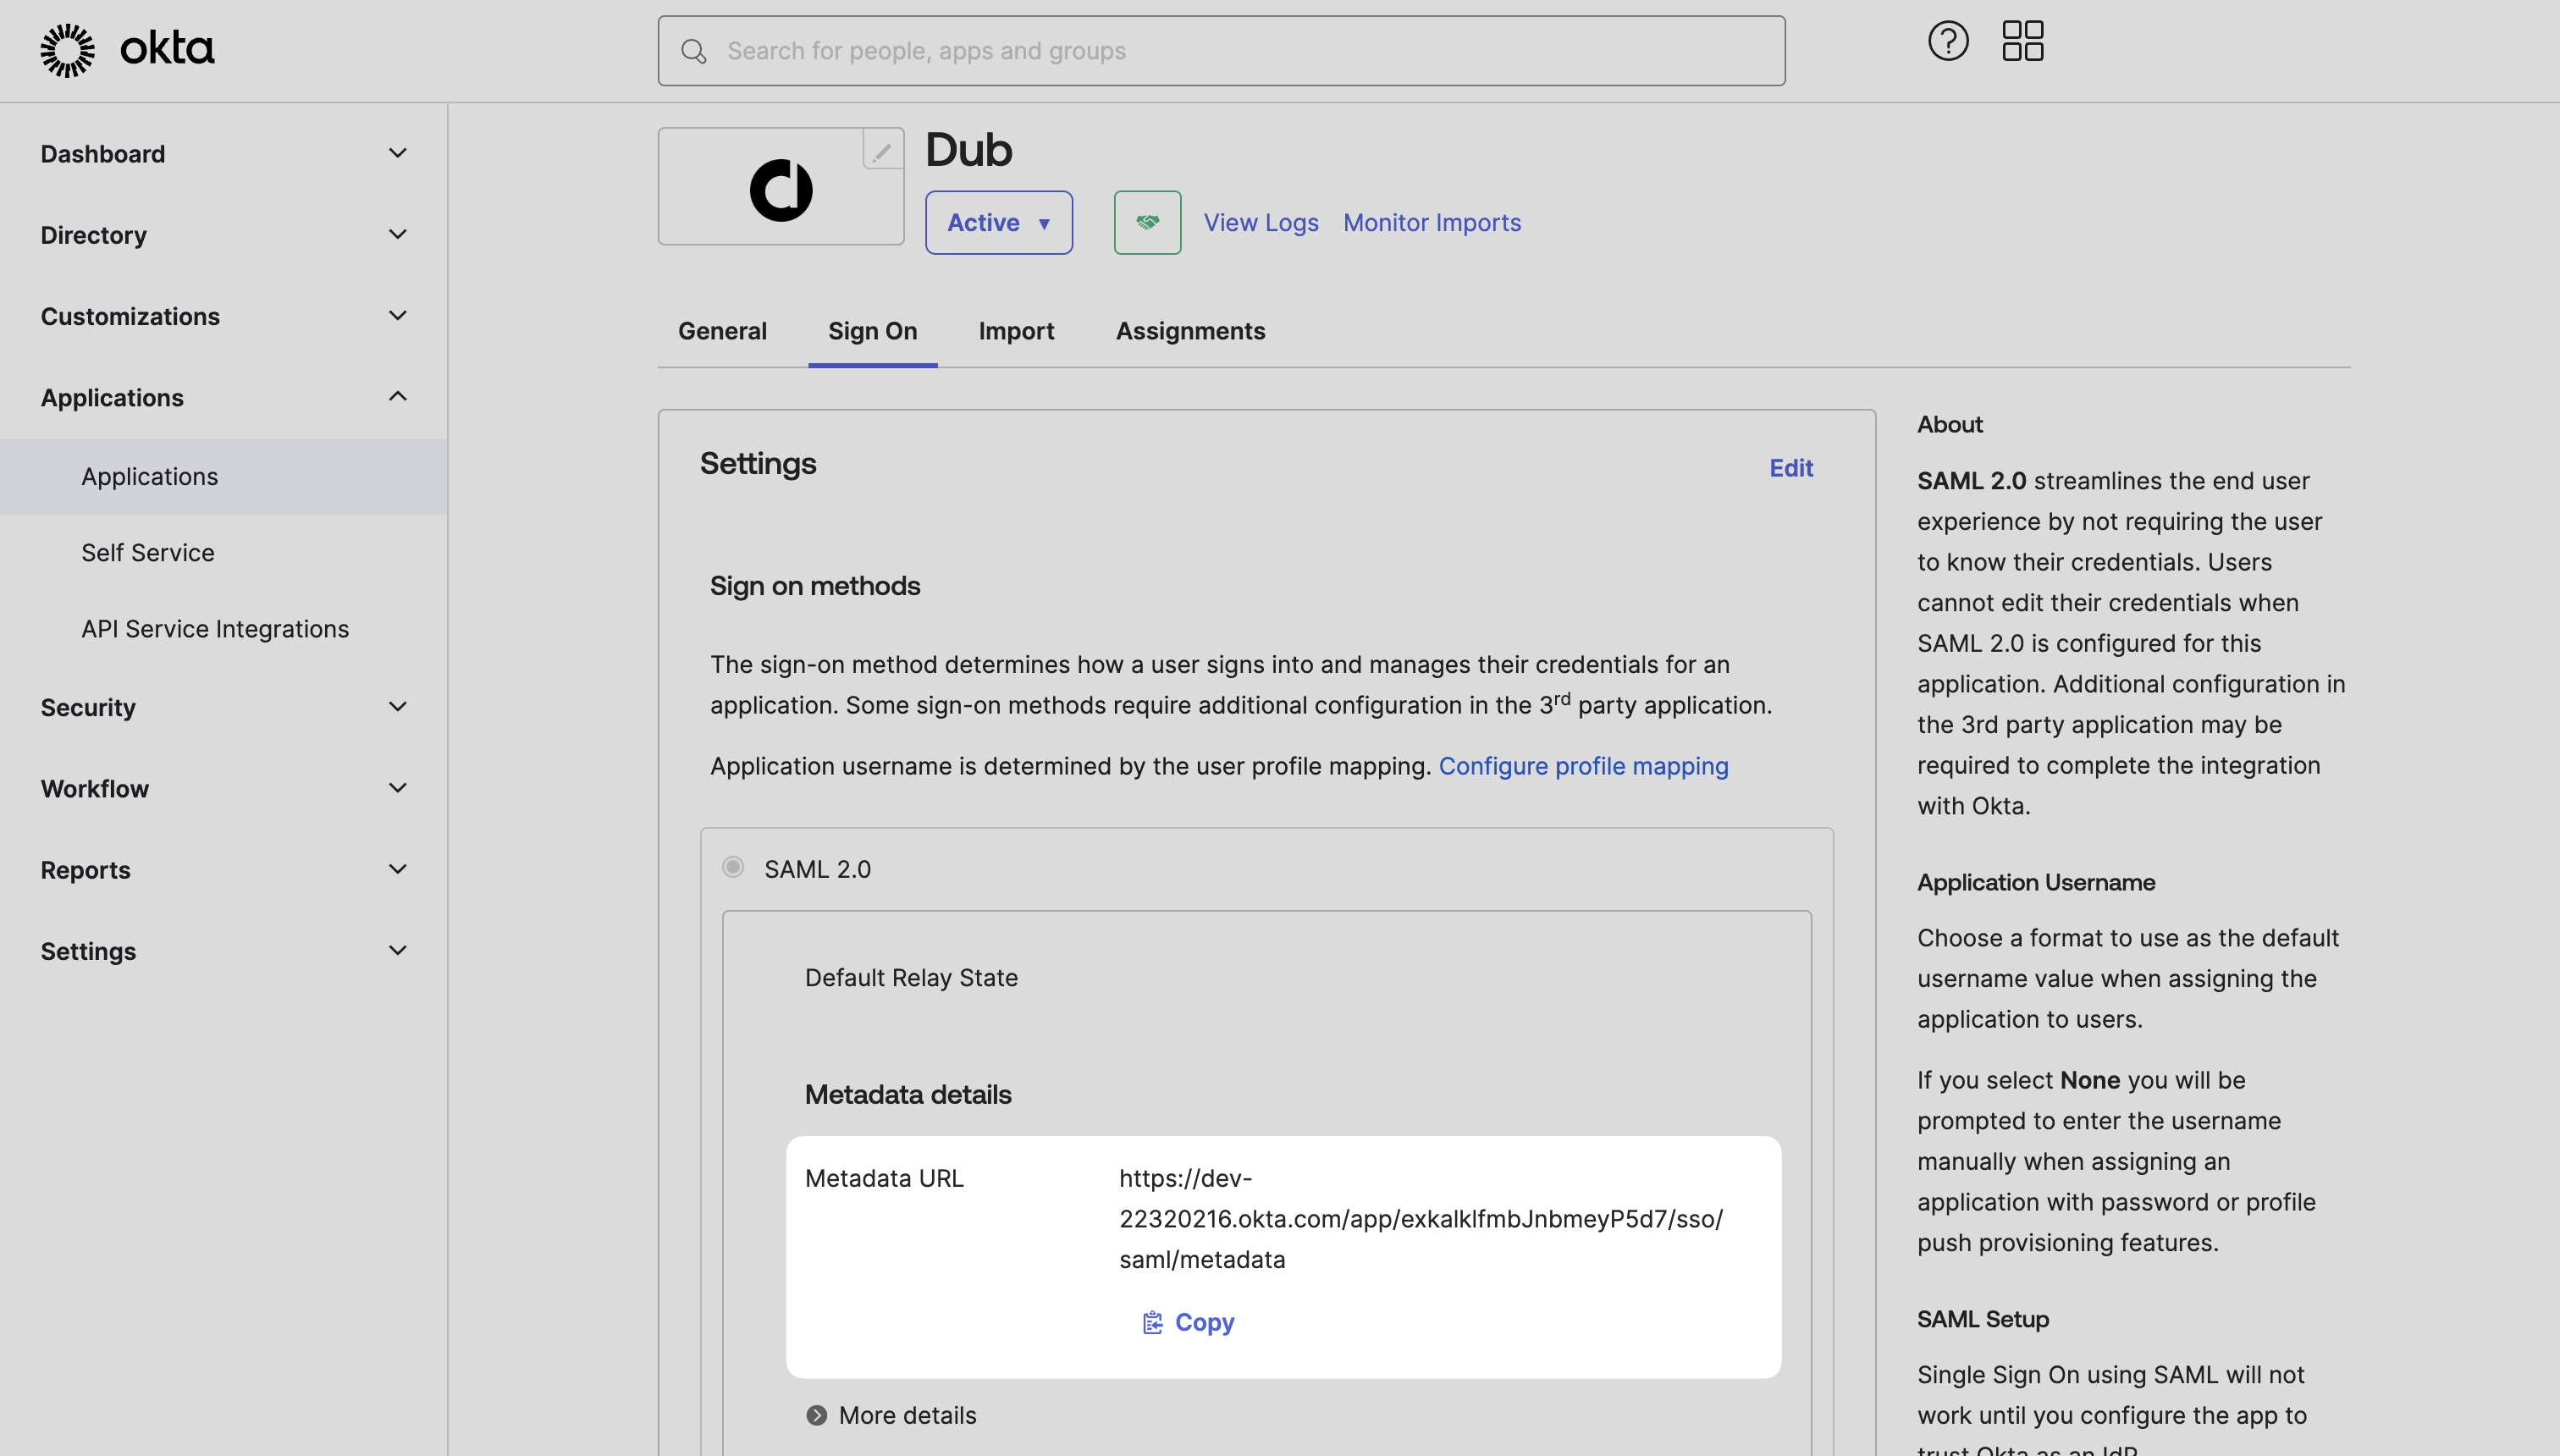 Copy the metadata URL and return to the Dub dashboard.
## Step 5: Configure SAML SSO on Dub
In your workspace settings, click on **Security** in the **Workspace** group.
Copy the metadata URL and return to the Dub dashboard.
## Step 5: Configure SAML SSO on Dub
In your workspace settings, click on **Security** in the **Workspace** group.
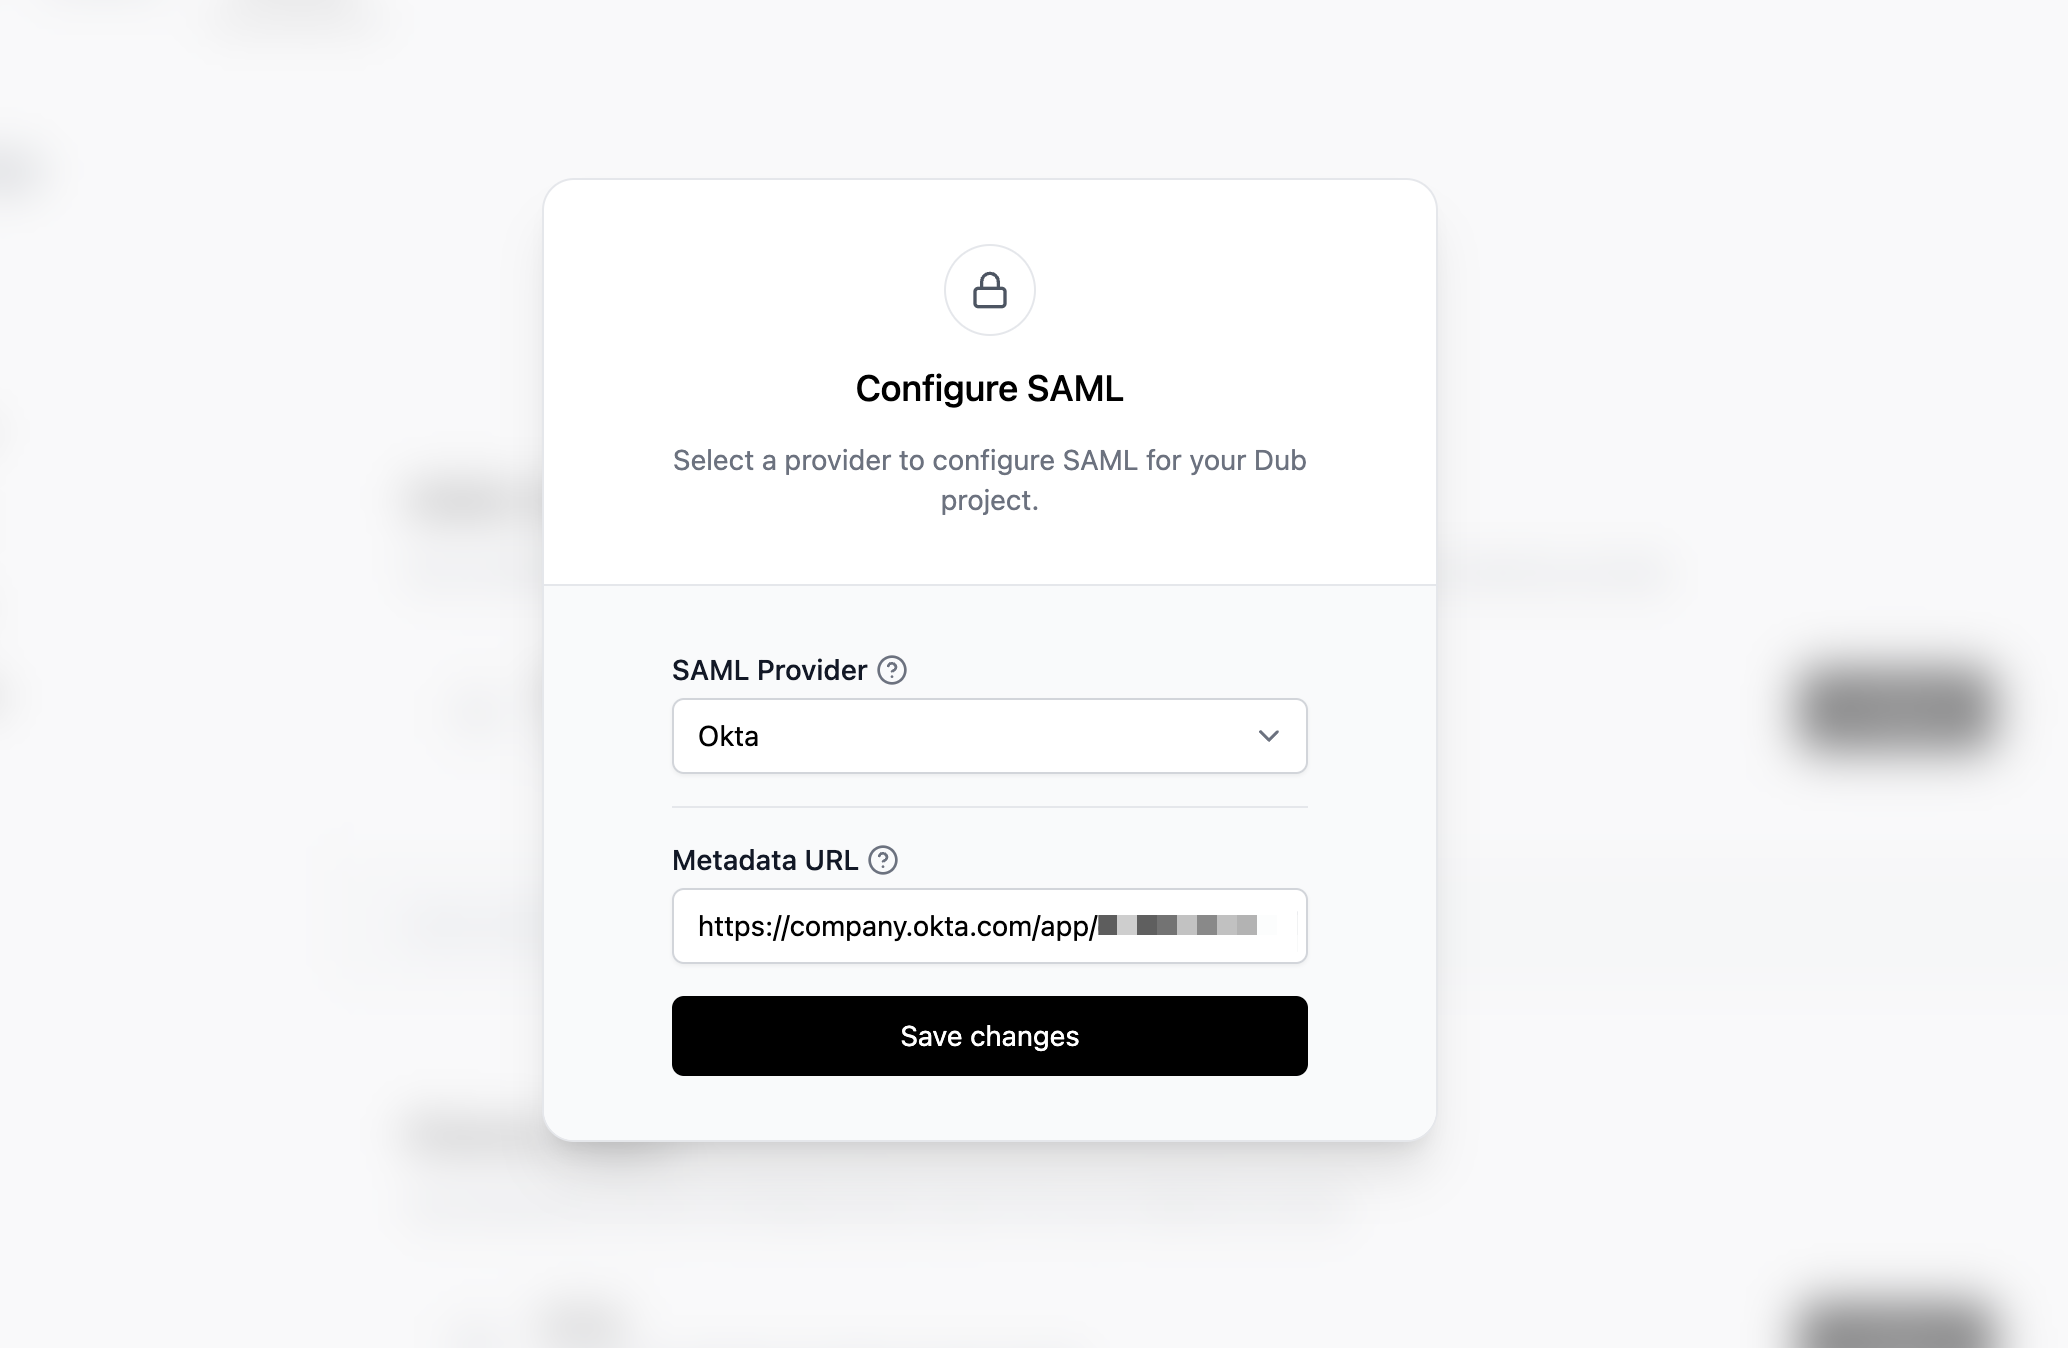
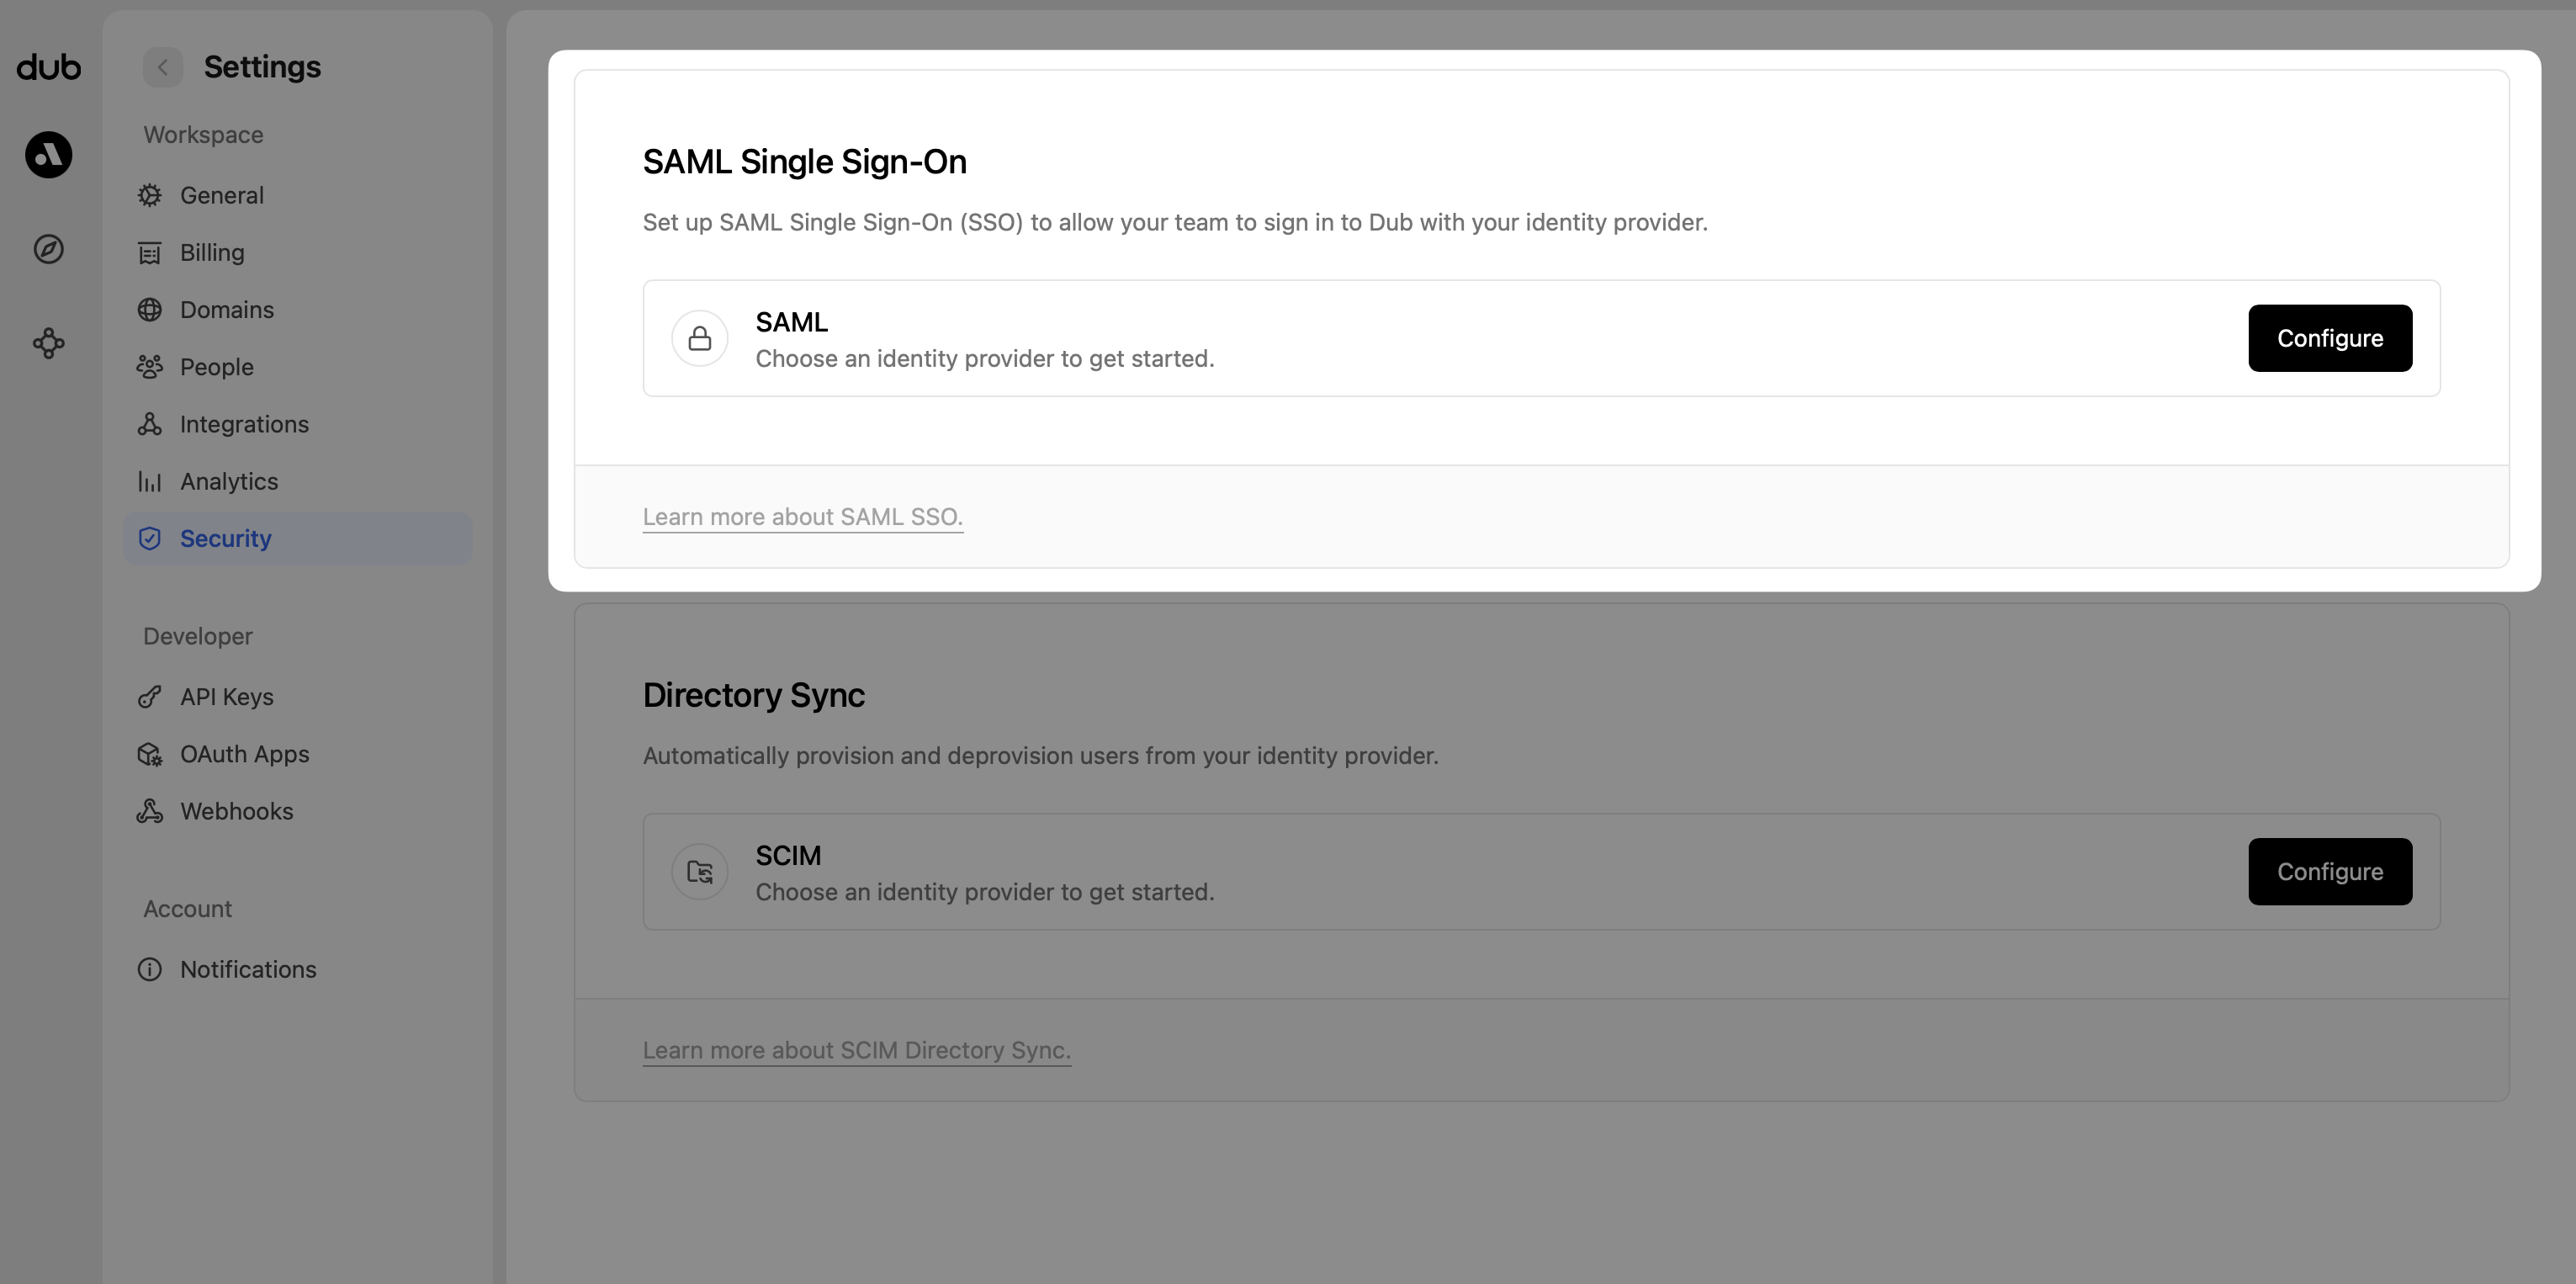 Under the **SAML Single Sign-On** section, click on **Configure**. This will open up the SAML SSO modal:
1. Select **Okta** as the SAML provider.
2. Enter the Metadata URL value that you copied from Step 4.
3. Click **Save changes**.
Under the **SAML Single Sign-On** section, click on **Configure**. This will open up the SAML SSO modal:
1. Select **Okta** as the SAML provider.
2. Enter the Metadata URL value that you copied from Step 4.
3. Click **Save changes**.
 ## Step 6: Assign Users
We highly recommend configuring [SCIM Directory Sync](/help/article/okta-scim)
before assigning users & groups to your workspace. This will ensure that your
users are automatically added to your workspace when they sign in for the
first time, as well as automatically removed when they are deactivated in
Okta.
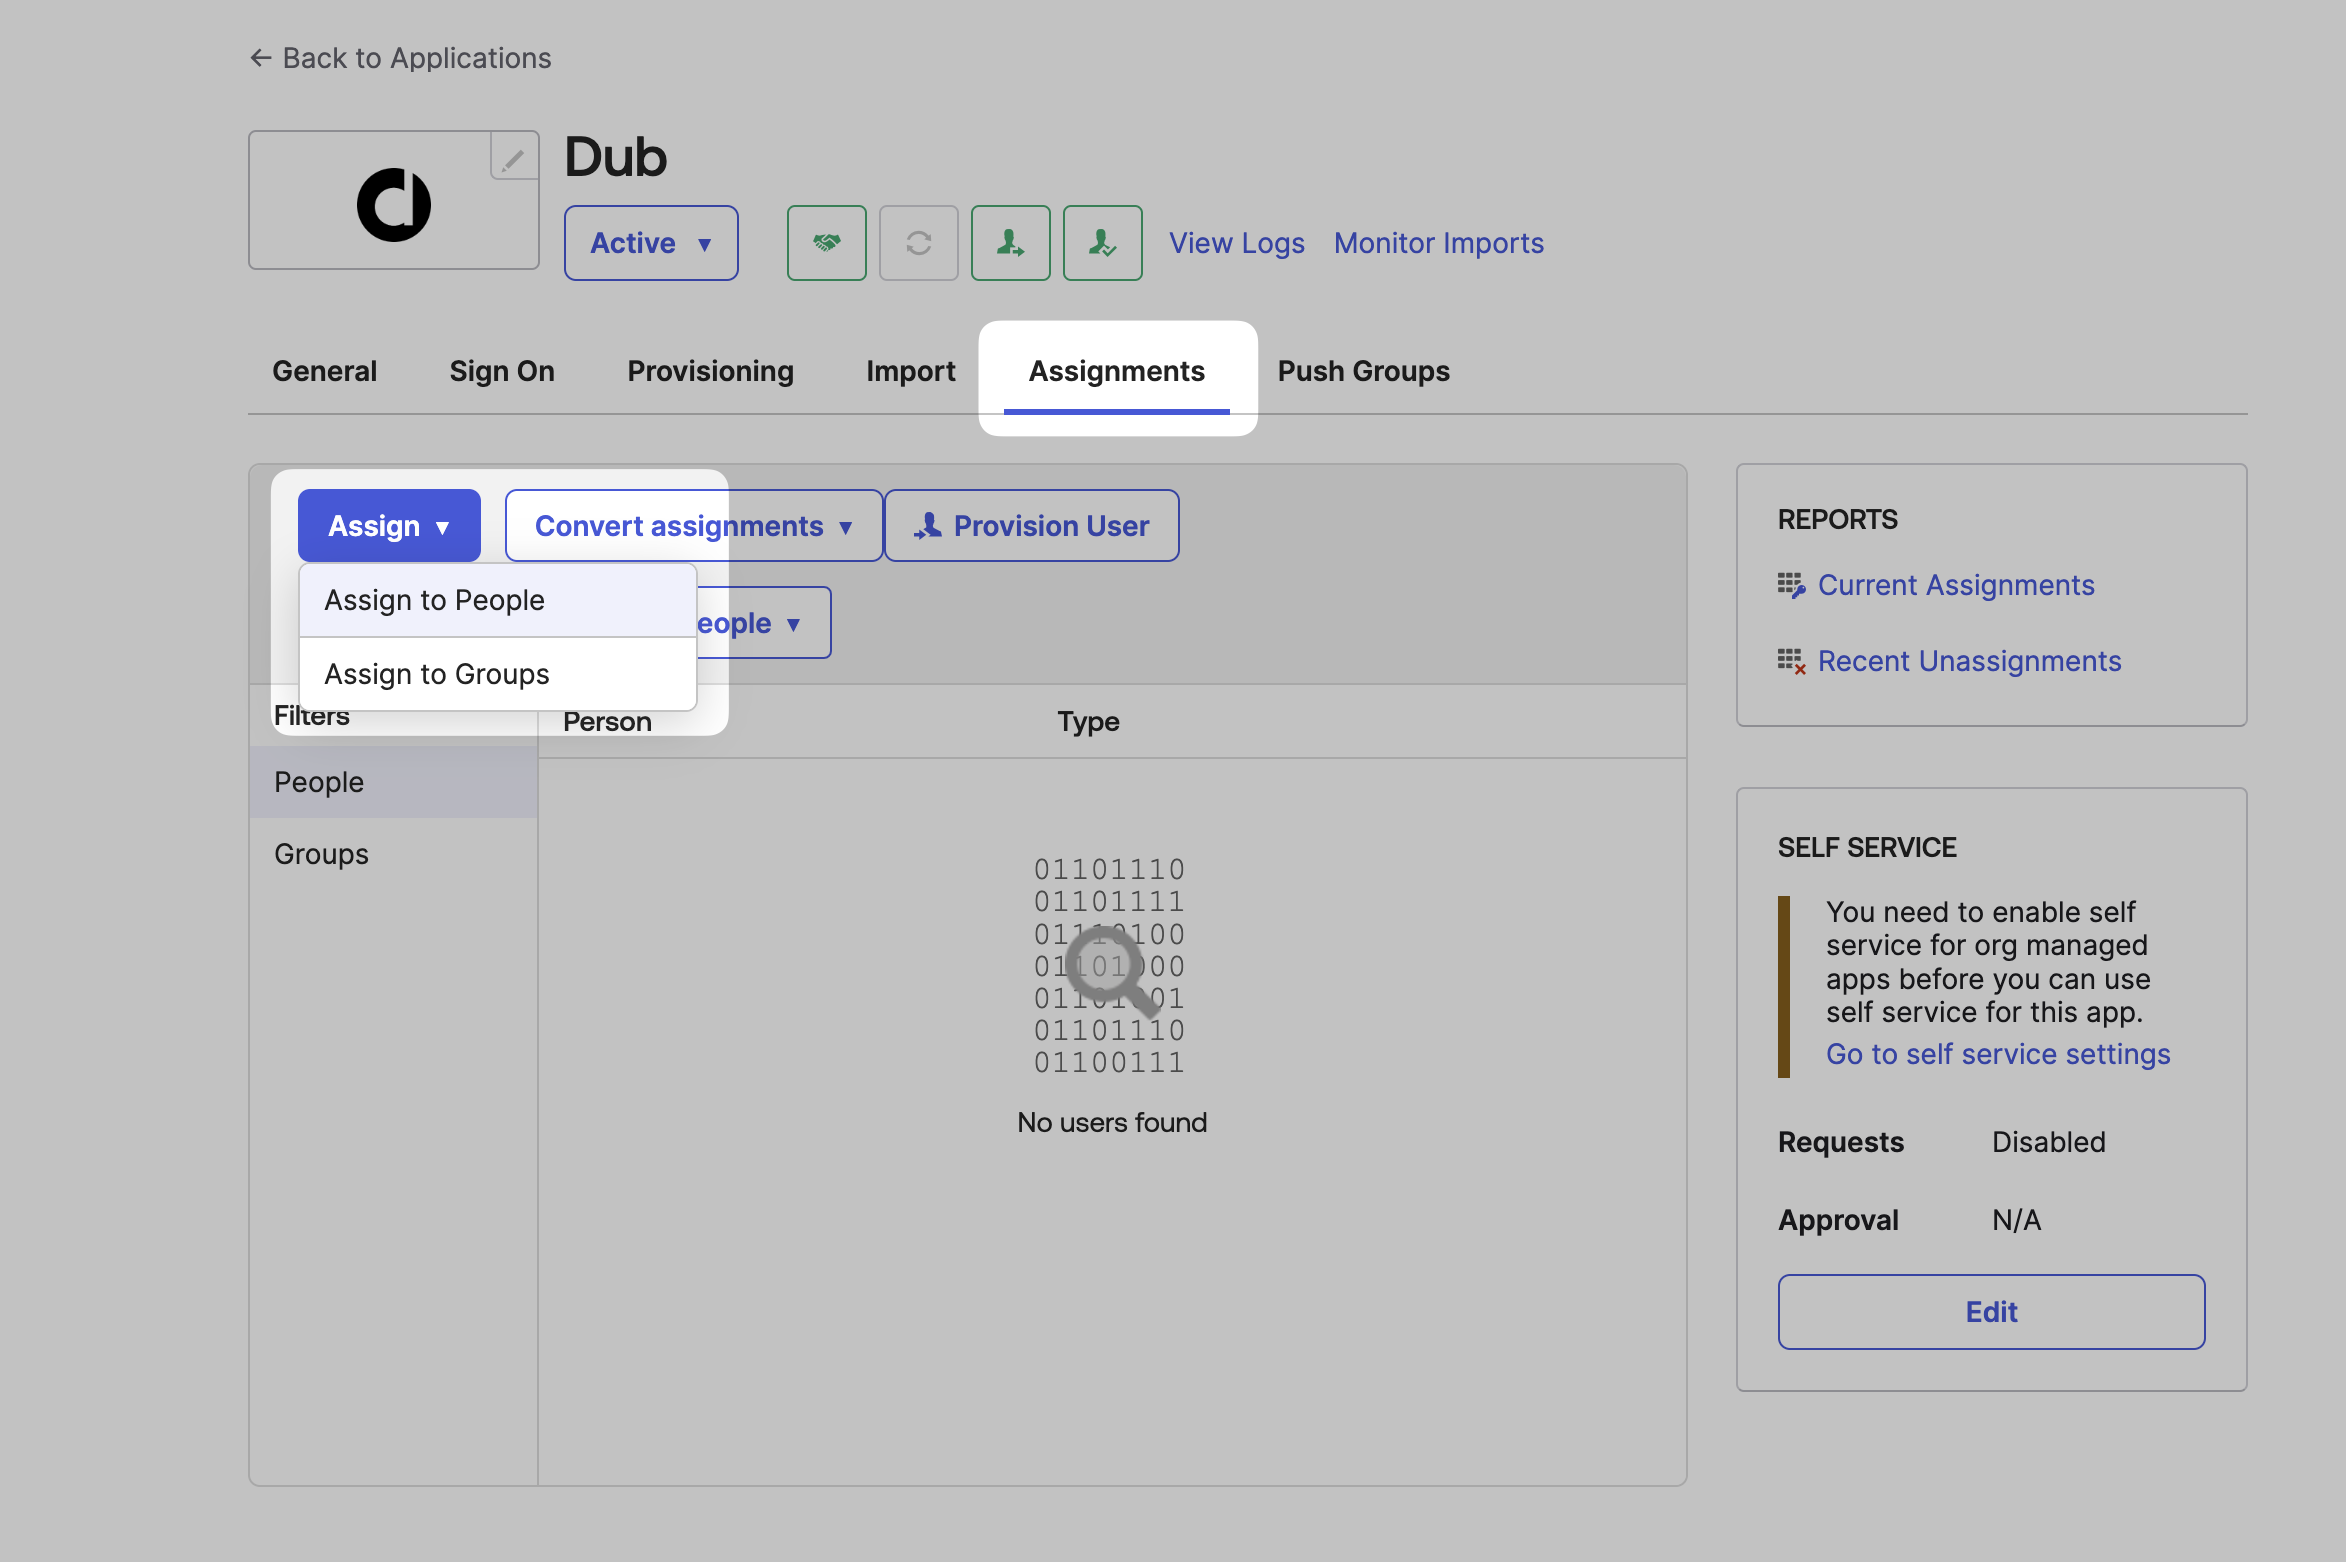
Once you've configured SAML SSO, you can start assigning users & groups to your workspace.
Click on the **Assignments** tab, and click **Assign**. You can choose to assign users individually, or assign them in bulk by group.
## Step 6: Assign Users
We highly recommend configuring [SCIM Directory Sync](/help/article/okta-scim)
before assigning users & groups to your workspace. This will ensure that your
users are automatically added to your workspace when they sign in for the
first time, as well as automatically removed when they are deactivated in
Okta.
Once you've configured SAML SSO, you can start assigning users & groups to your workspace.
Click on the **Assignments** tab, and click **Assign**. You can choose to assign users individually, or assign them in bulk by group.
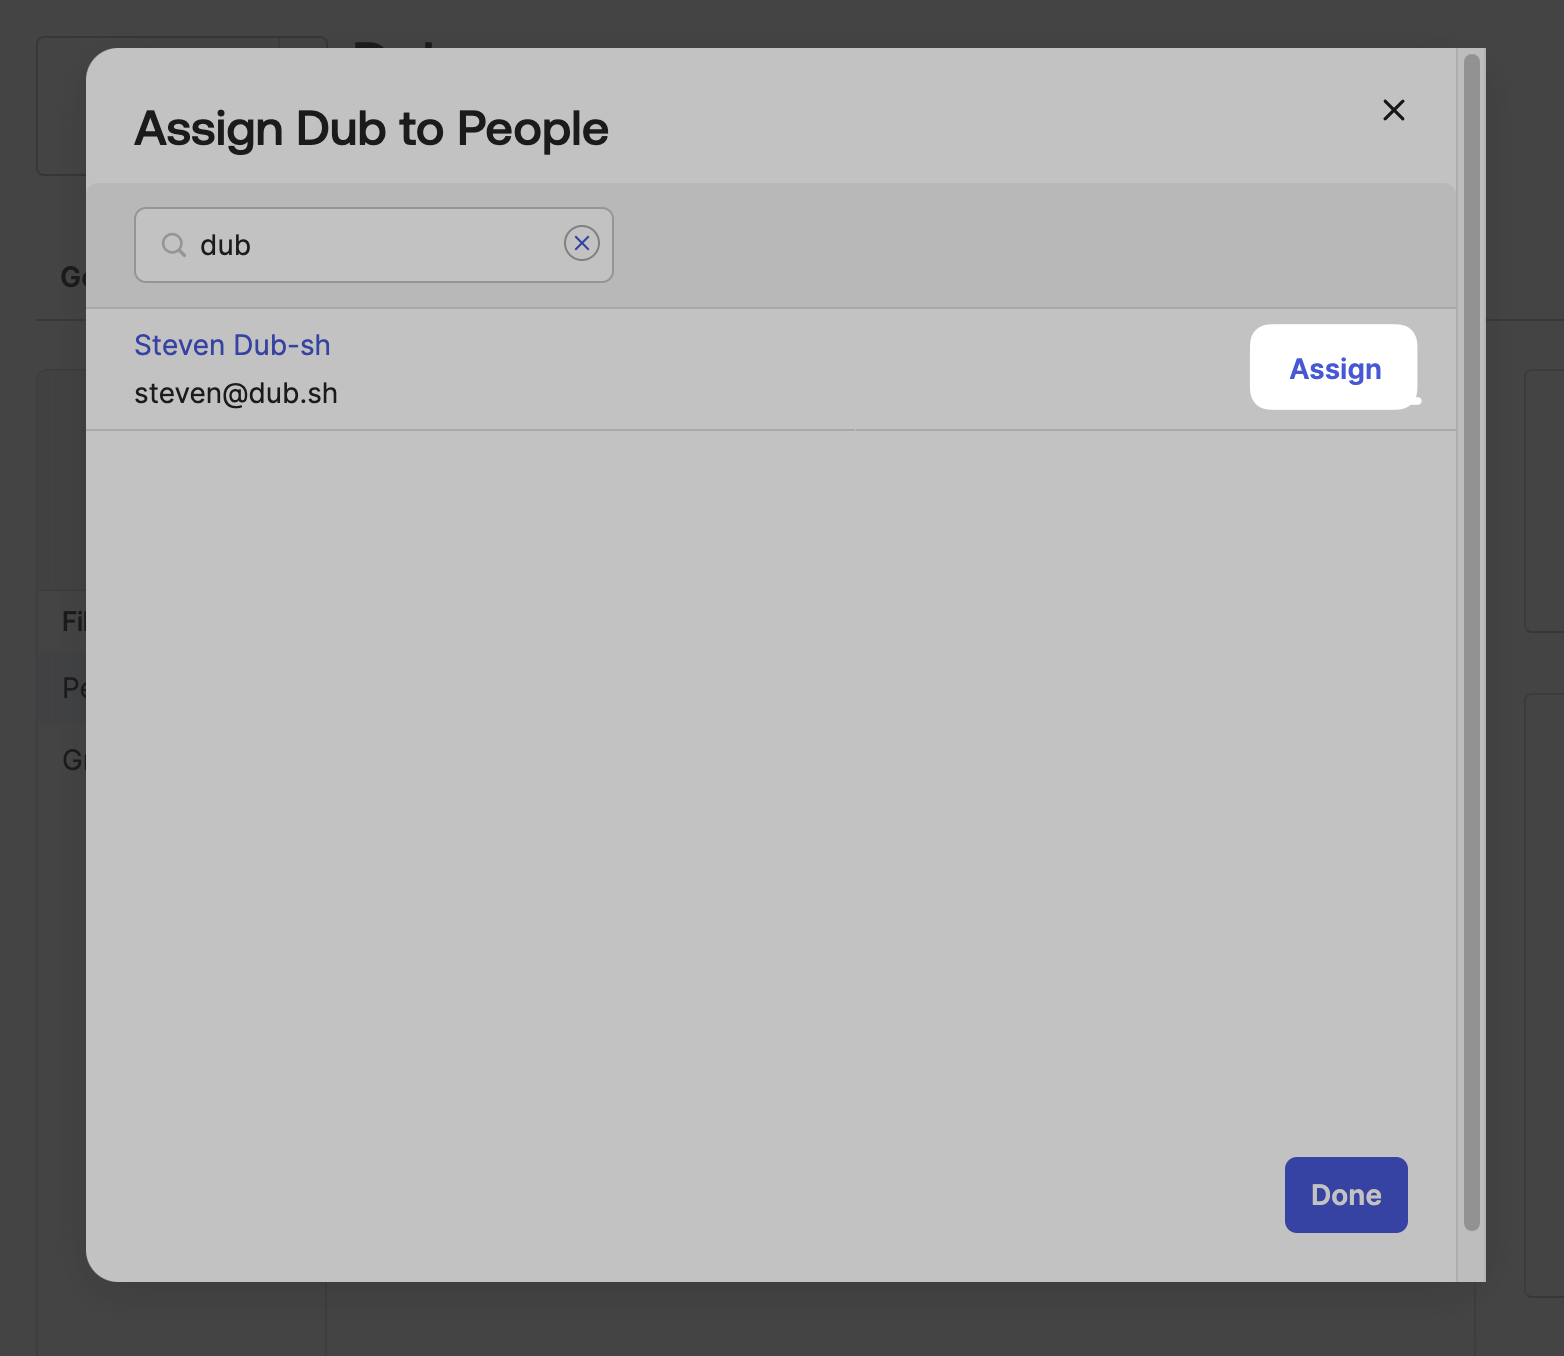
 Select the users or groups you want to assign and click **Assign**.
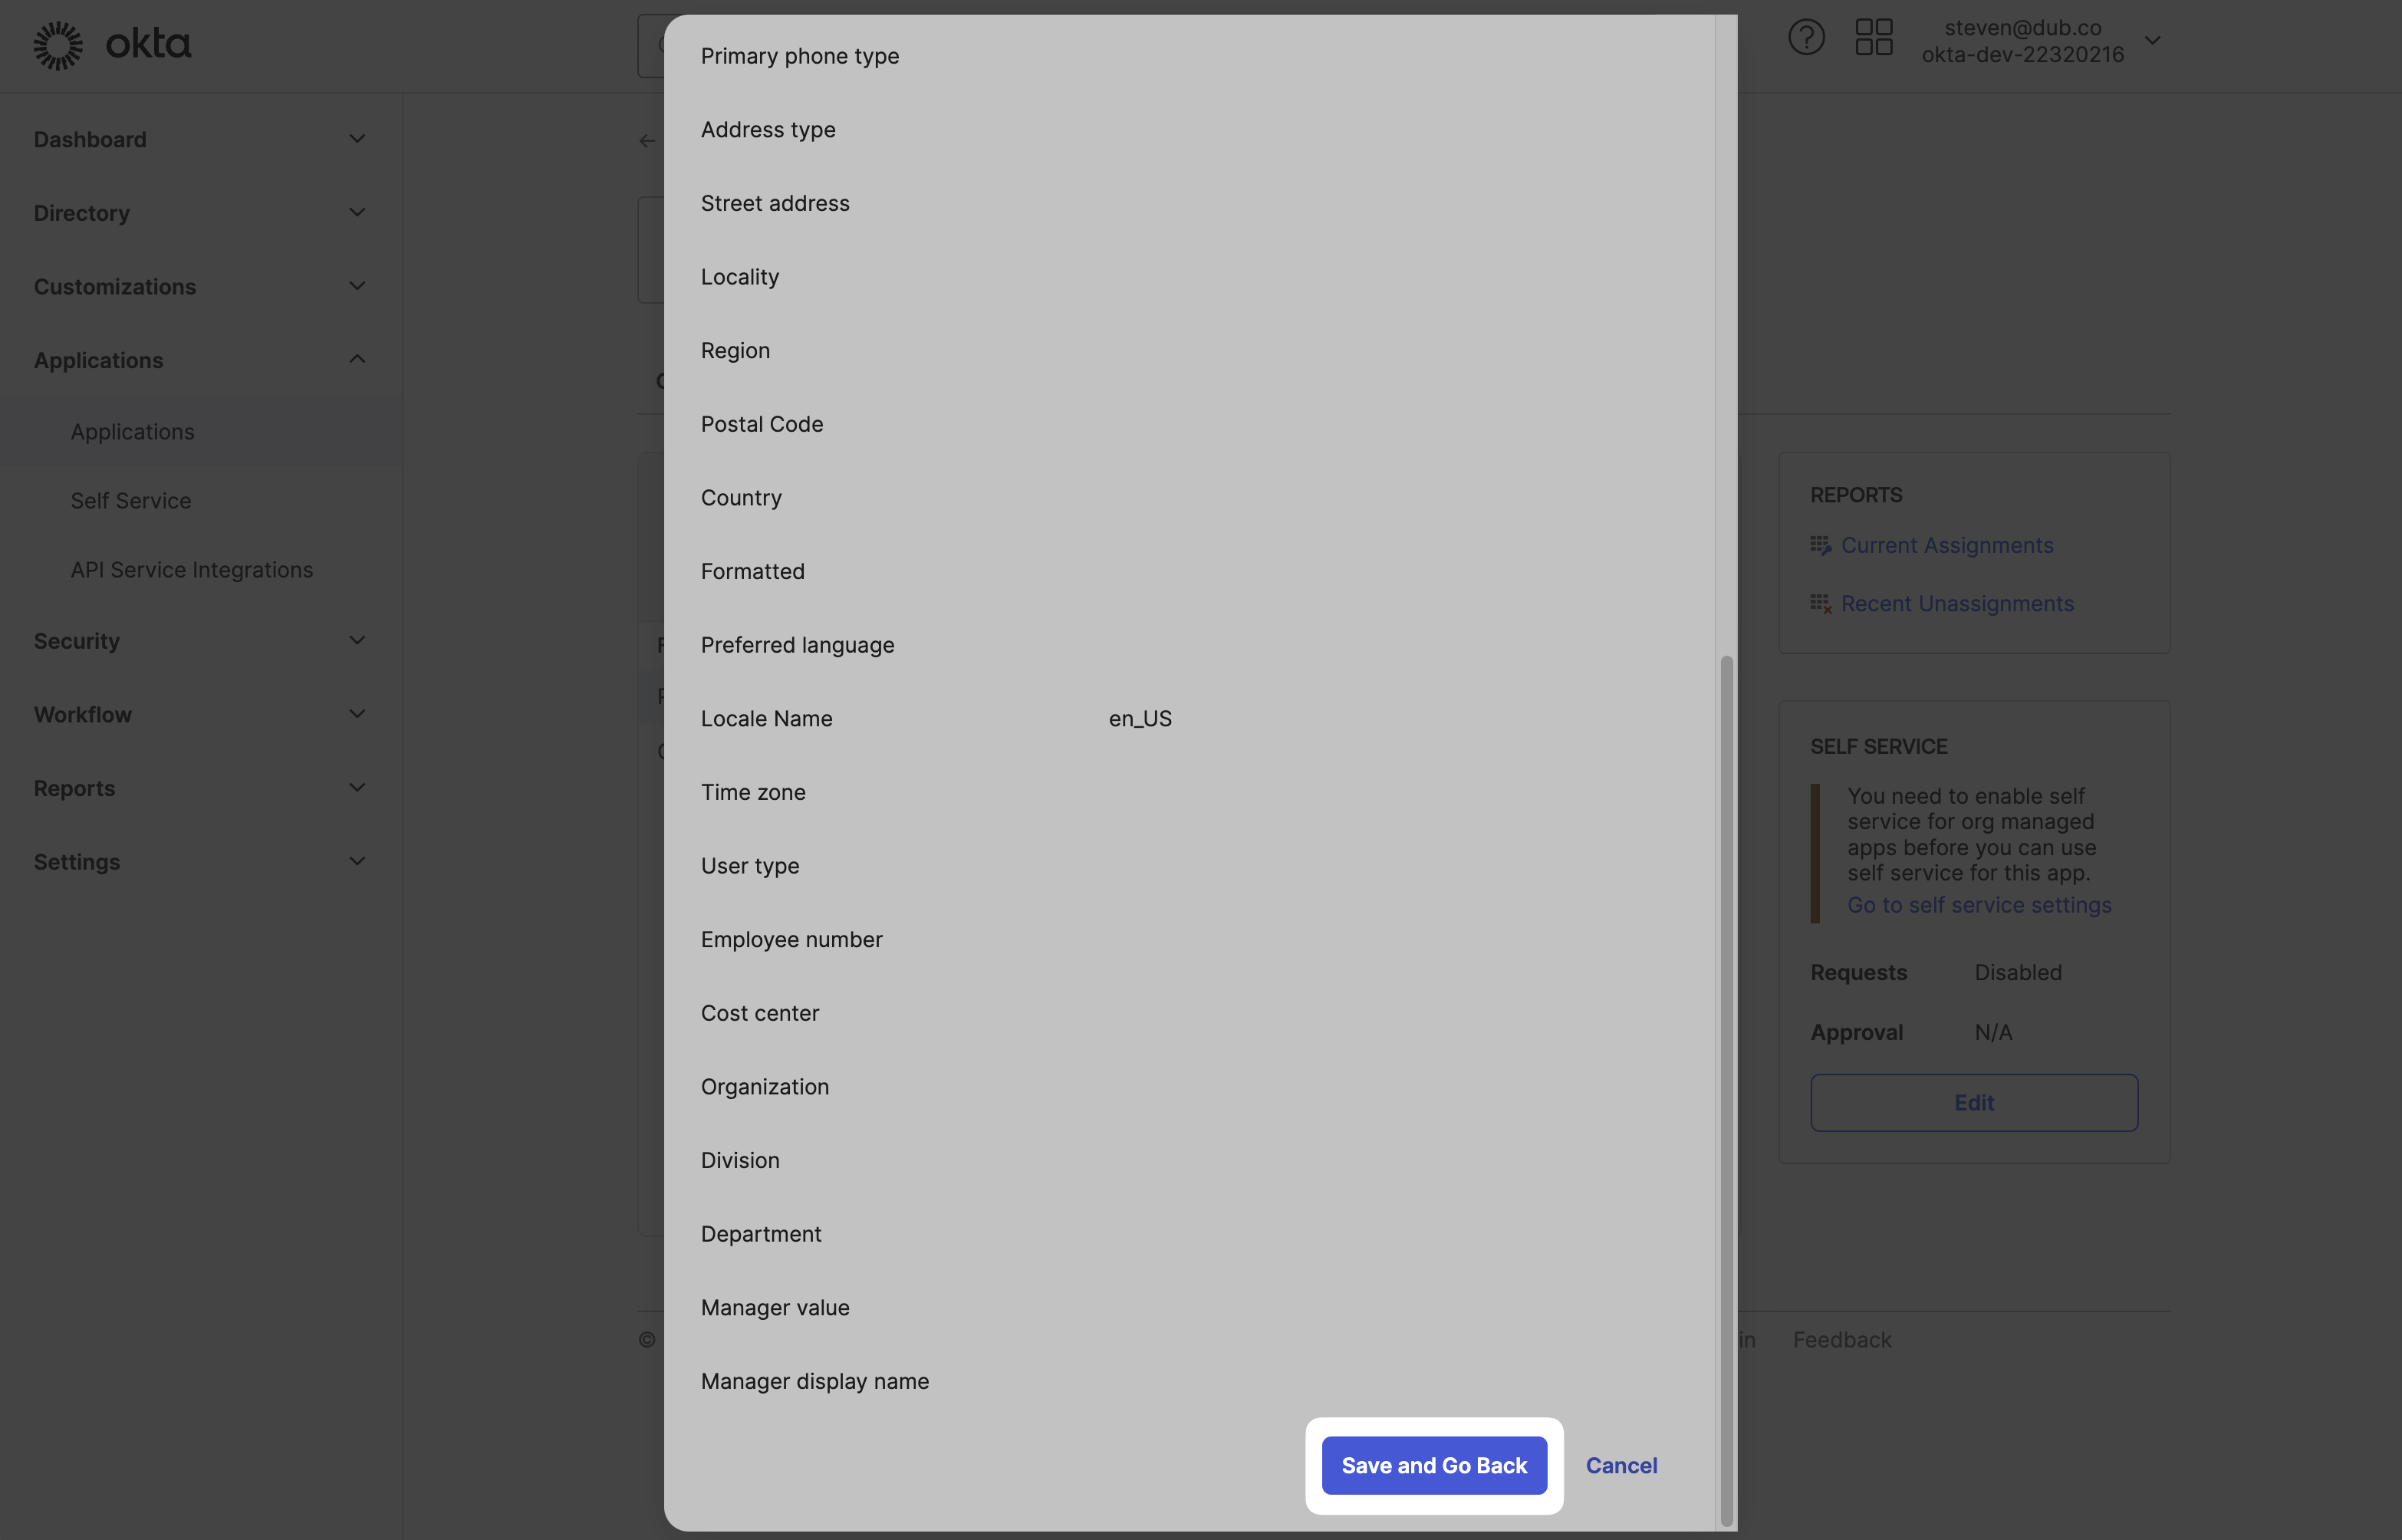
 In the next screen, scroll to the bottom and click **Save and Go Back**.
 Your assigned users should now receive an invitation email to join your Dub workspace.
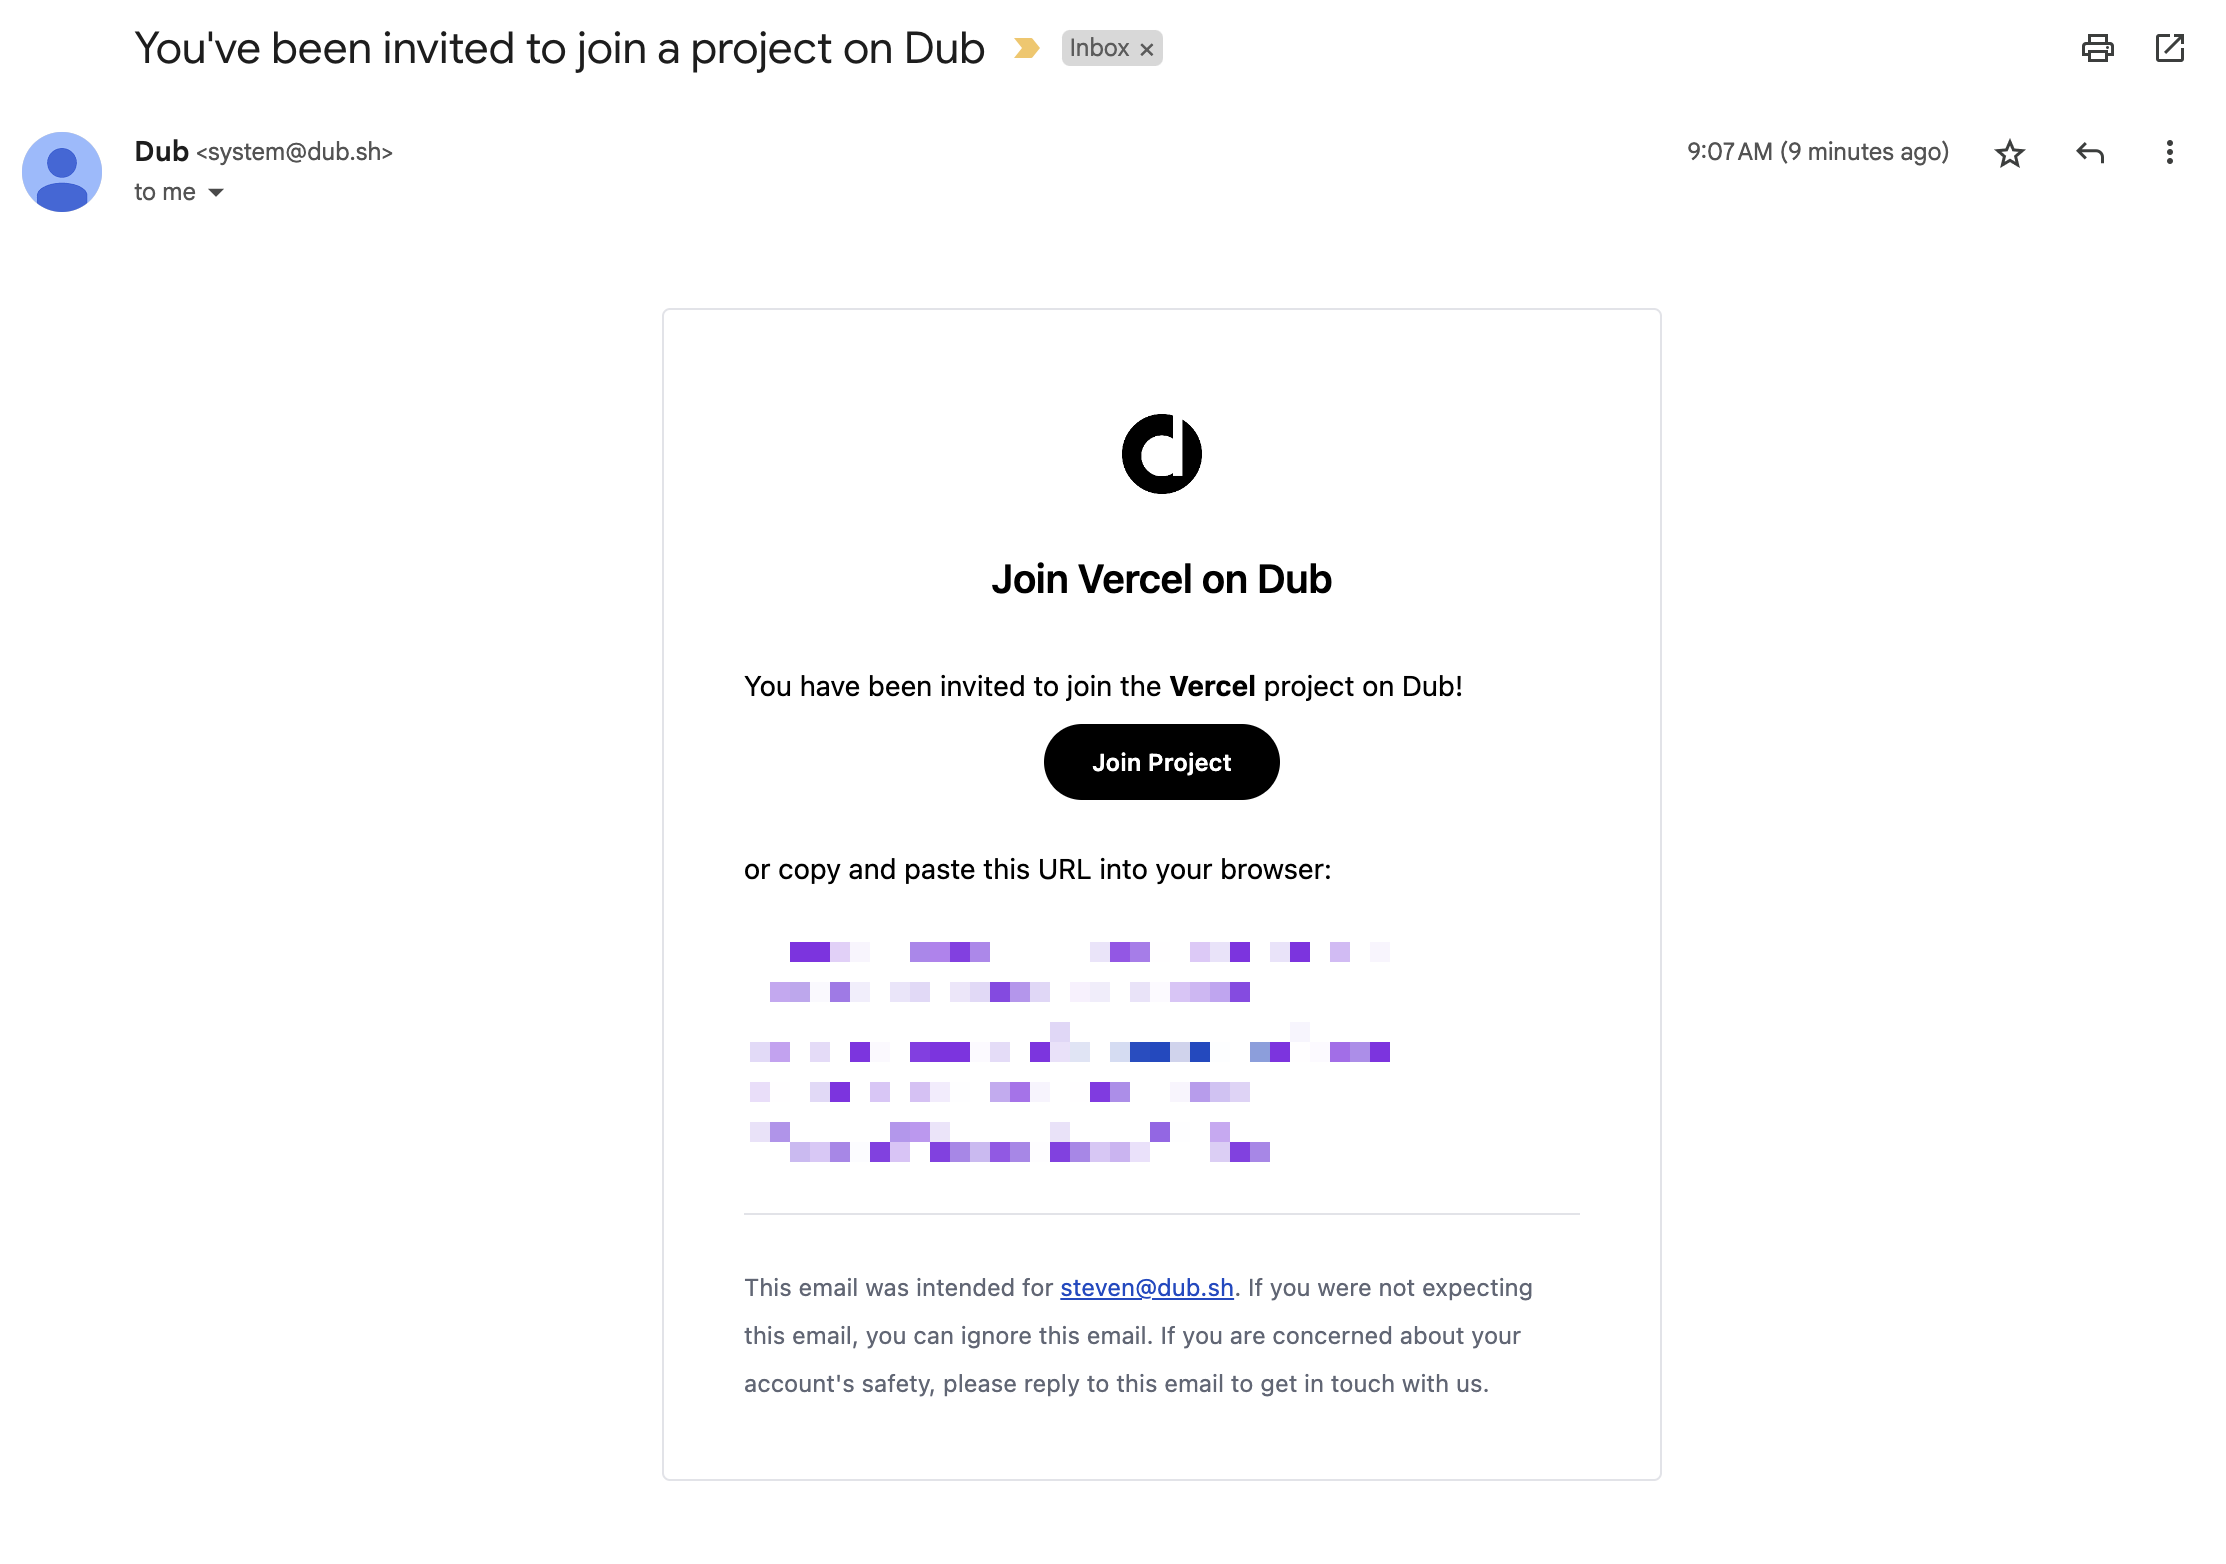 They will also be able to sign in to Dub using Okta SSO.