> ## Documentation Index
> Fetch the complete documentation index at: https://dub.co/llms.txt
> Use this file to discover all available pages before exploring further.
# Configuring SAML SSO with Google Workspace
> For Dub Enterprise users, you can securely manage your team's access to Dub using Google Workspace SAML SSO.
This feature is only available on [Dub Enterprise](https://dub.co/enterprise).
For Dub Enterprise users, you can securely manage your team's access to Dub using [Google Workspace SAML SSO](https://cloud.google.com/architecture/identity/single-sign-on).
## Step 1: Create SAML Integration
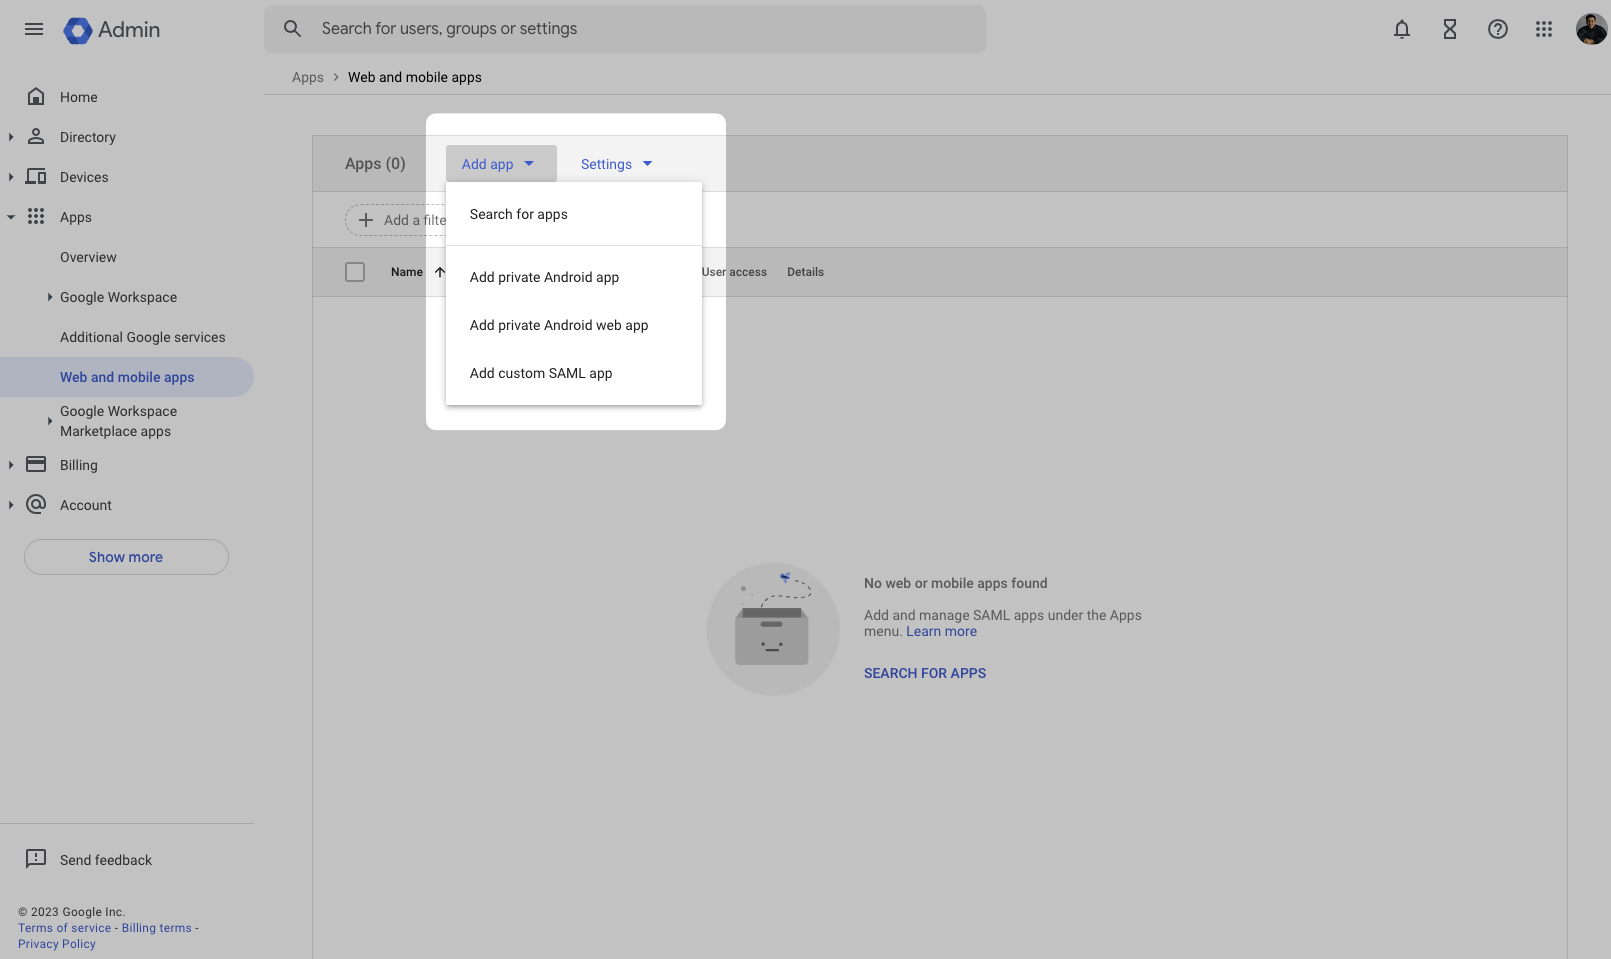
In your [Google Admin](https://admin.google.com/) dashboard, click on **Apps** in the sidebar and select **Web and mobile apps** from the list.
If you don't already have an existing SAML application, click on **Add app** and select **Add custom SAML app** from the dropdown menu.
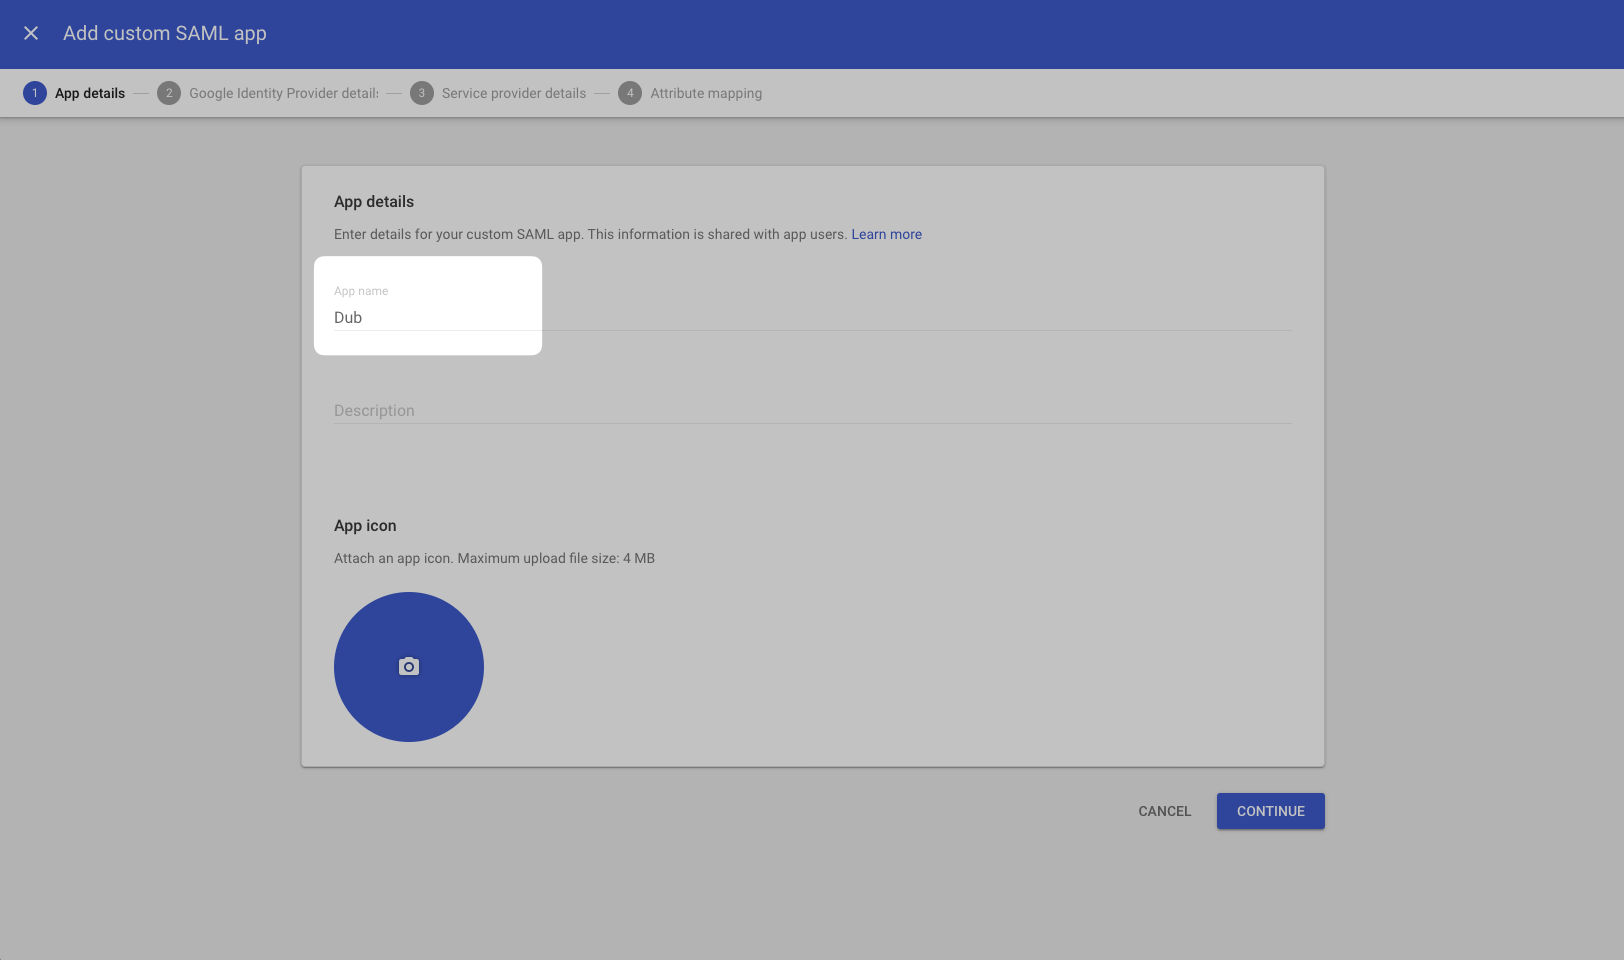
 Enter the **App name** for your application, and click **Continue**.
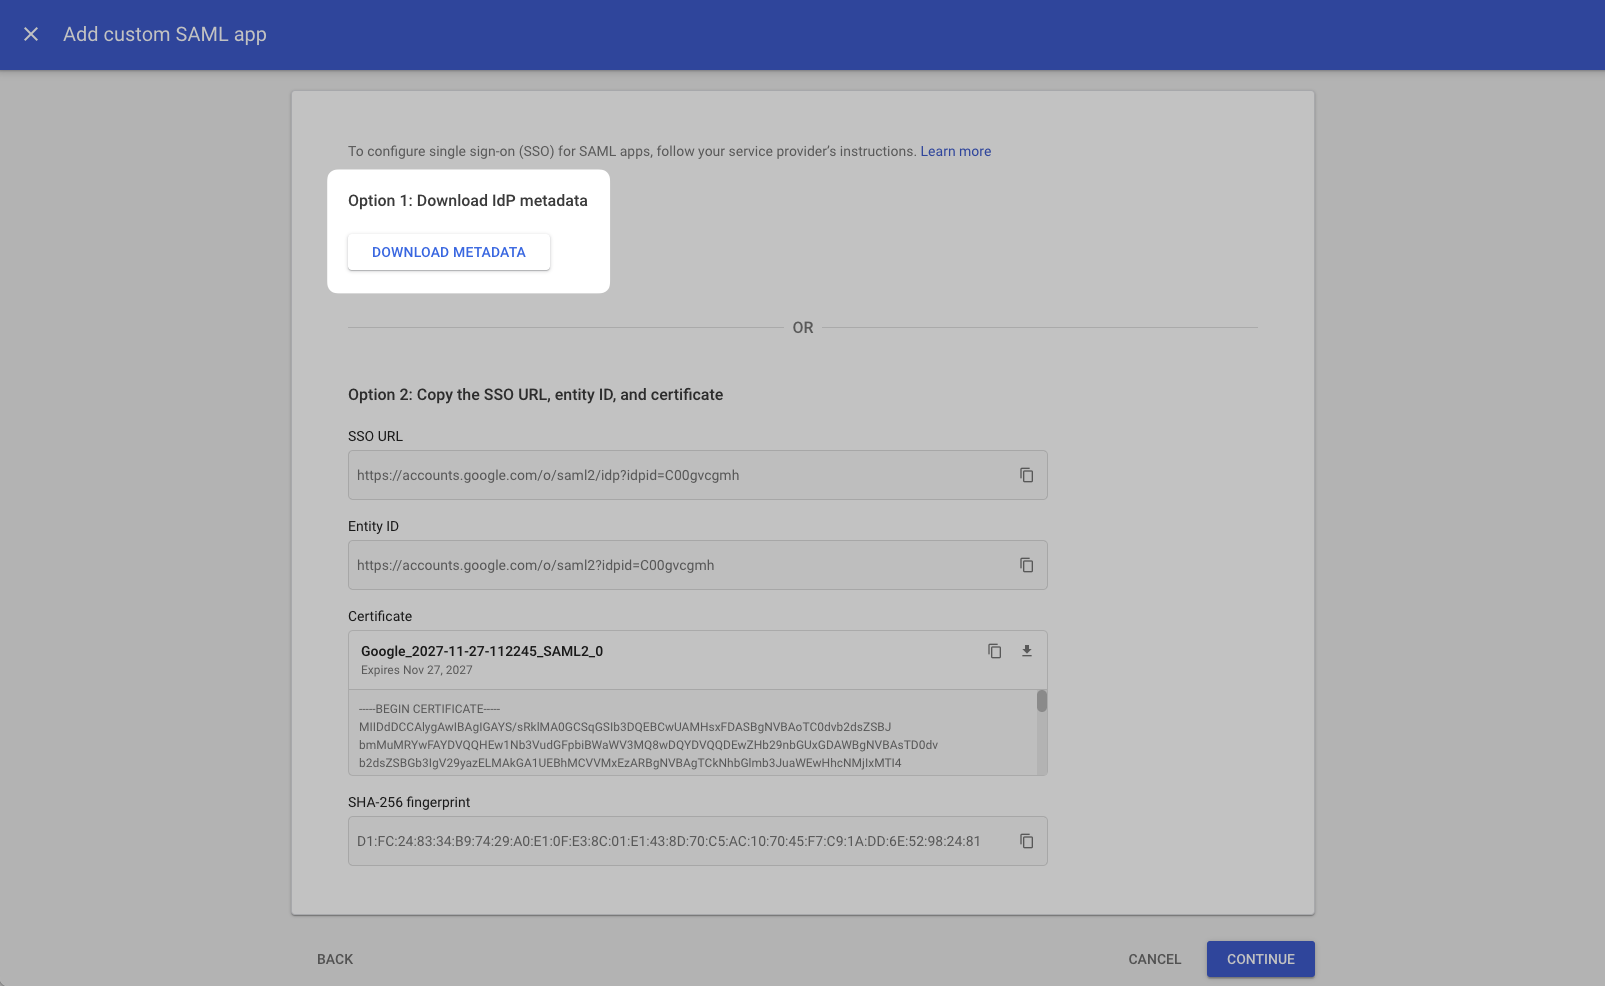
 In the next screen, click **Download Metadata** to download the metadata XML file and click **Continue**. You'll need this file in Step 3.
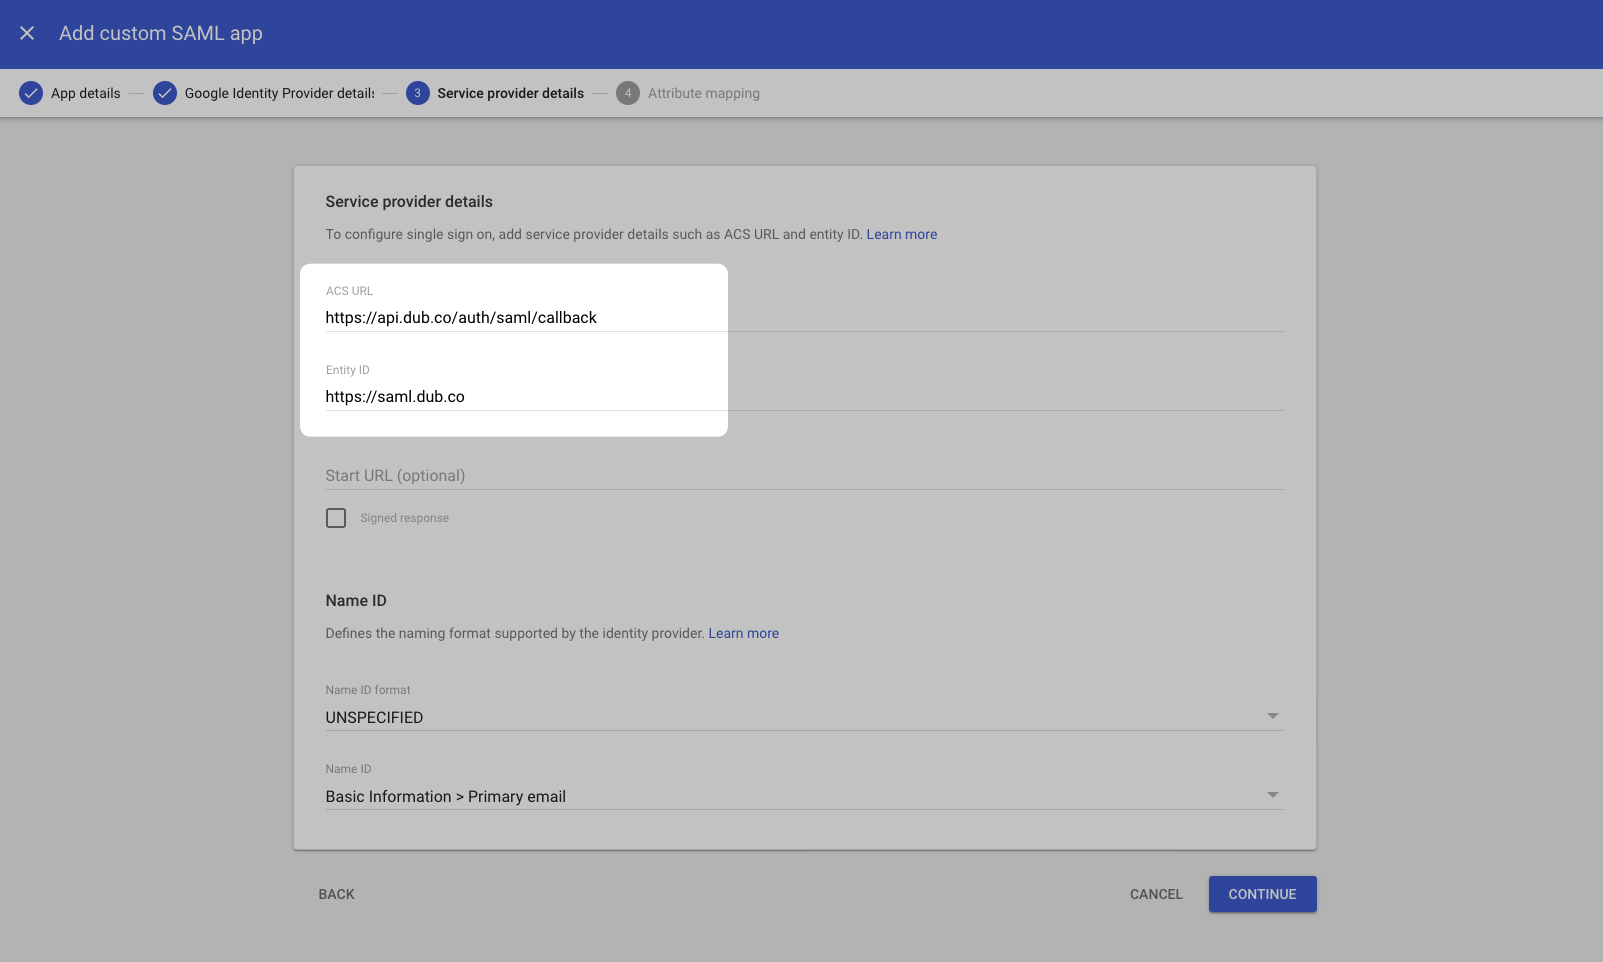
 Copy the following values and paste them under **Service provider details**:
```text title="ACS URL" theme={null}
https://api.dub.co/auth/saml/callback
```
```text title="Entity ID" theme={null}
https://saml.dub.co
```
Copy the following values and paste them under **Service provider details**:
```text title="ACS URL" theme={null}
https://api.dub.co/auth/saml/callback
```
```text title="Entity ID" theme={null}
https://saml.dub.co
```
 Click **Next** to proceed to the next step.
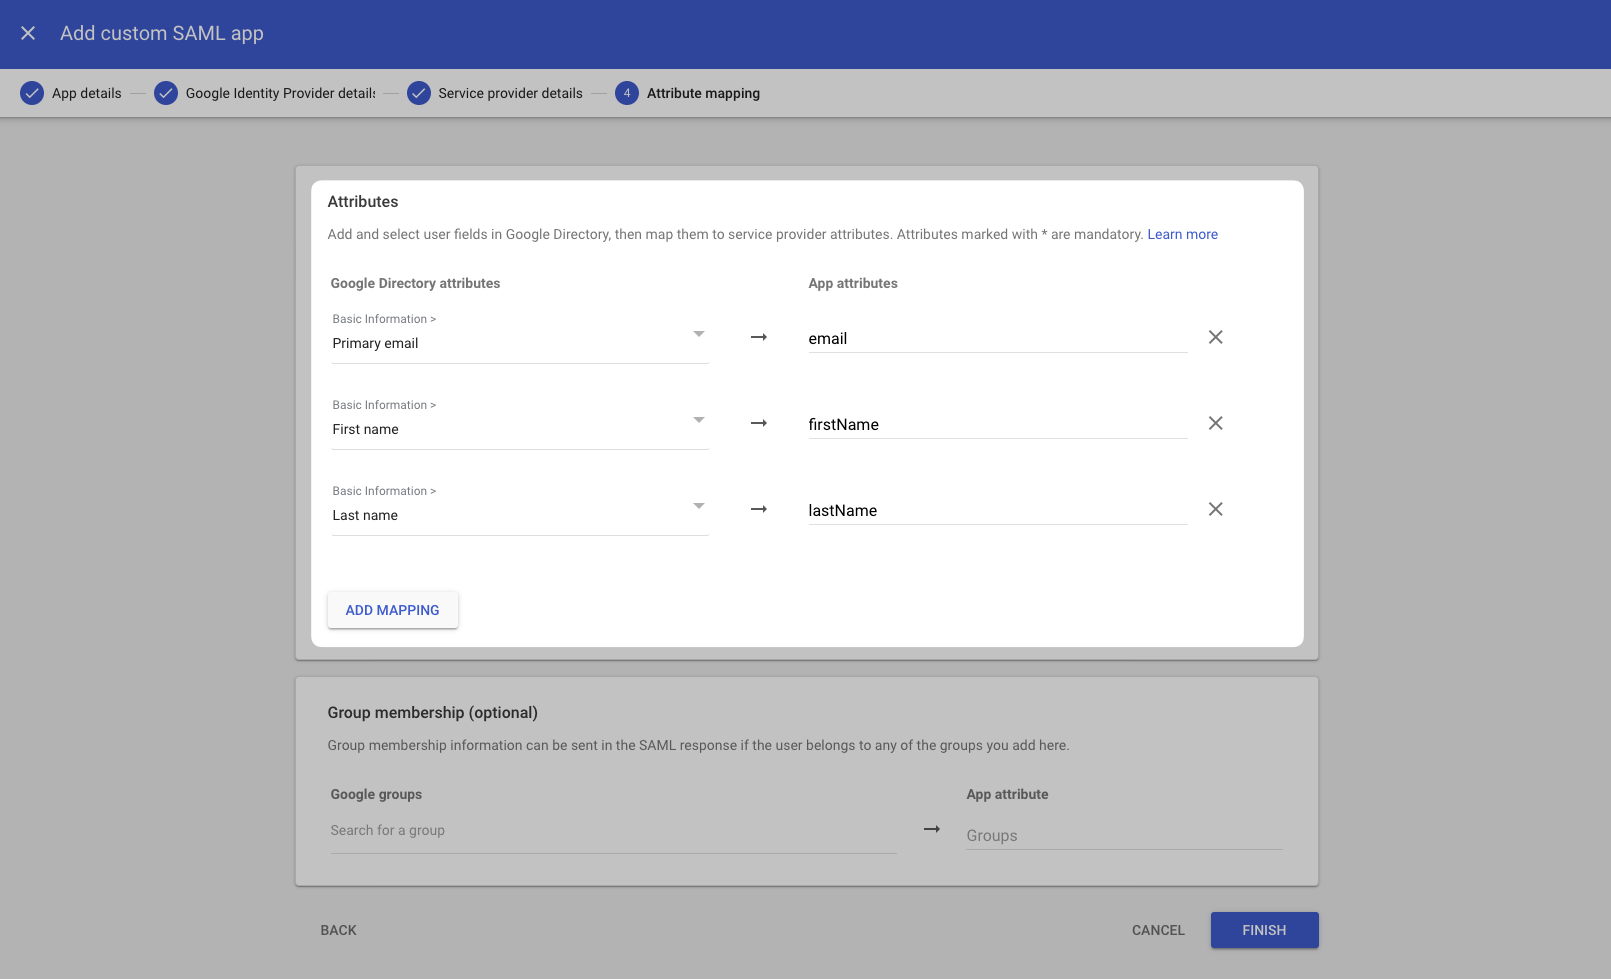
## Step 2: Configure Attribute Mapping
On the next screen, under the **Attributes** section, click **Add Mapping** and add the following attribute mappings:
| Google Directory attributes | App attributes |
| --------------------------- | -------------- |
| `Primary email` | `email` |
| `First name` | `firstName` |
| `Last name` | `lastName` |
Click **Next** to proceed to the next step.
## Step 2: Configure Attribute Mapping
On the next screen, under the **Attributes** section, click **Add Mapping** and add the following attribute mappings:
| Google Directory attributes | App attributes |
| --------------------------- | -------------- |
| `Primary email` | `email` |
| `First name` | `firstName` |
| `Last name` | `lastName` |
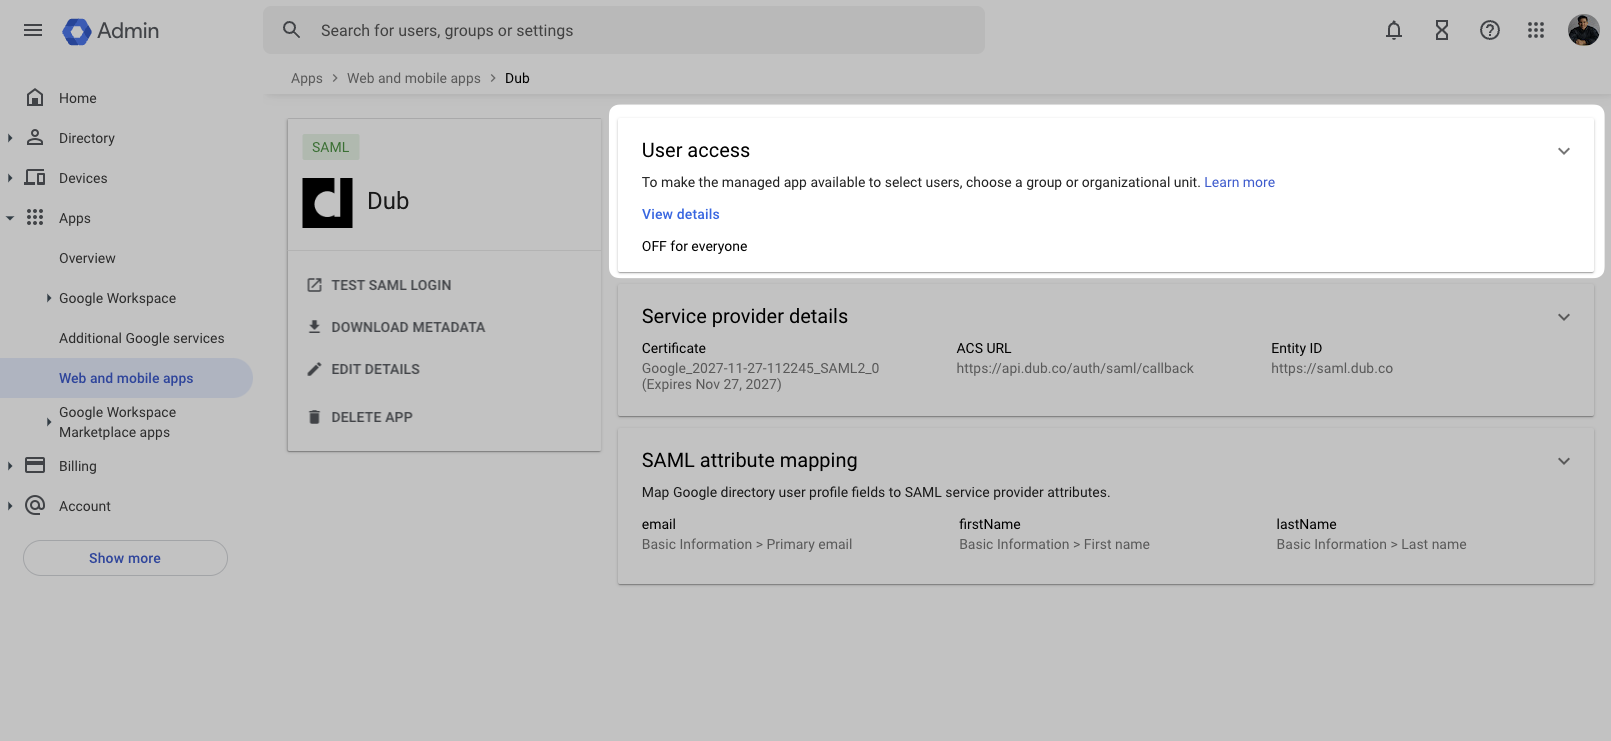
 Once that's done, click **Finish**.
On the next screen, click **User access** to configure the application to allow users to log in.
Once that's done, click **Finish**.
On the next screen, click **User access** to configure the application to allow users to log in.
 Check the **ON for everyone** checkbox and click **Save**.
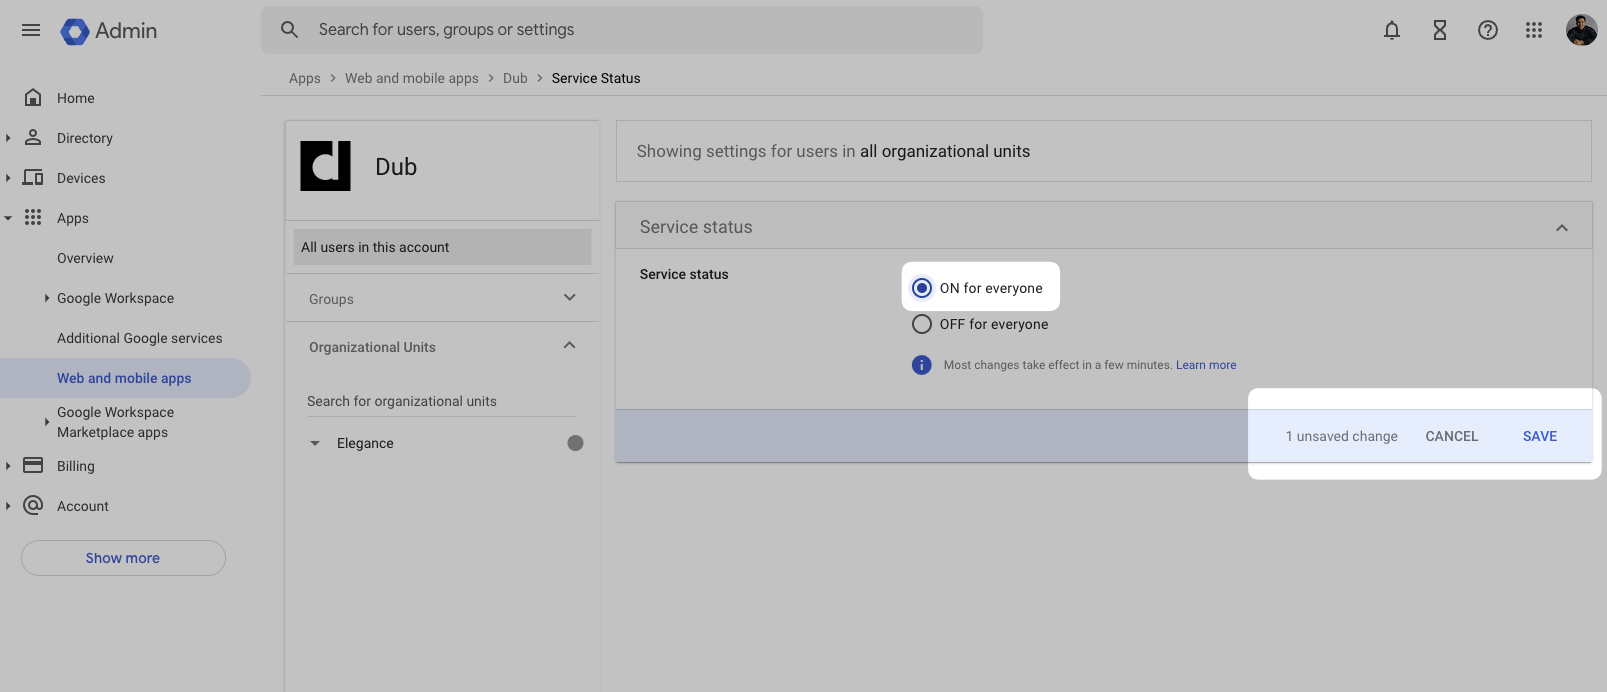 This will allow users in your Google Workspace to automatically sign in to Dub with Google SAML SSO.
You can now return to the Dub dashboard to complete the SAML SSO configuration.
## Step 3: Configure SAML SSO on Dub
In your workspace settings, click on **Security** in the **Workspace** group.
This will allow users in your Google Workspace to automatically sign in to Dub with Google SAML SSO.
You can now return to the Dub dashboard to complete the SAML SSO configuration.
## Step 3: Configure SAML SSO on Dub
In your workspace settings, click on **Security** in the **Workspace** group.
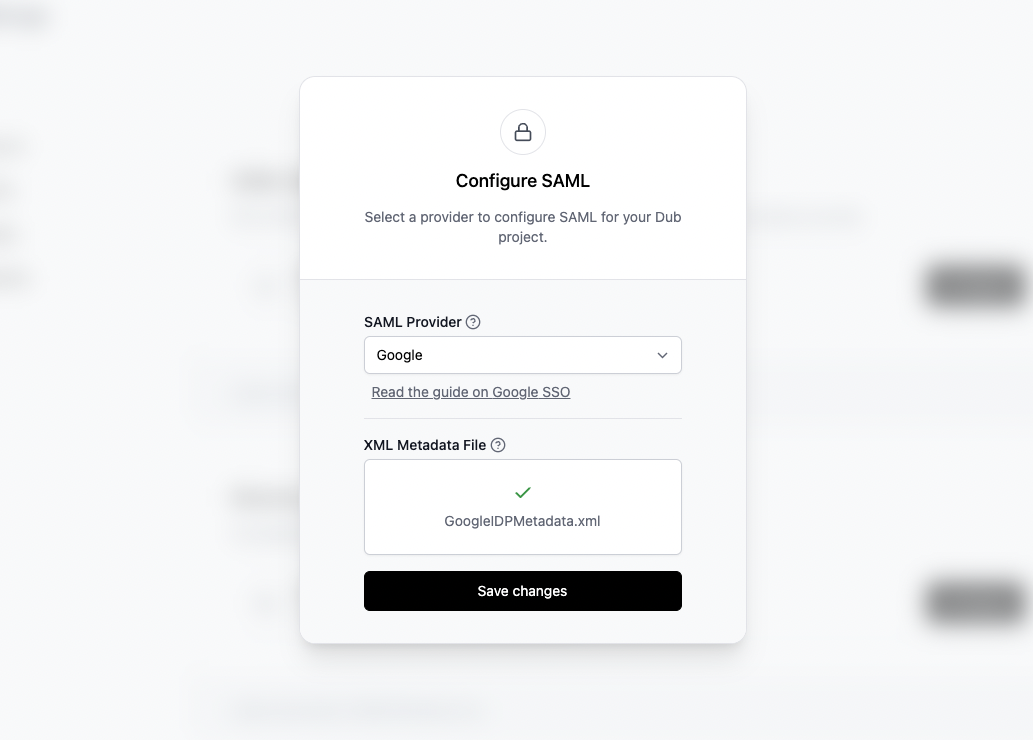
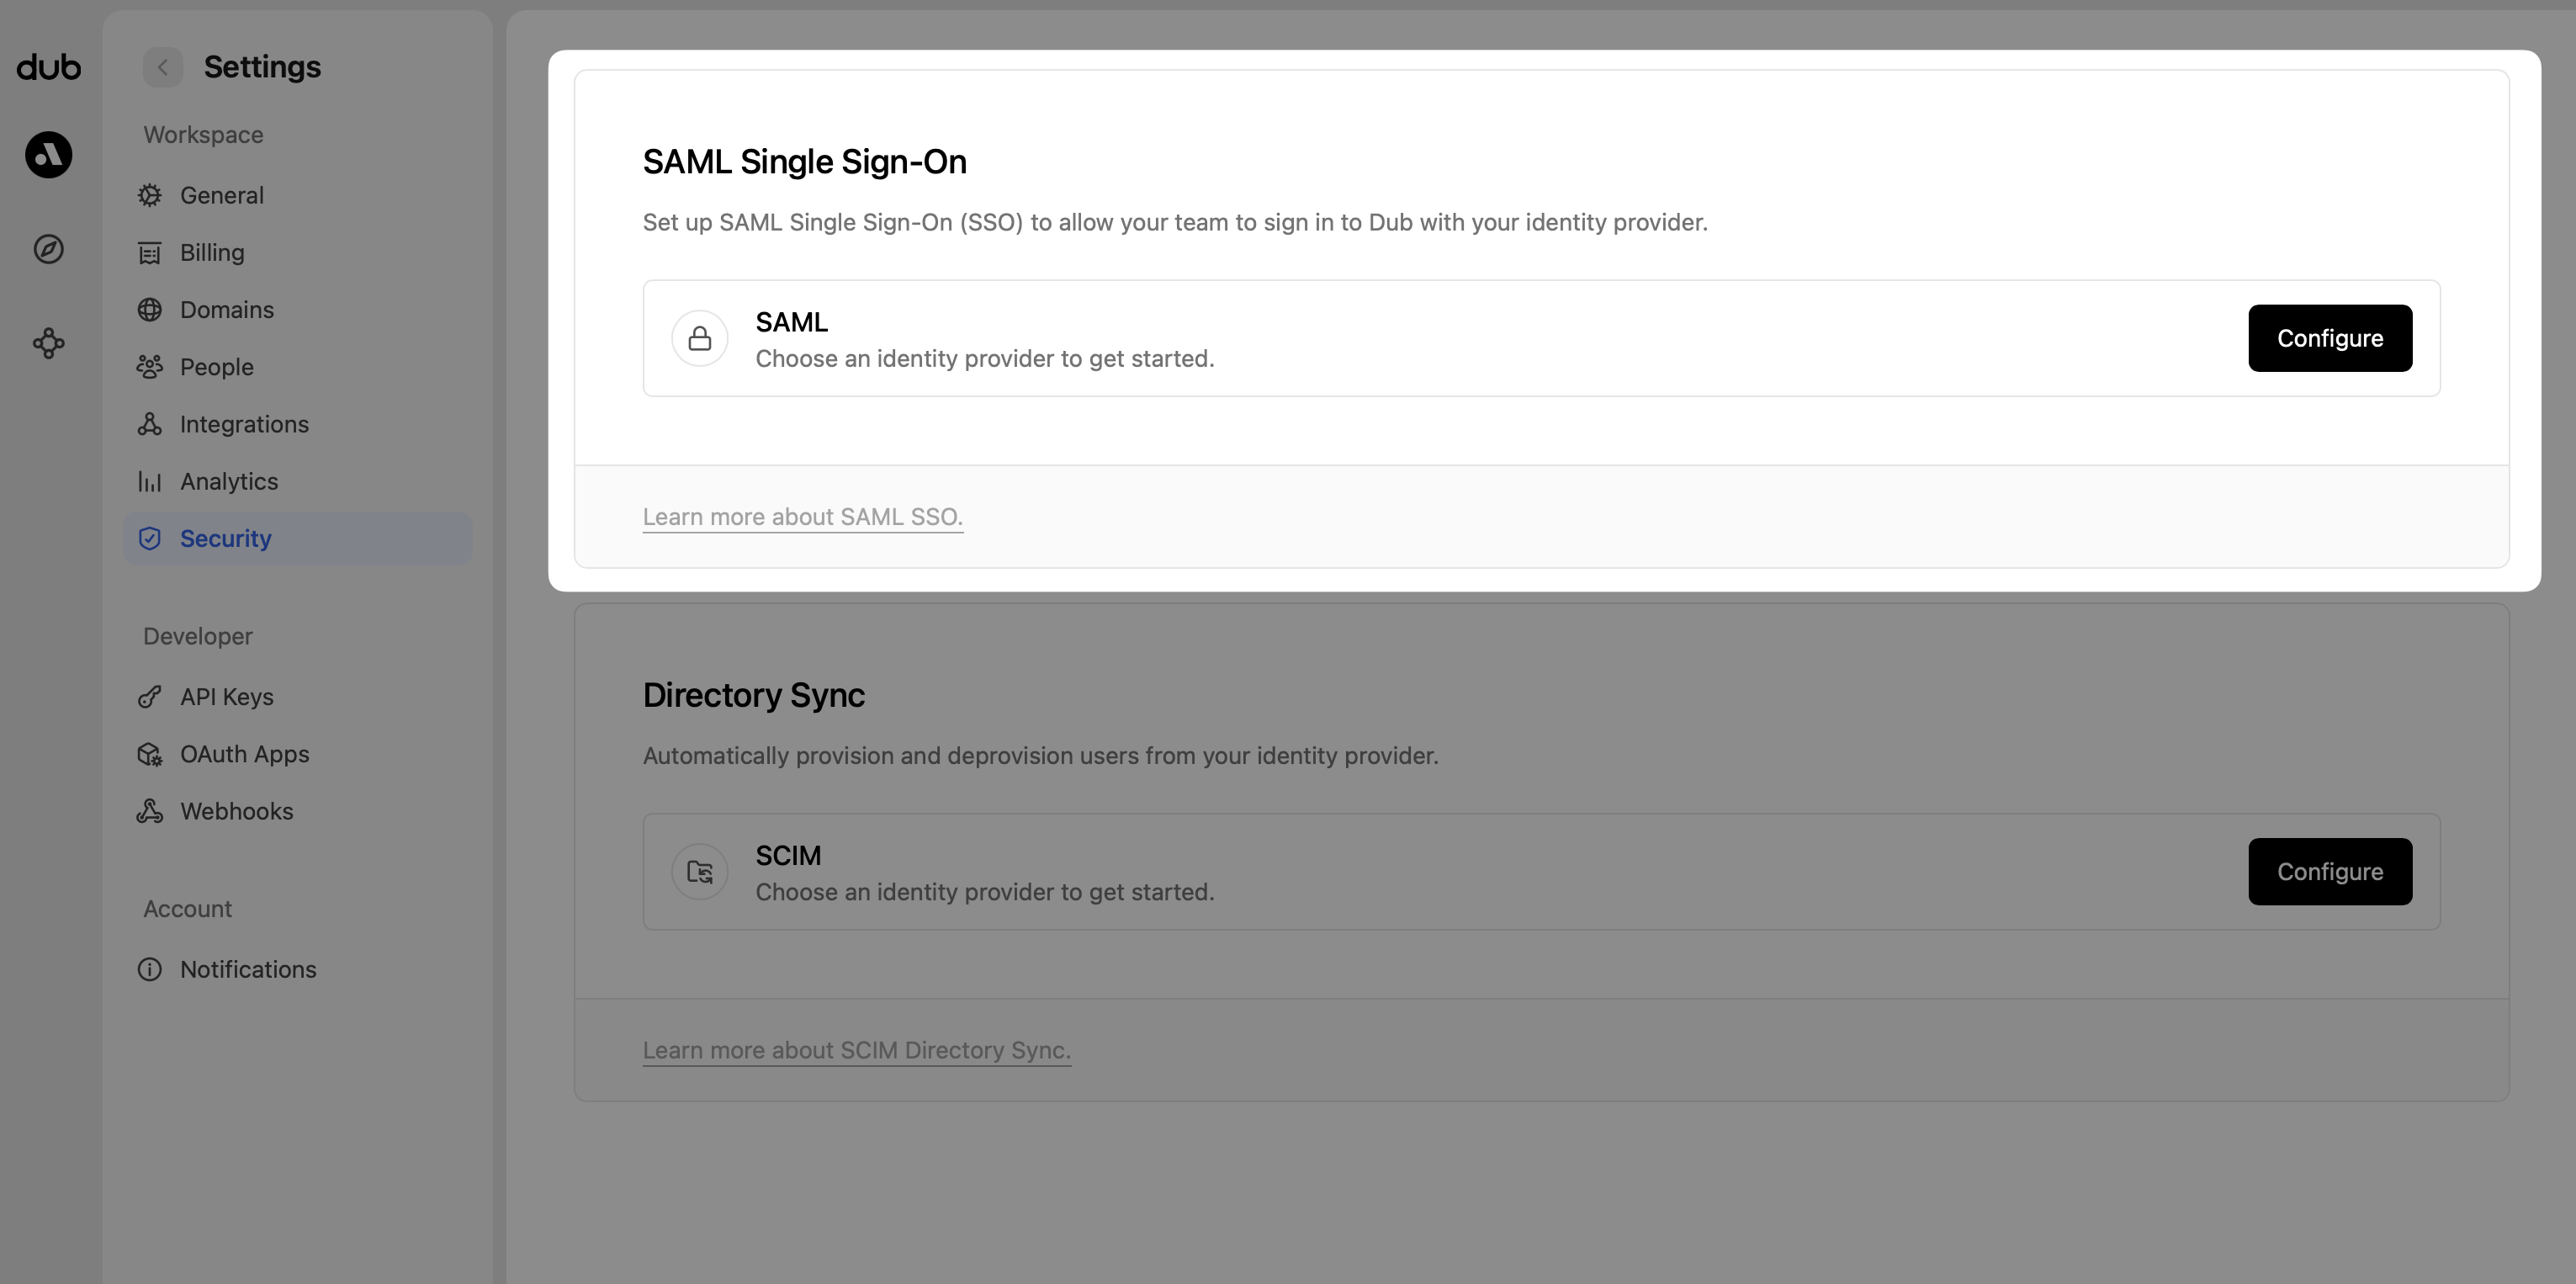 Under the **SAML Single Sign-On** section, click on **Configure**. This will open up the SAML SSO modal:
1. Select **Google** as the SAML provider.
2. Upload the metadata XML file you downloaded in Step 1.
3. Click **Save changes**.
Under the **SAML Single Sign-On** section, click on **Configure**. This will open up the SAML SSO modal:
1. Select **Google** as the SAML provider.
2. Upload the metadata XML file you downloaded in Step 1.
3. Click **Save changes**.
 That's it! You're all set – your team can now sign in to Dub using Google SAML SSO.